Long time ago I bought a Schaublin 13 milling machine to Peter at Veltman Machines. This was to replace my Cincinatti Chomienne FP30. The machine remained stored for many months and finally it arrived the time to face its refurbishing.
In this post I face the service of the motors and rework the electrical conducts.
This Schaublin 13 has a BL number of 259204 and, according to BL to date correspondence, should be made about the 1975. It is the next to last model build of thius classic milling machine. It can be recognized easily by its centralized lubrication system that shares the oil tank with the gearbox.
Moving the machine to a working place
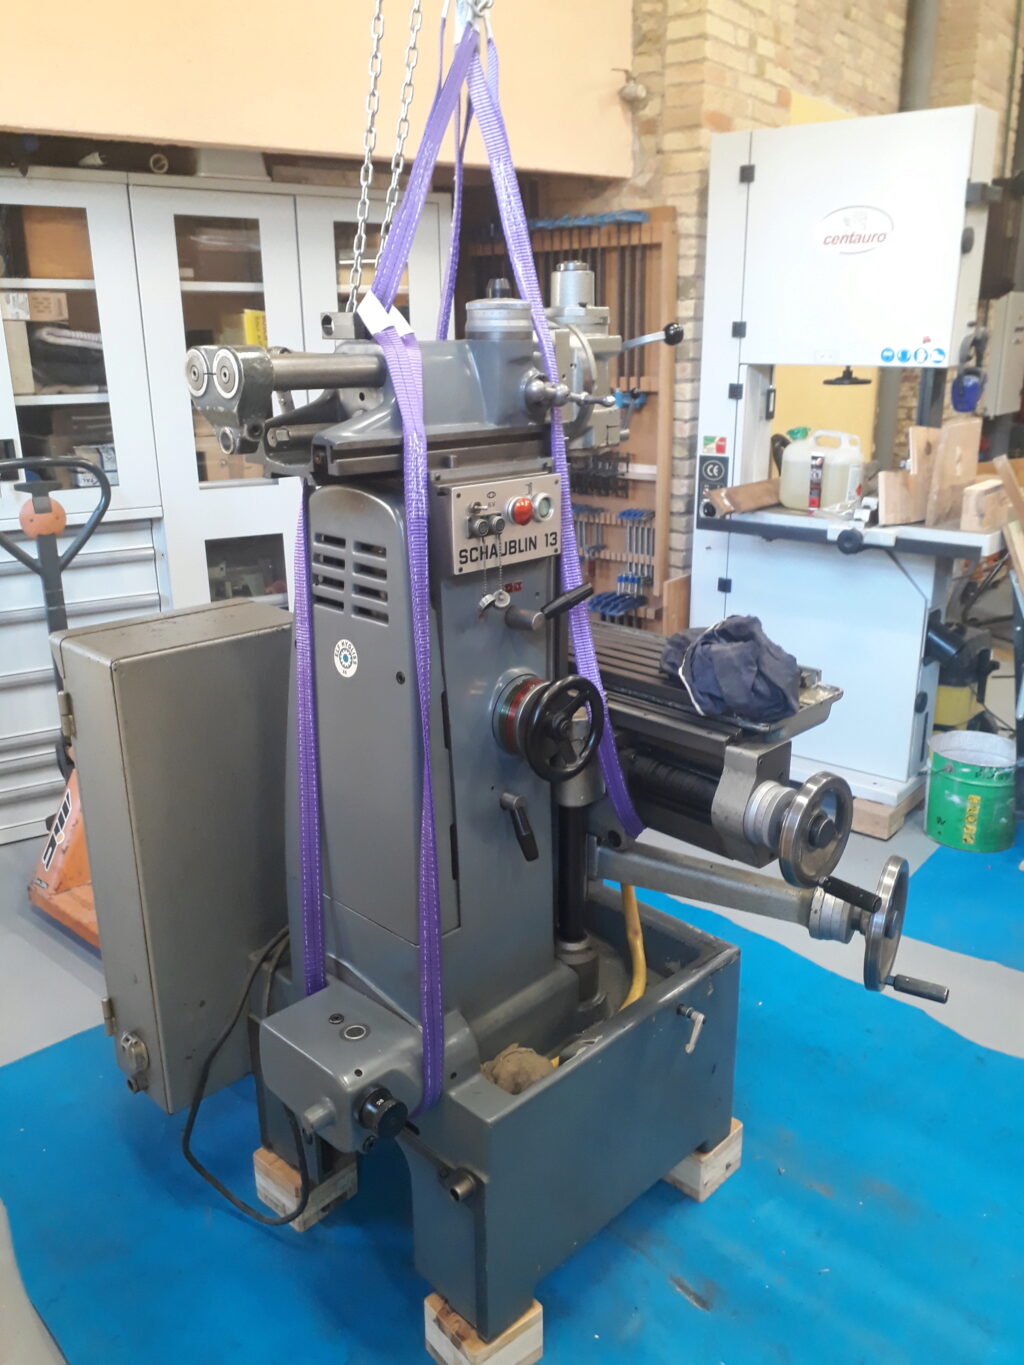
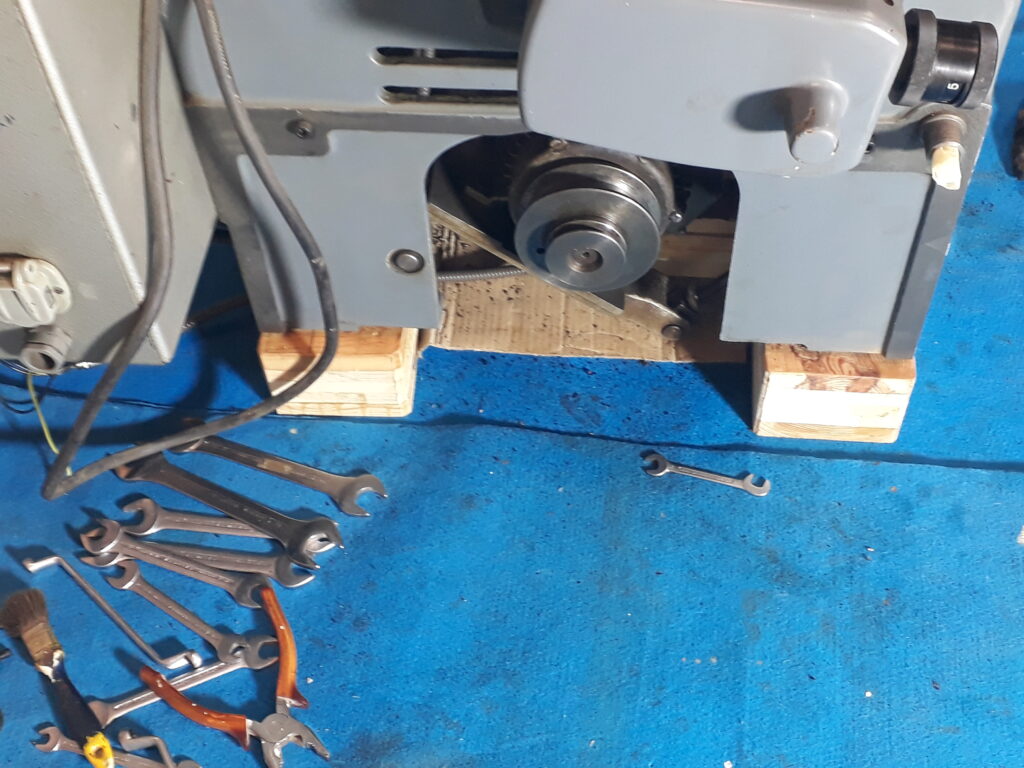
The first job done on it was to move it over a set of wood risers that facilitate to remove the motors. The machine is really heavy amounting about 800 Kg. It was moved on a pallet truck and elevated by using chain hoist. The next picture shows it.
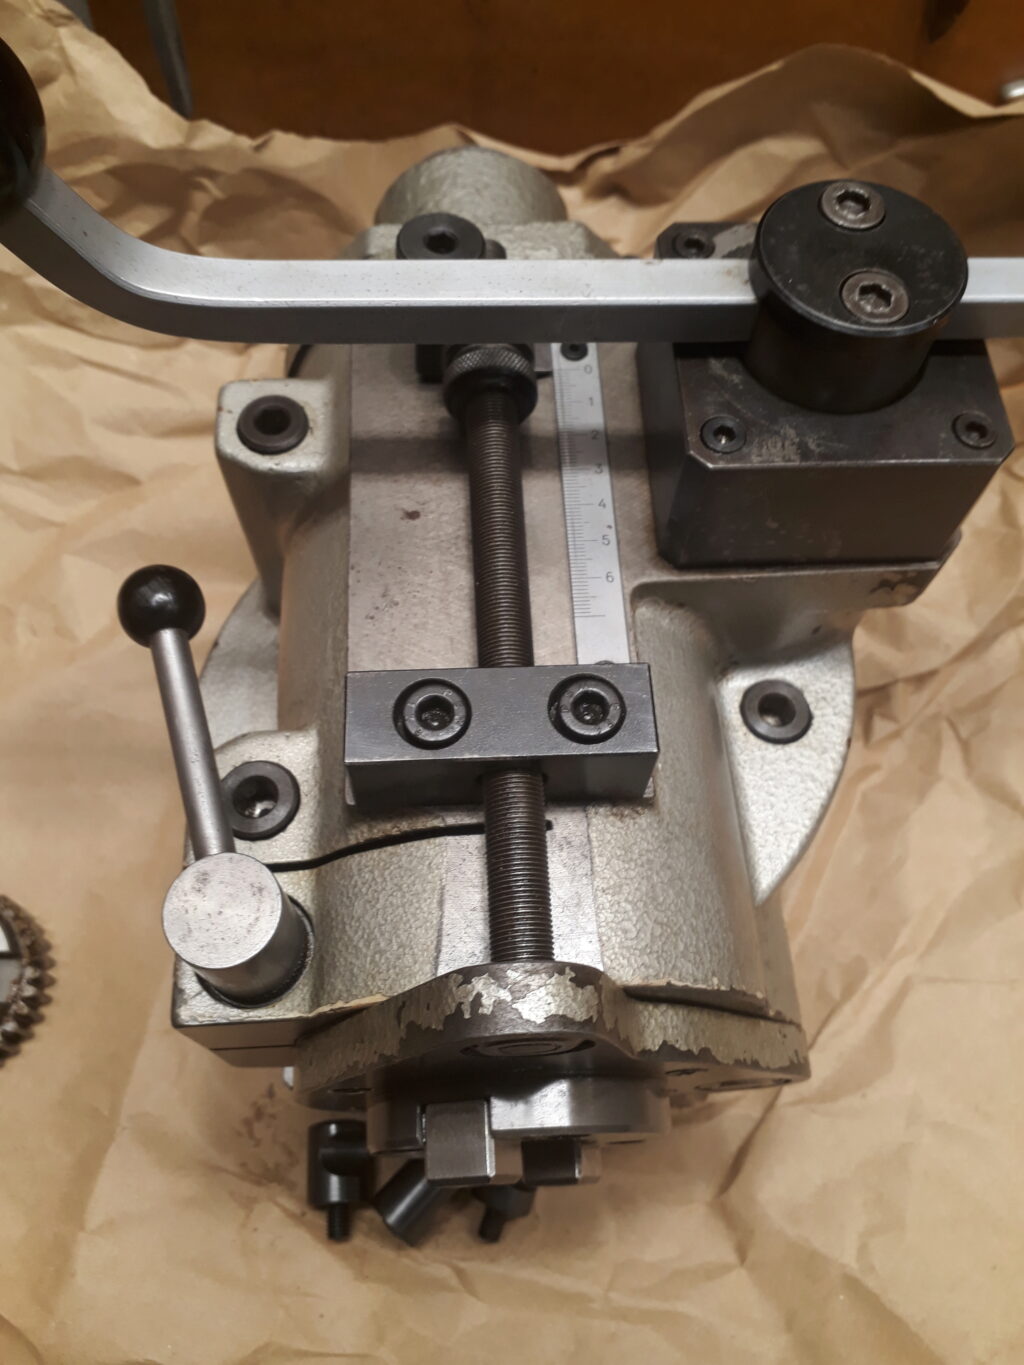
The machine was leveled, let it stabilize on the wood risers and leveled again. Then, I took apart the vertical milling head. It came with the unusual head 13-10.400, with a quill that can be displaced 60 mm. This head is heavy and weights around 37 Kg, not easy to move at hand. Following, there are a couple of pictures of the head:

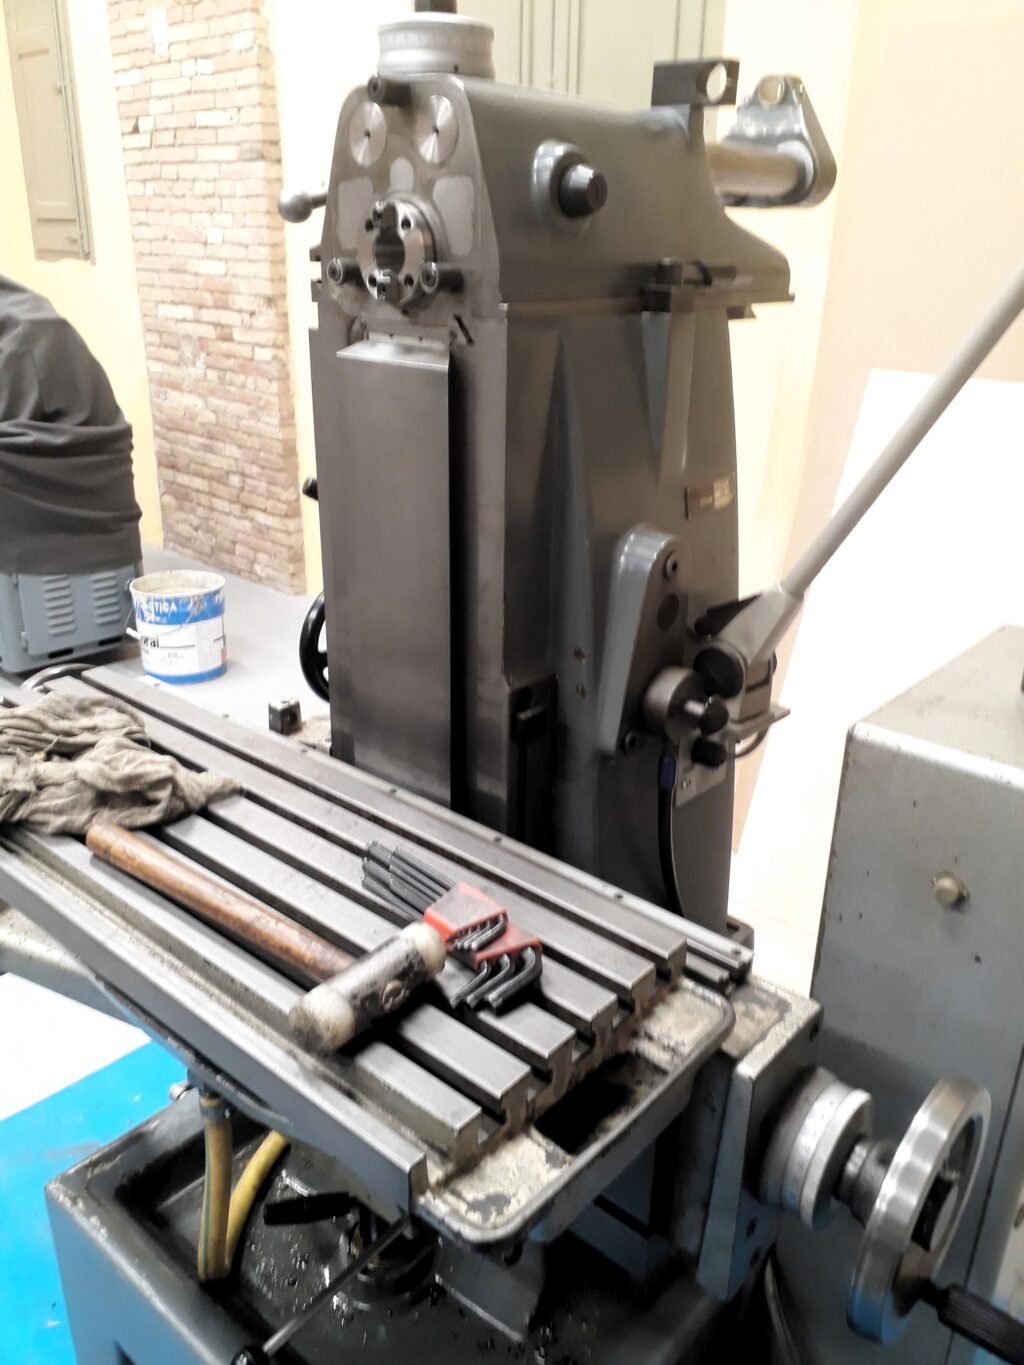
This is a general view of the machine without the head and with the horizontal milling arbor in place:

Dismantle the base elements
Now, the cleaning should begin. The electrical motors (power motor and fast displacement motor) where located in the bottom of the machine body. You should get the space by an specific window in the back of the machine base.
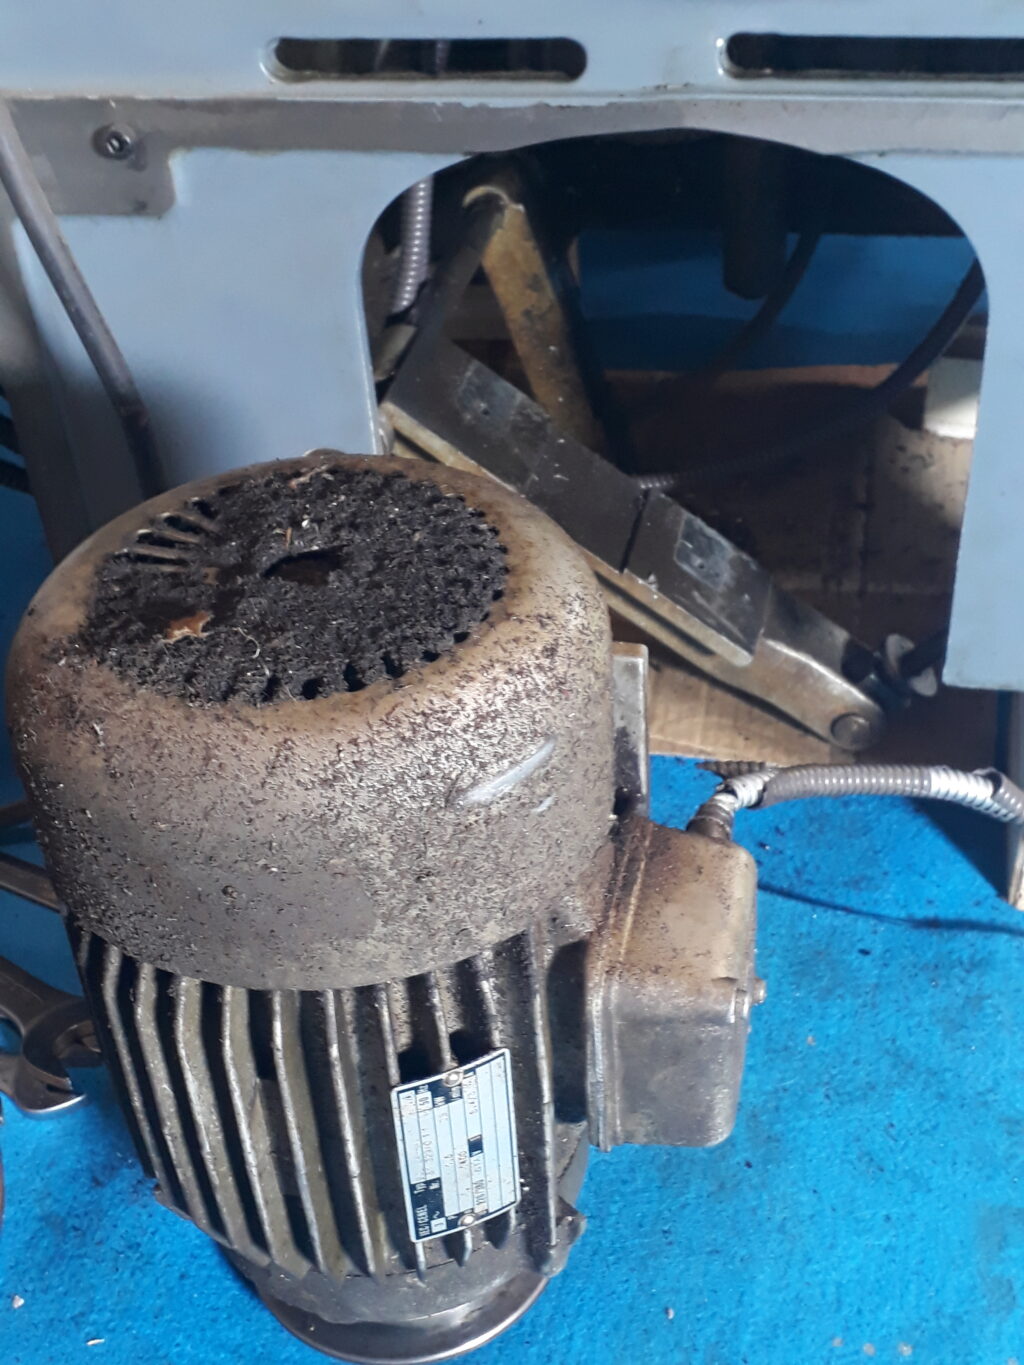
The base interior is full of dirt as usual. After removing electrical conducts and unscrewing the motor from the plate I got it out without problems. The main motor is an IEC 90L of 1,5 Kw. It was absolutely covered by dirt and milling chips as it can be seen in next picture:
Now, the fast displacement motos should be dismantled. This is a small motor vertically screwed to the base.
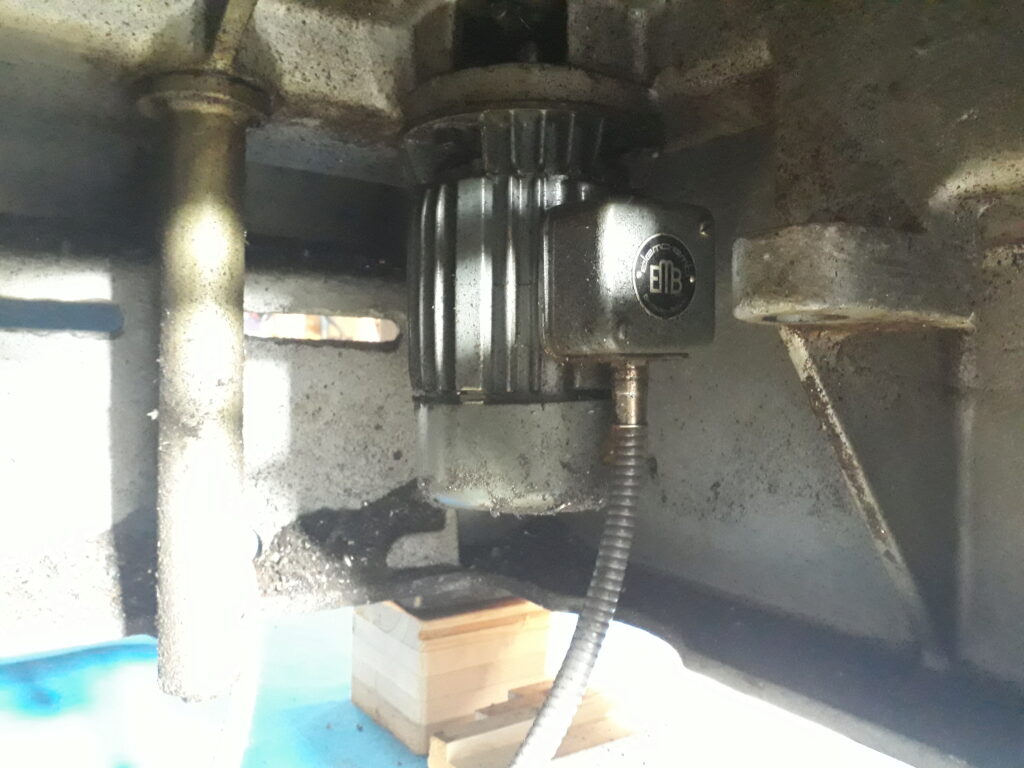
Although not easy to reach the screws, finally I managed to get it out. Last, I dismantled also the fast displacements pedal and its electrical parts.
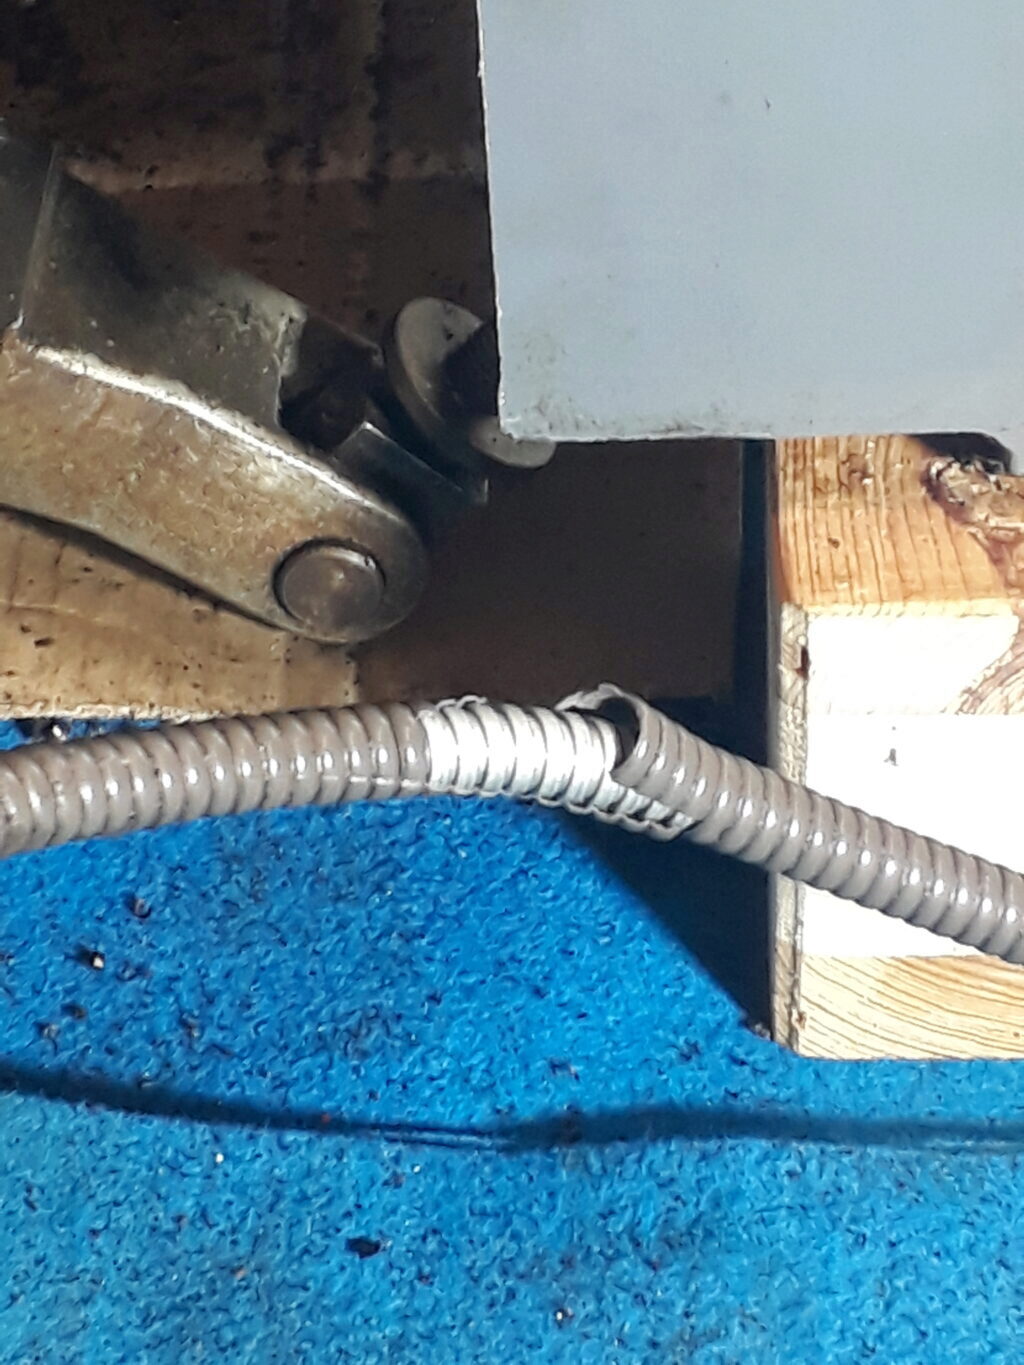
I discovered that the plastic cover of the electrical conducts were absolutely fragile after many hours soaked in oil spills. Thus, it will be required to replace all of the conducts.
Clean the motors, suports and parts
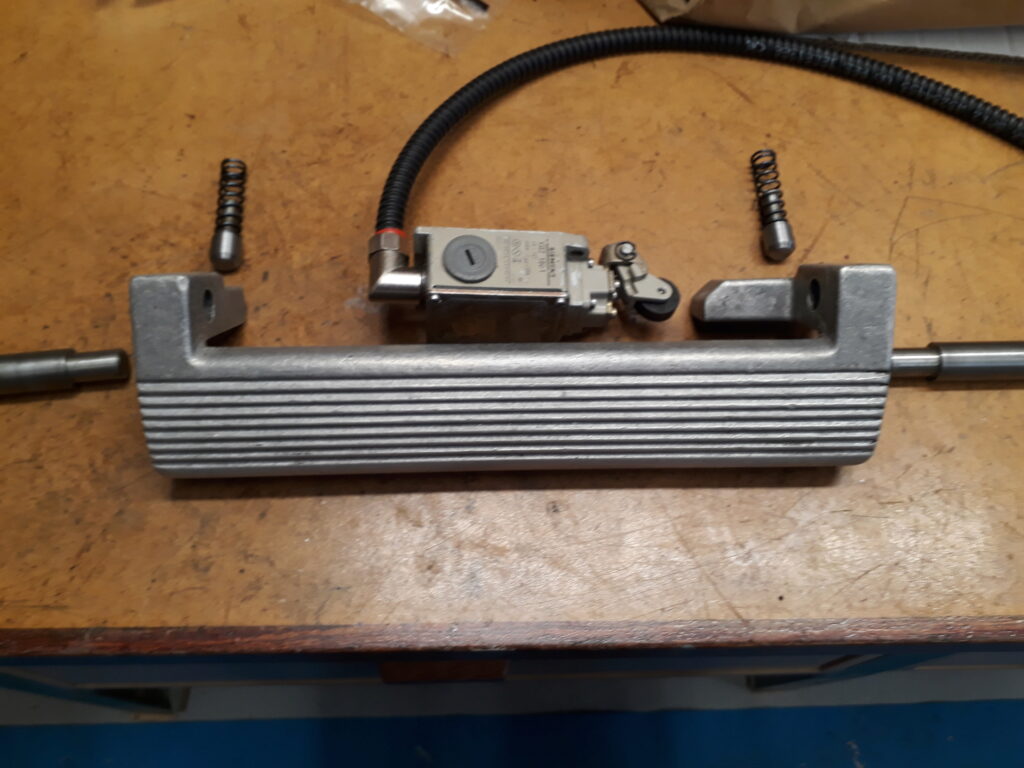
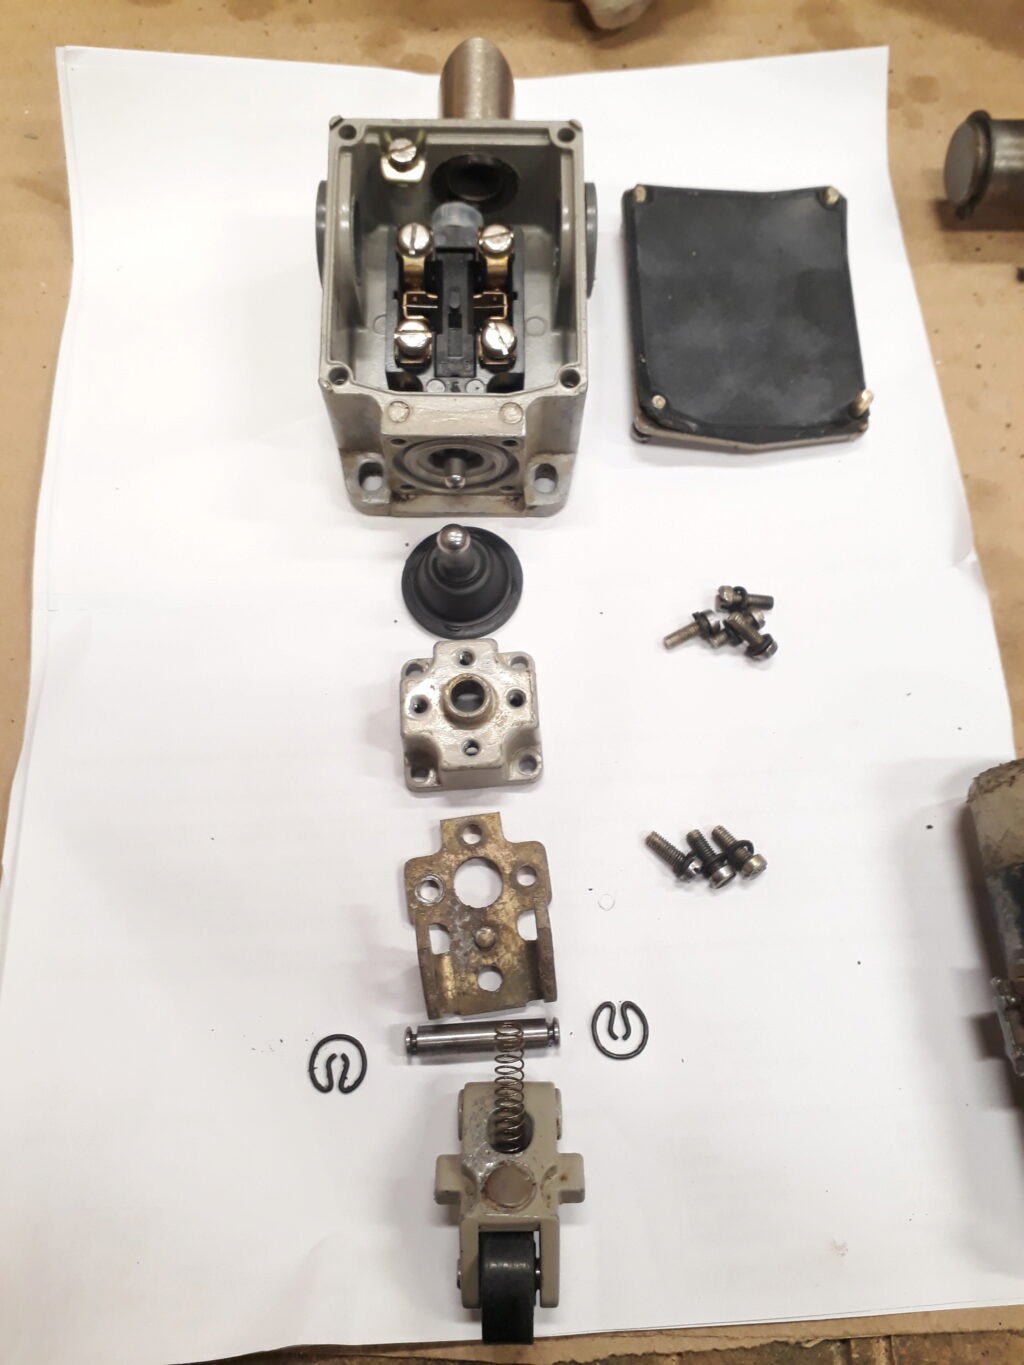
I begin by cleaning the fast forward limit switch. It was full of a greasy grime that I stripped down using CRC Lectra Clean. The liquid, a mix of hydrocarbons, is effective but solves the exterior paint. Probably exterior paint was weakened by years of oil contact. This is a picture of the dismantled switch:
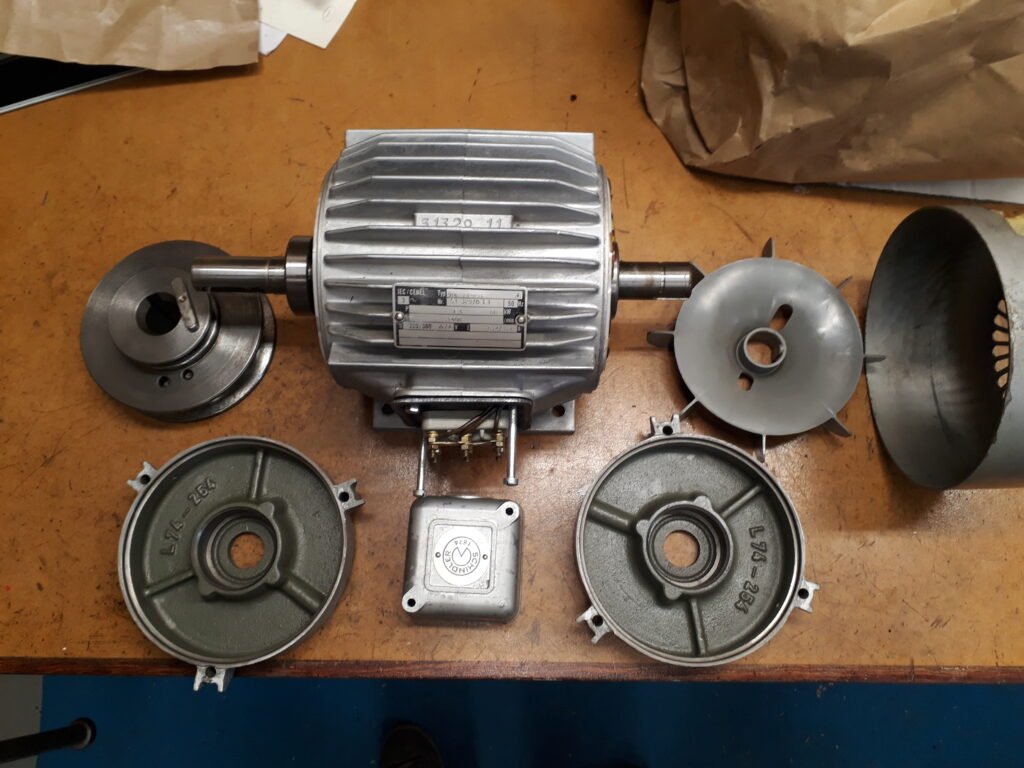
Cleaning the motors was not a so simple task. In the one hand, choosing a water based cleaning fluid is not recommended because it can induce internal humidity; in the other, using a solvent based product can remove the wiring varnish. It seems that specific products like Lectra Clean can be appropiate, but previous experience with the switch and its paint make me undecided. After reading about others experience, I gave an opportunity to Lectra Clean and with utmost care I cleaned the motors. The aestethical result was satisfactory. I put the motors at the sun to be fully dried. A very small oily residue accumulated on the bottom. I wish that wiring isolation had not being altered. Dismantling the motors allowed me to inspect the bearings, clean and regrease them. Below there is a picture of the main motor fully disassembled after being cleaned and dryed.
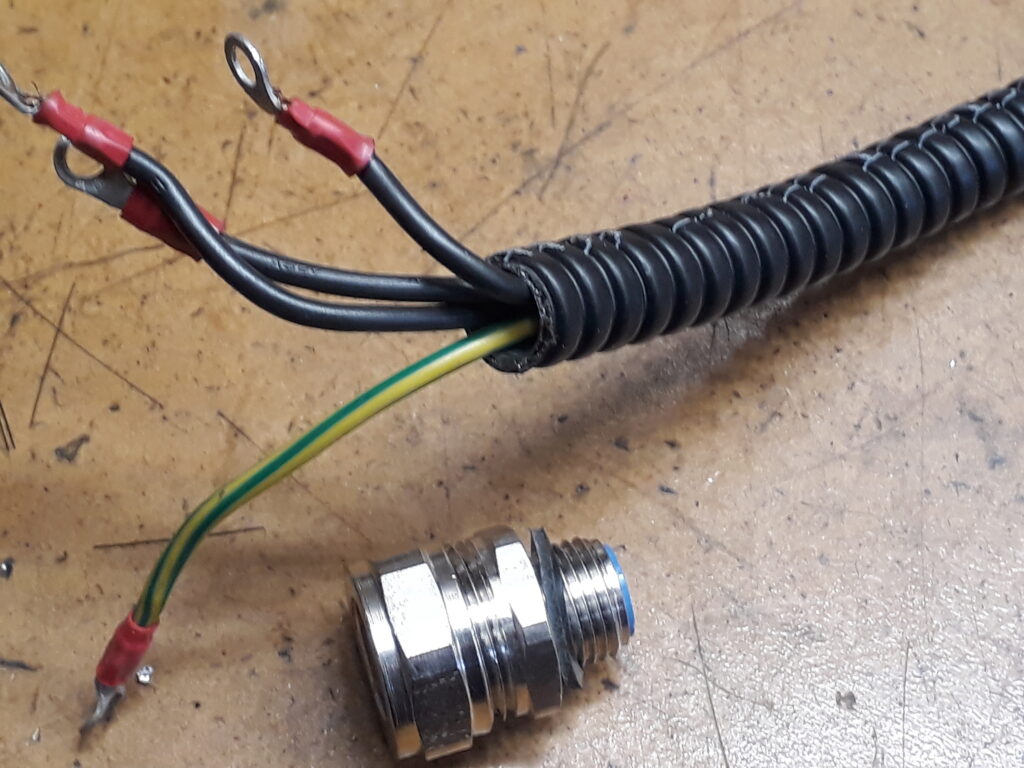
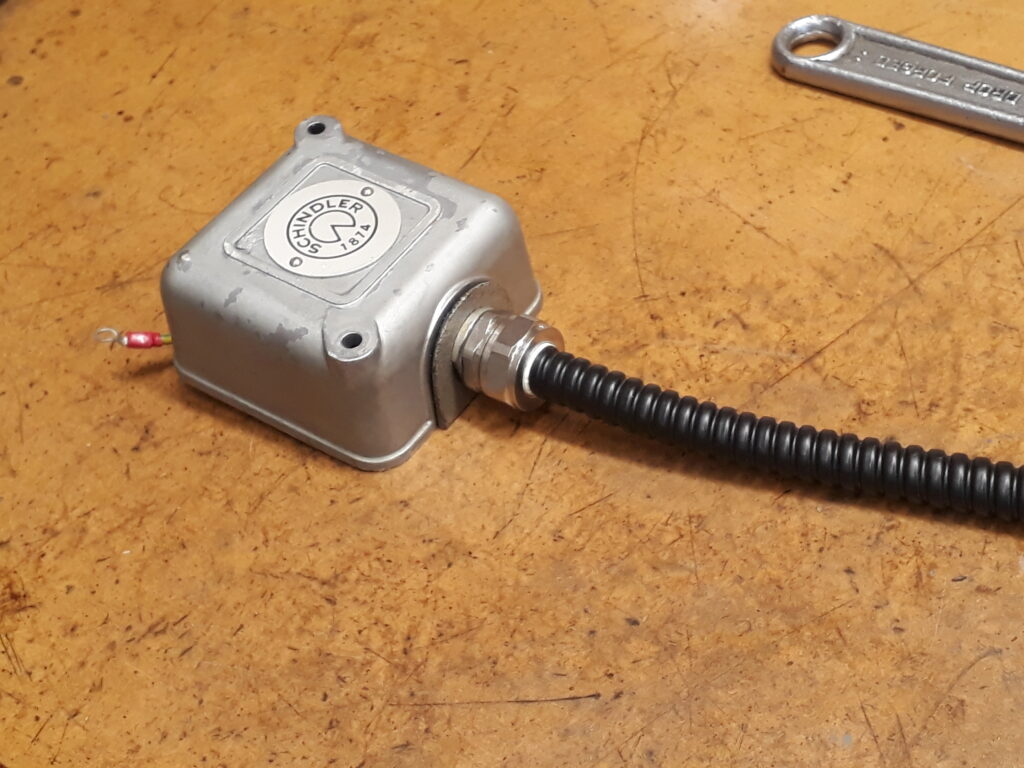
The electrical conducts should also be replaced. I choosed Adaptaflex SP conduct as the replacement. Unfortunately the fittings where PG standard: that means that the leftovers will not be easy to use. However, the new conducts and its fittings were really appealing as you can see in the following pictures:
The fast forward pedal was also cleaned and its parts derusted. Here you can see the subset of pedal parts including its switch: