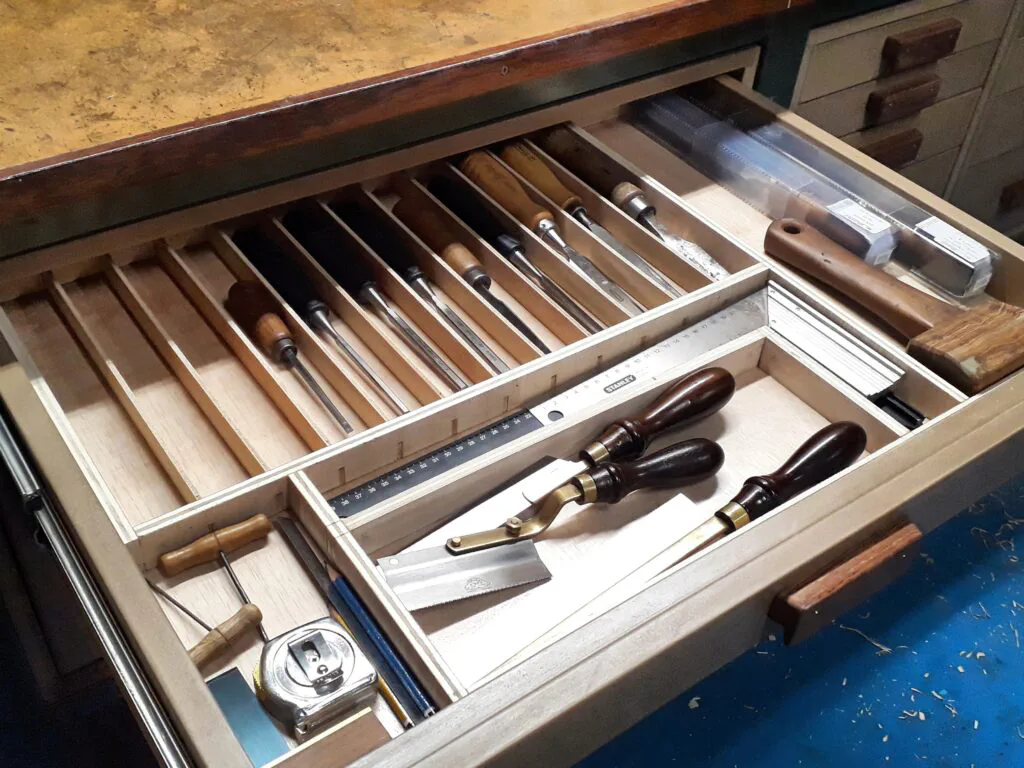
Last summer, I spent some time designing and building a few cabinets to store my materials under the workbench. I hadn’t found the time to write about it until now, but in this post, I will share some details of the build.
A while ago, I decided to invest the necessary time to ensure that every tool has its dedicated place. This meant either buying or building storage solutions for every component and tool while also leaving some clear space for future additions. It was a big commitment, but looking back, I am incredibly happy with the results.
One of the final additions to this setup is a set of drawers designed to fit neatly under the workbench. As with many of the other cabinets I have built for my garage, I chose a combination of MDF and plywood, finished with a clear varnish. I also opted for high-quality drawer slides, following my excellent experience with the Worner B13 cabinet.
Designing and Planning the Cut List
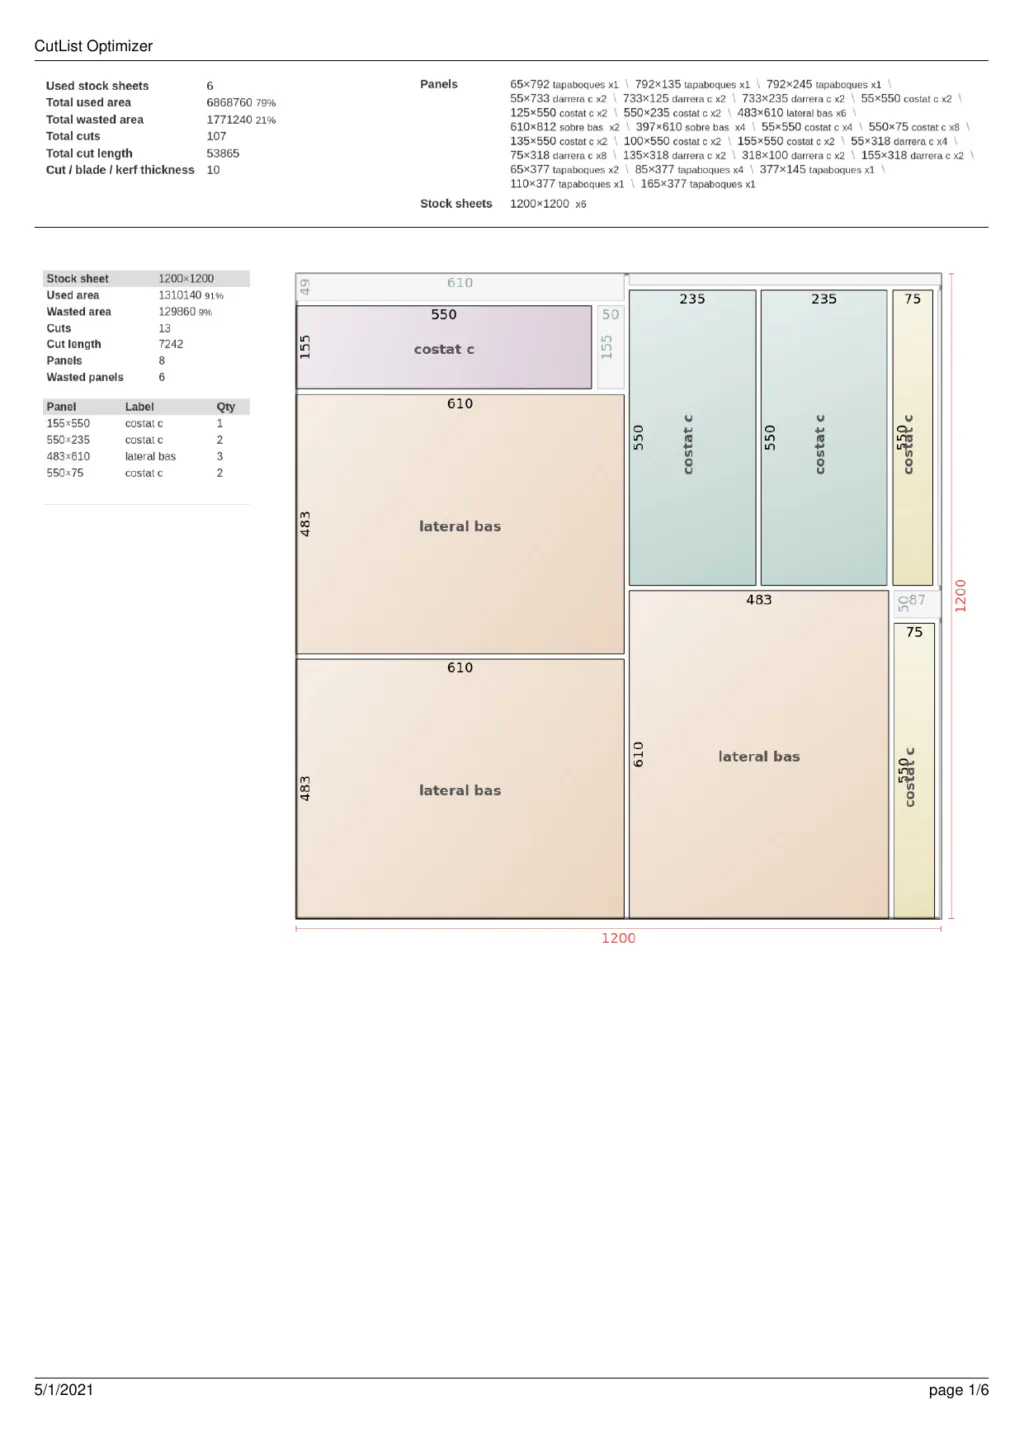
For this project, I tried a new strategy. I decided to rely entirely on cut-optimization software and plan all the cuts beforehand. While this approach requires extra care and organization, it pays off by minimizing wood waste.
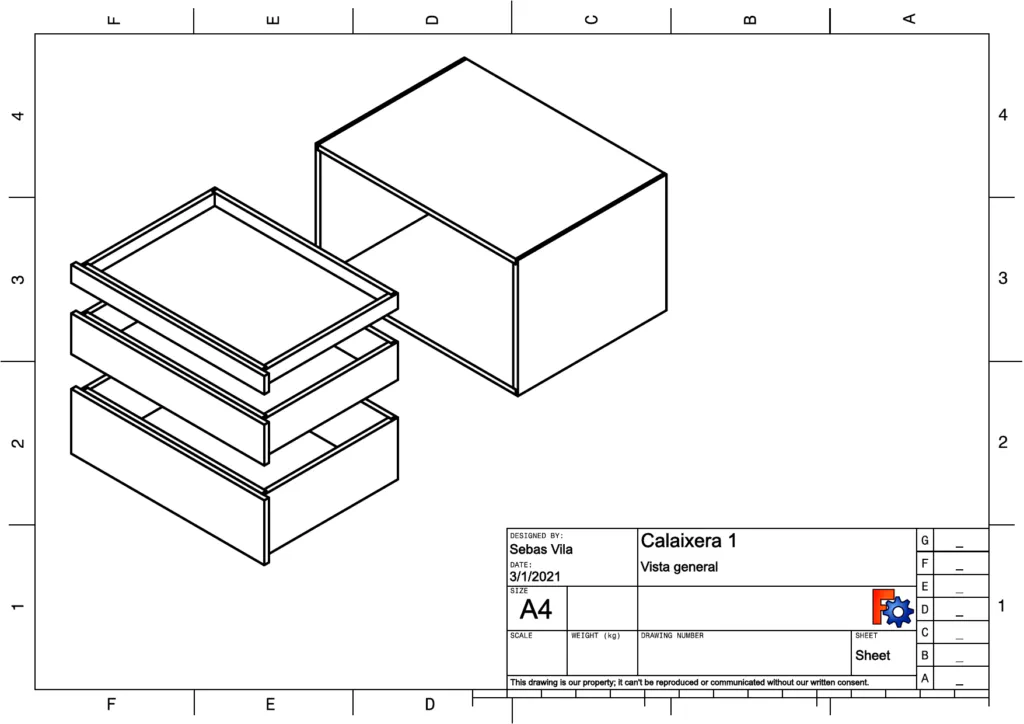
I used Cut List Optimizer, a free web-based tool, to generate the panel cutting layout. To get an accurate list of panel dimensions, I first modeled the entire cabinet assembly in 3D using FreeCAD. The images below show the overall cabinet design and a sample of the generated cut list.
Cutting the Panels
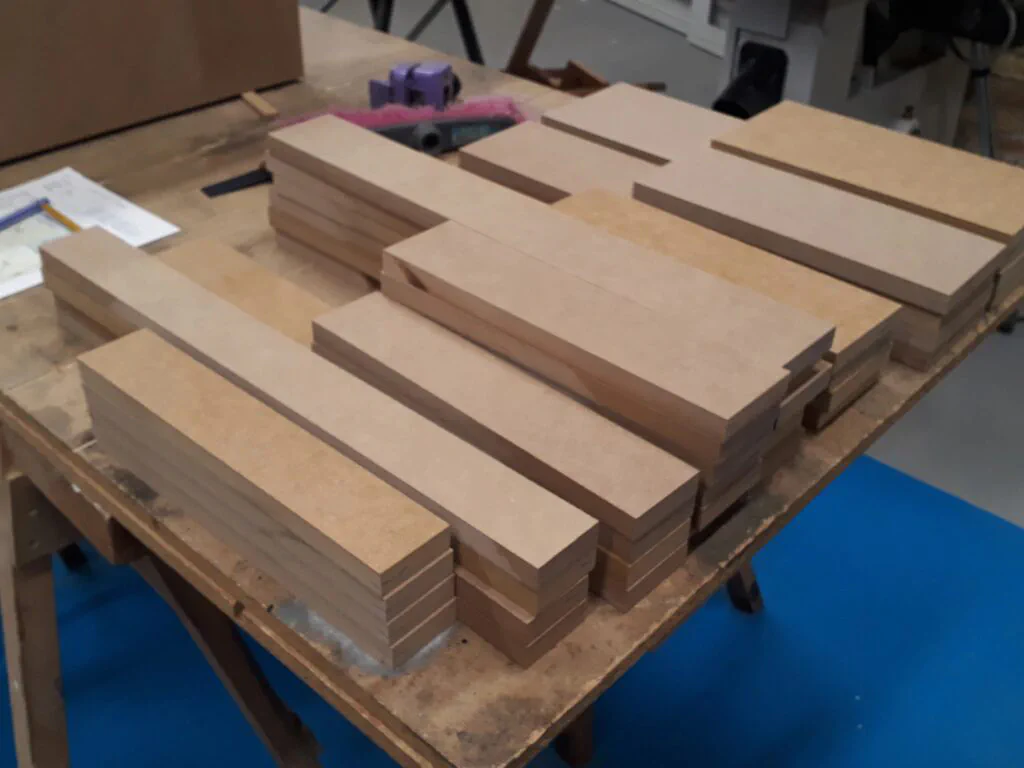
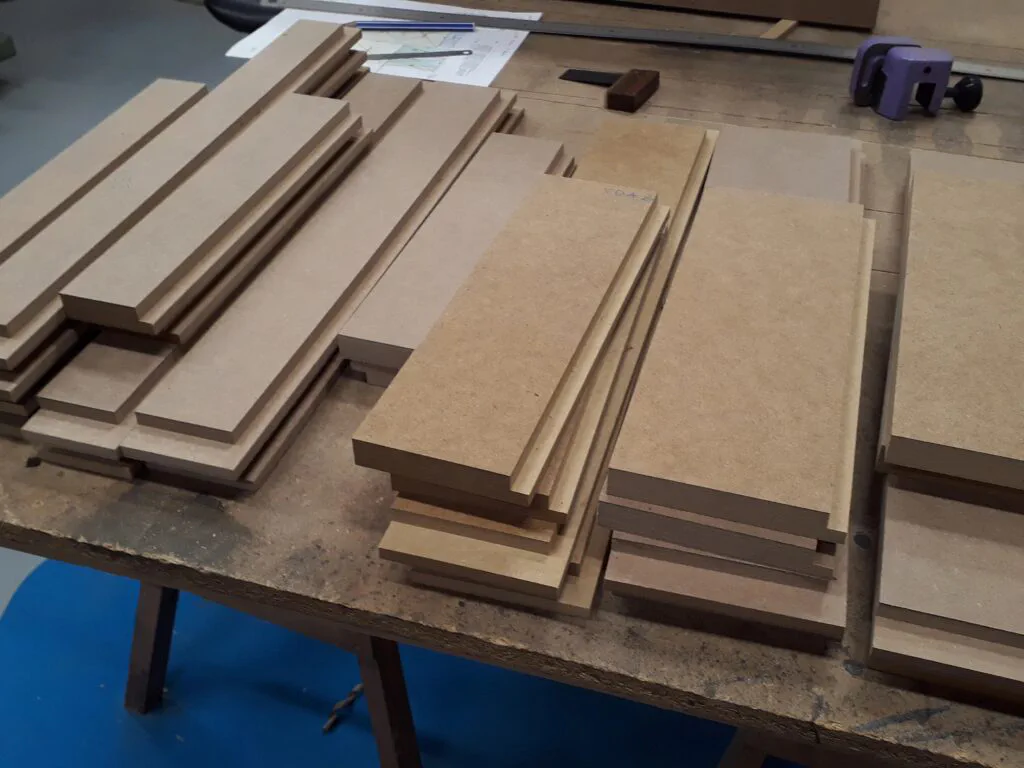
Following the cut list implicitly, I broke down the sheets into individual panels and stacked them on the assembly table:
Next, I machined the joints on all the panels to ensure proper alignment during assembly. Here is a quick look at the progress:
Assembling the Components
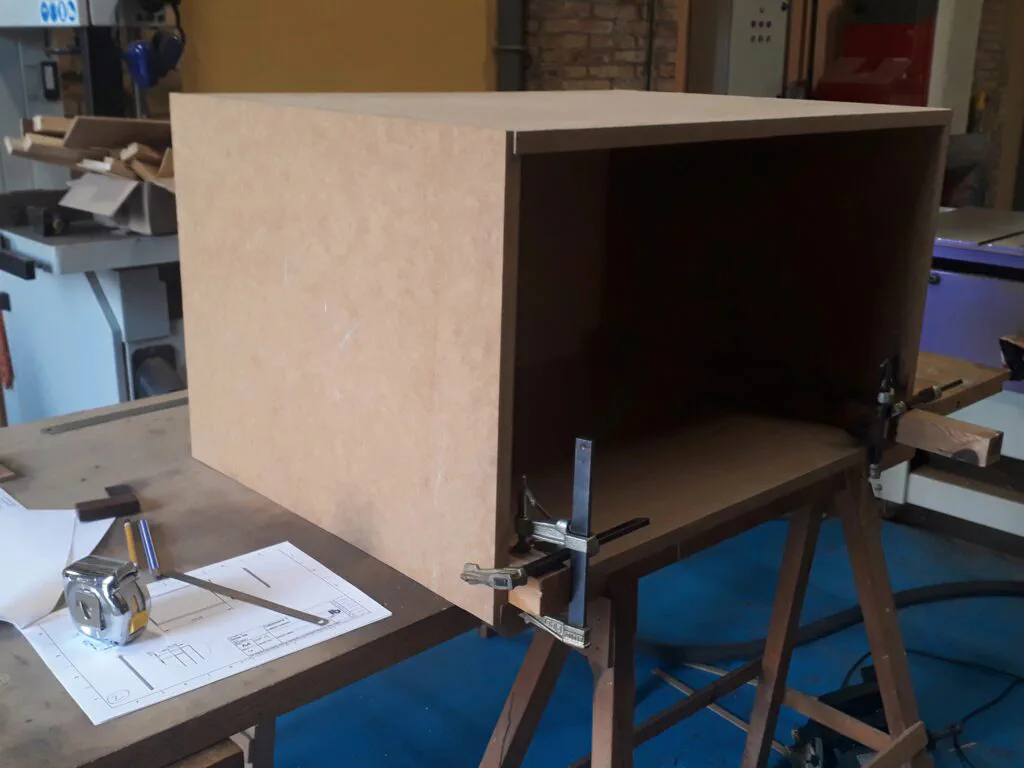
The next step was to assemble the individual components to form the drawers and the outer carcasses. Everything was put together using wood glue and screws. The images below capture a few moments during the assembly process:
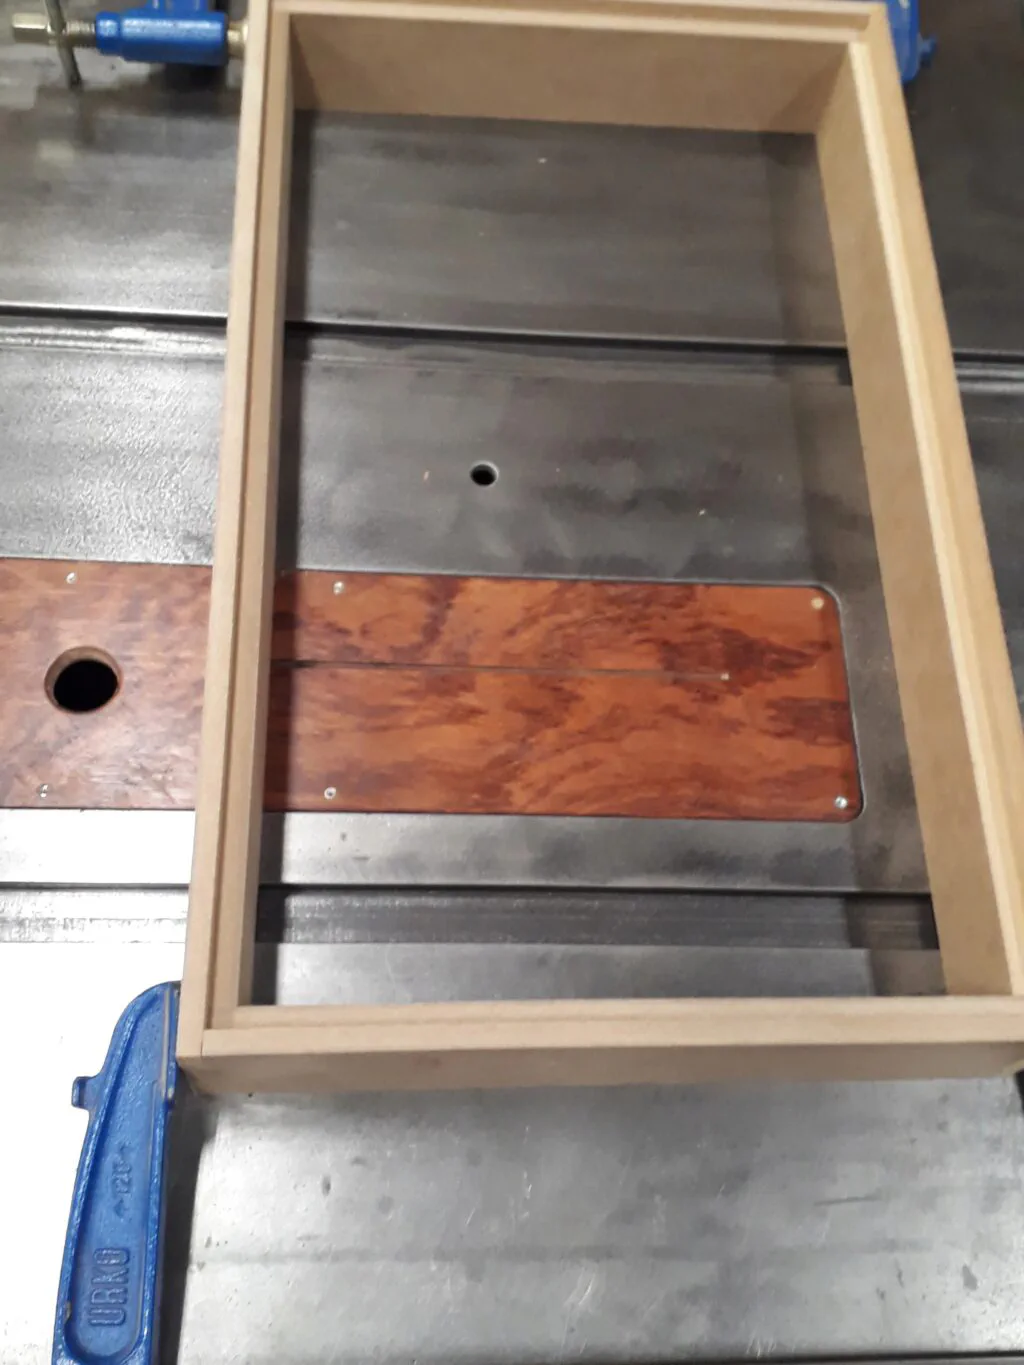
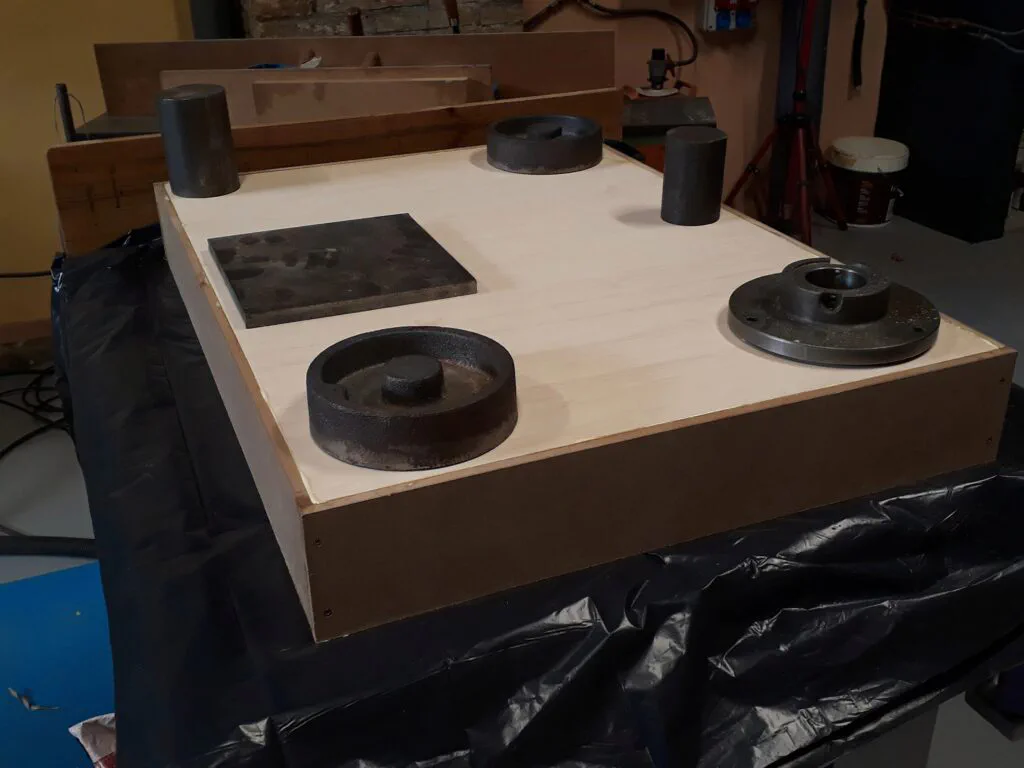
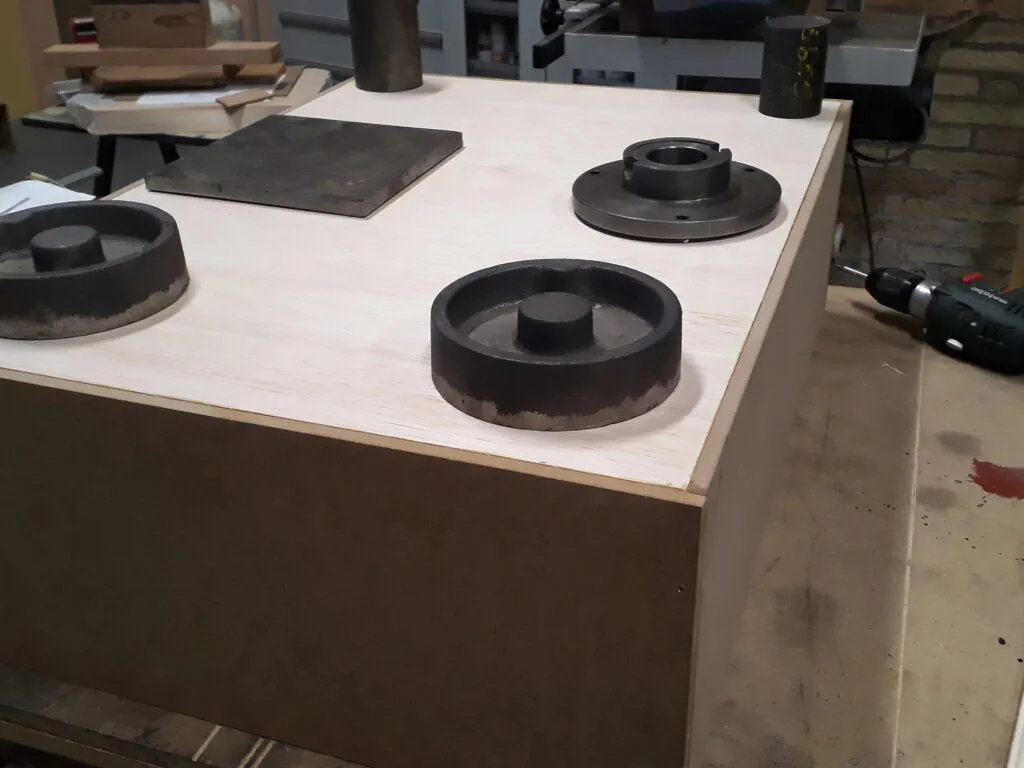
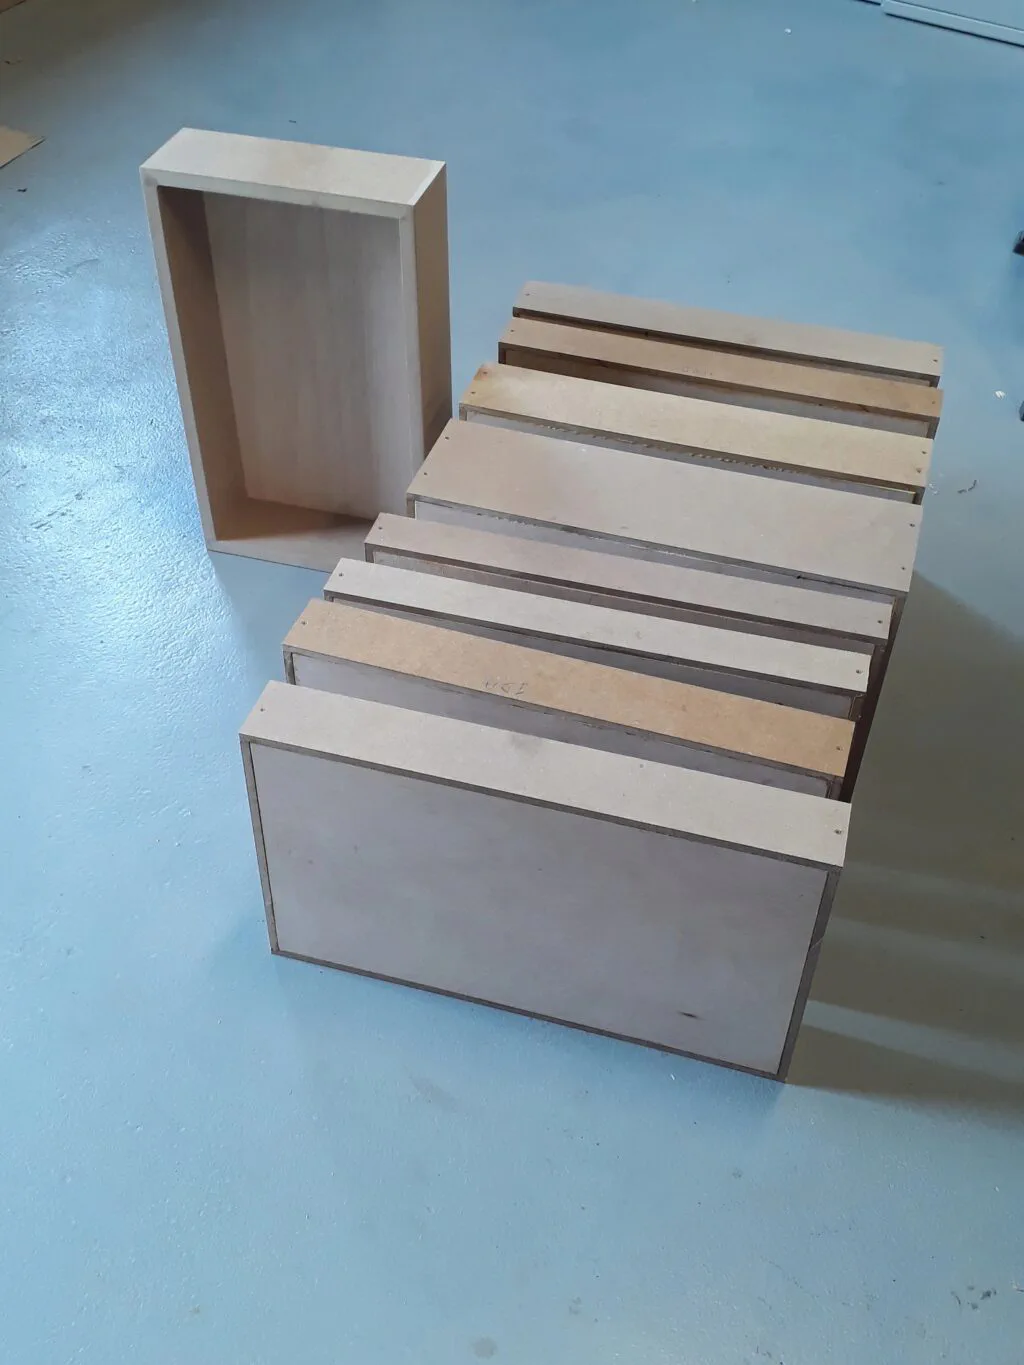
Here is the completed batch of drawers ready for the next stage:
Installing the Drawers and Slides
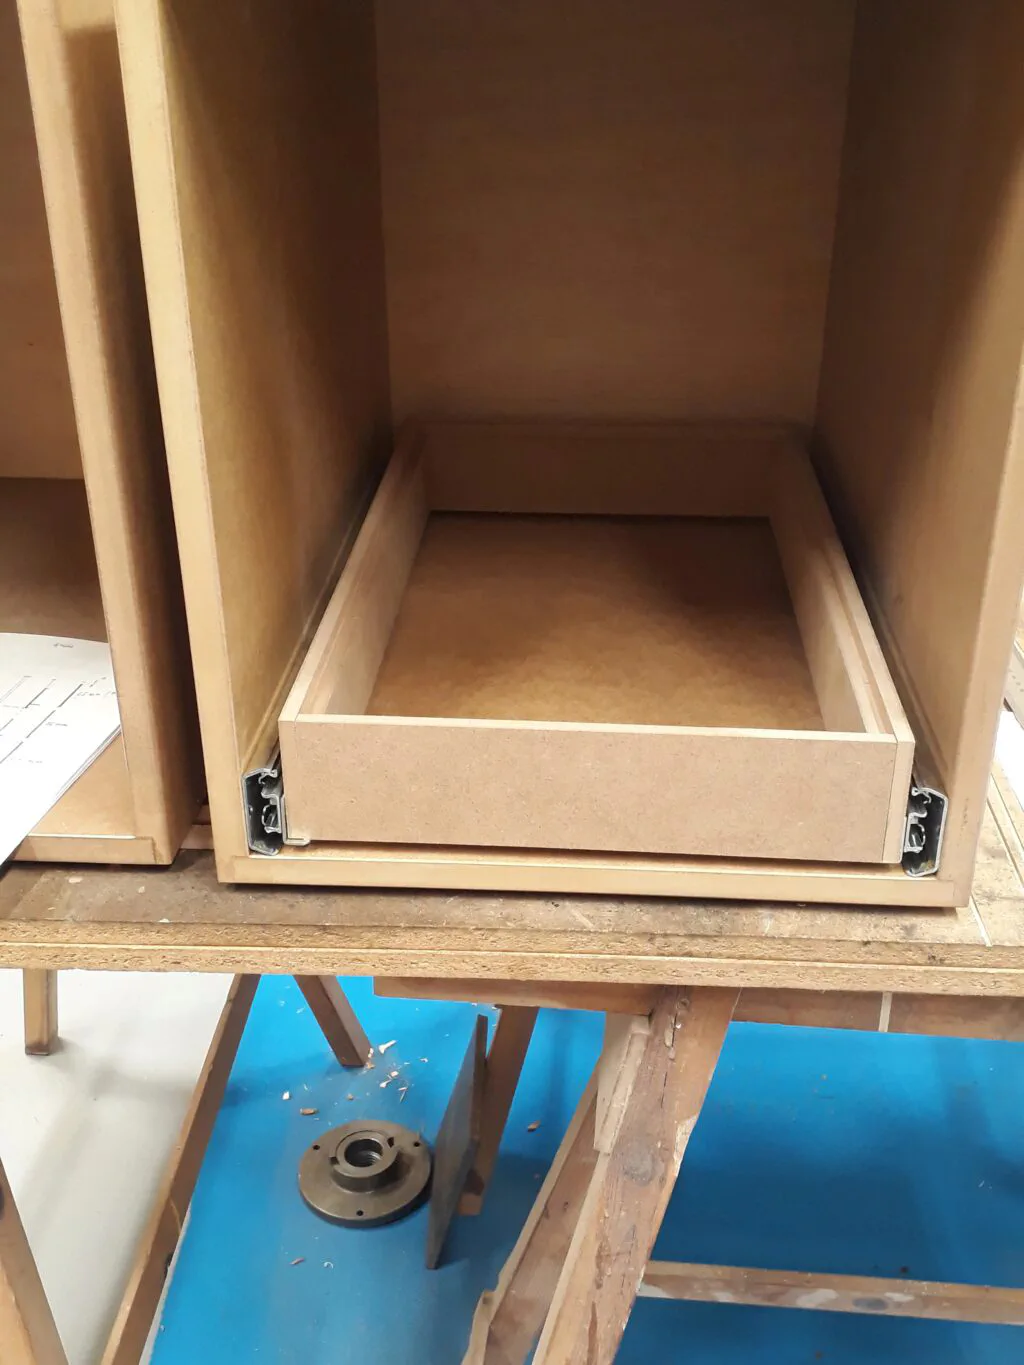
The drawers utilize full-extension drawer slides from Thomas Regout. These slides feature very tight tolerances to ensure an incredibly smooth feel when opening and closing. Consequently, the cabinets and drawers had to be cut and assembled with precision to match these strict specifications. Their installation manual offers useful guidelines on maintaining these clearances. A quick dry fit showed that the slides fit perfectly.
To mount the slides accurately, I built a simple alignment jig out of scrap MDF:
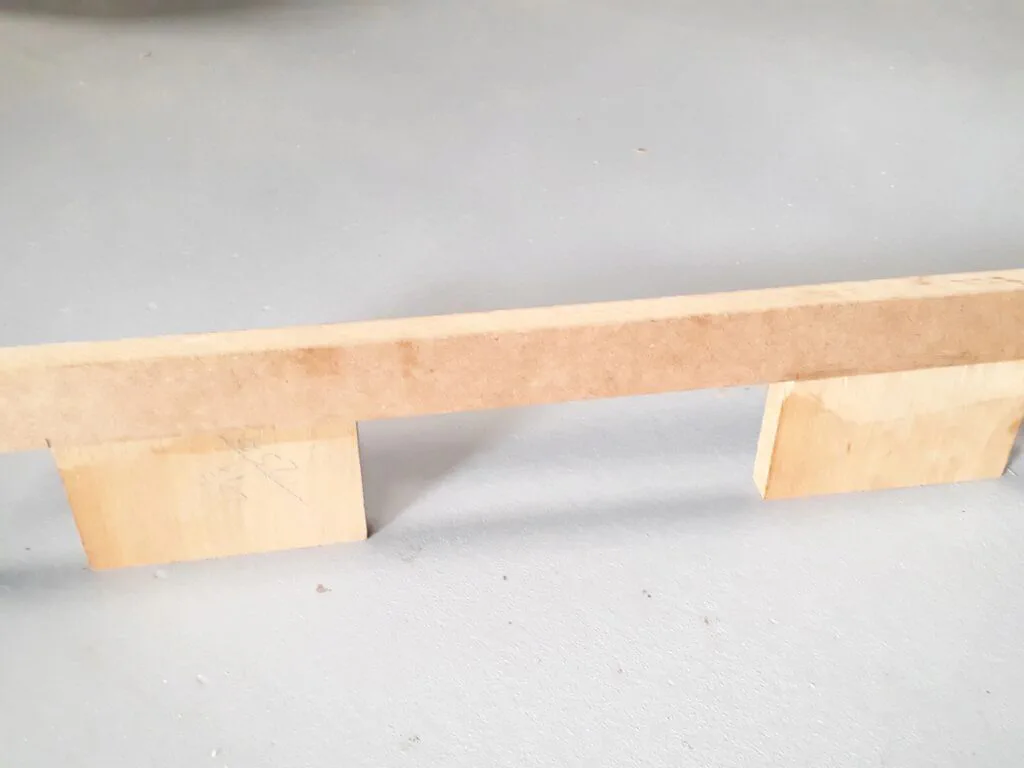
The jig registers the slide at the exact height and depth required before screwing it in place. The trick is to start with the top slide and incrementally cut down the jig as you work your way down the cabinet. Naturally, this means installing the slides from top to bottom. Here is the jig in action:
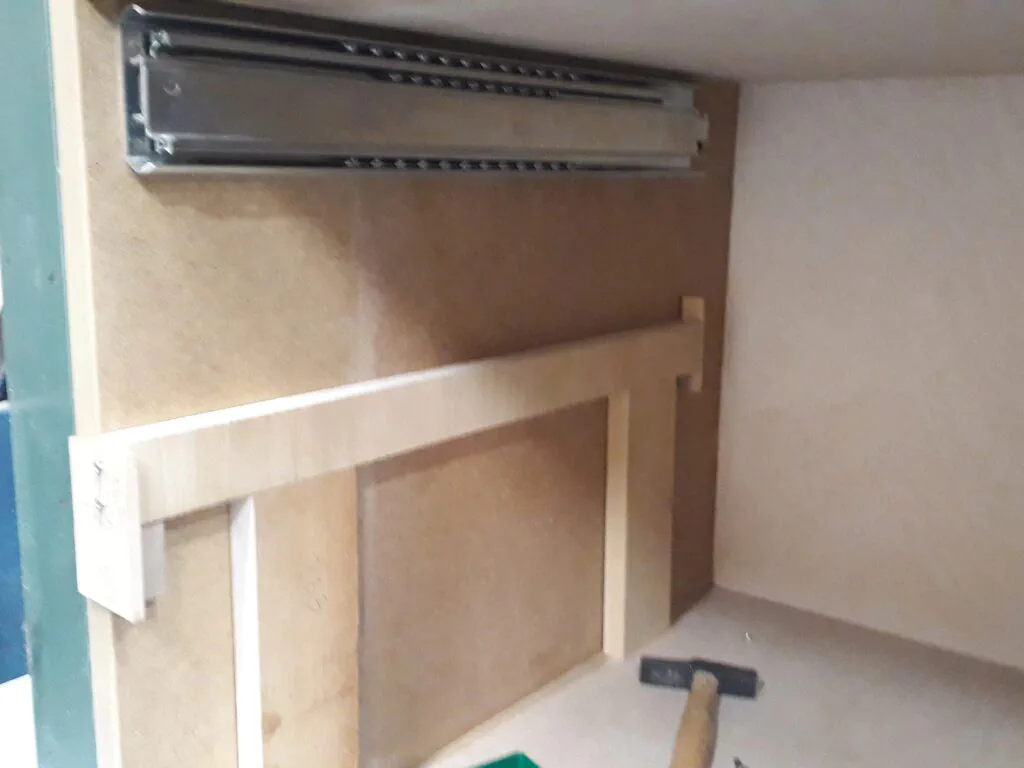
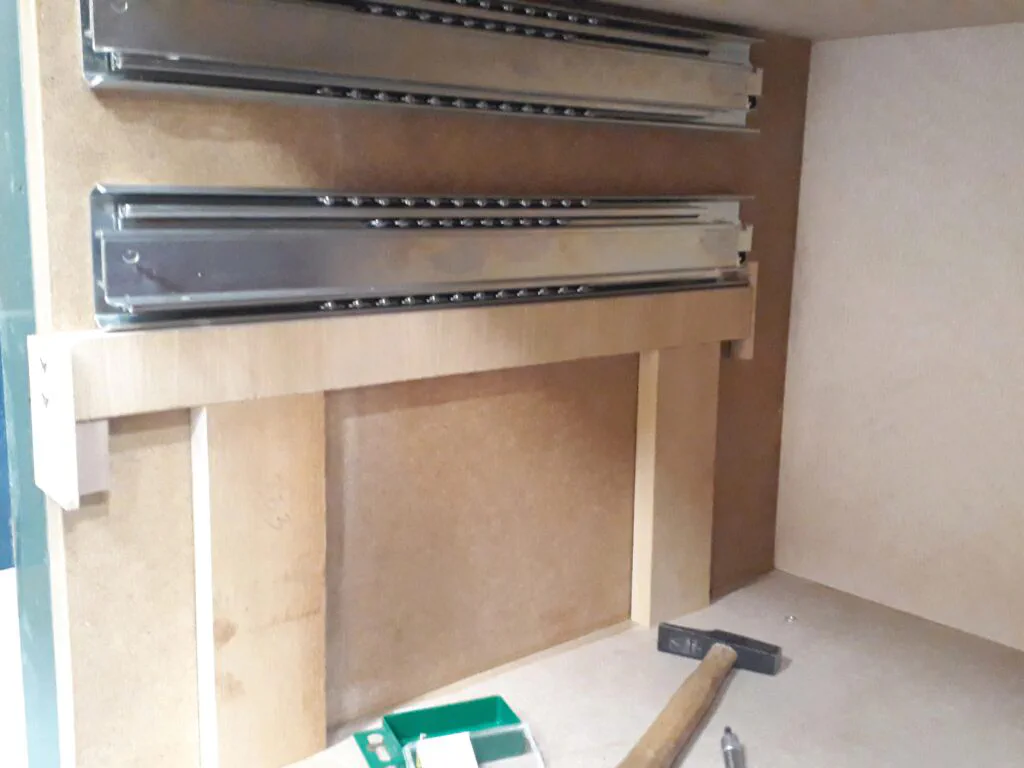
Once the slides were secured, mounting the drawers was straightforward. Because these are L-shaped slides, the drawers simply rest securely on top of them.
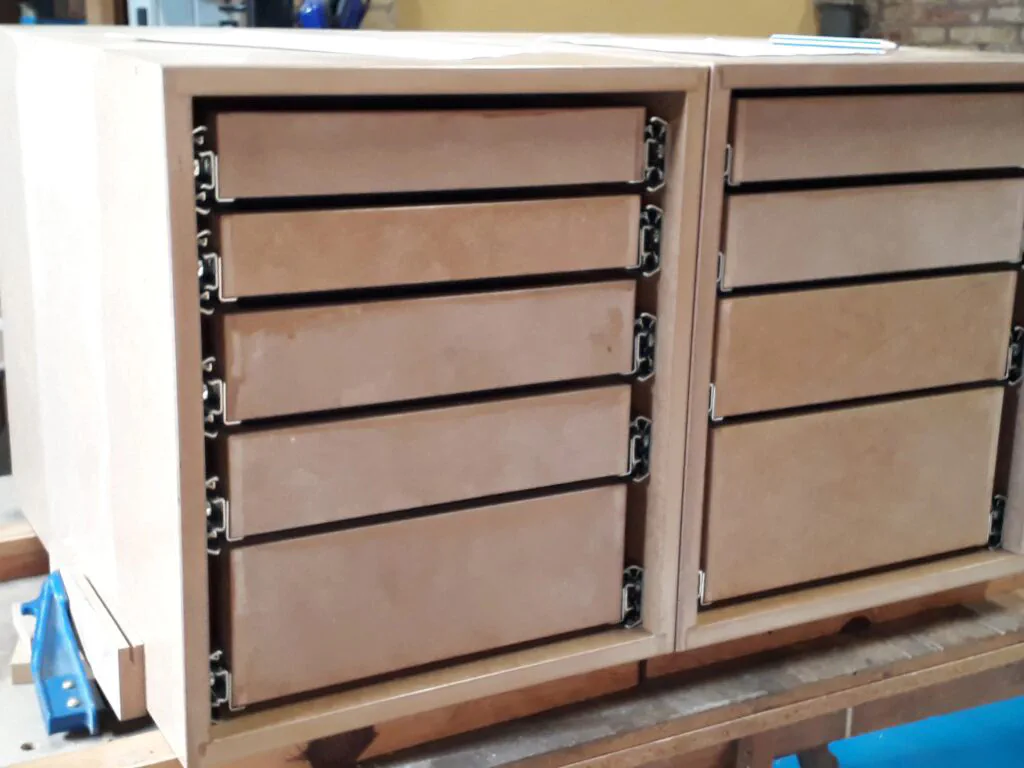
Mounting the Cabinets to the Workbench
With the carcasses complete, they were ready to be integrated into the workbench framework. After carefully aligning them, I screwed each cabinet securely into the workbench structure.
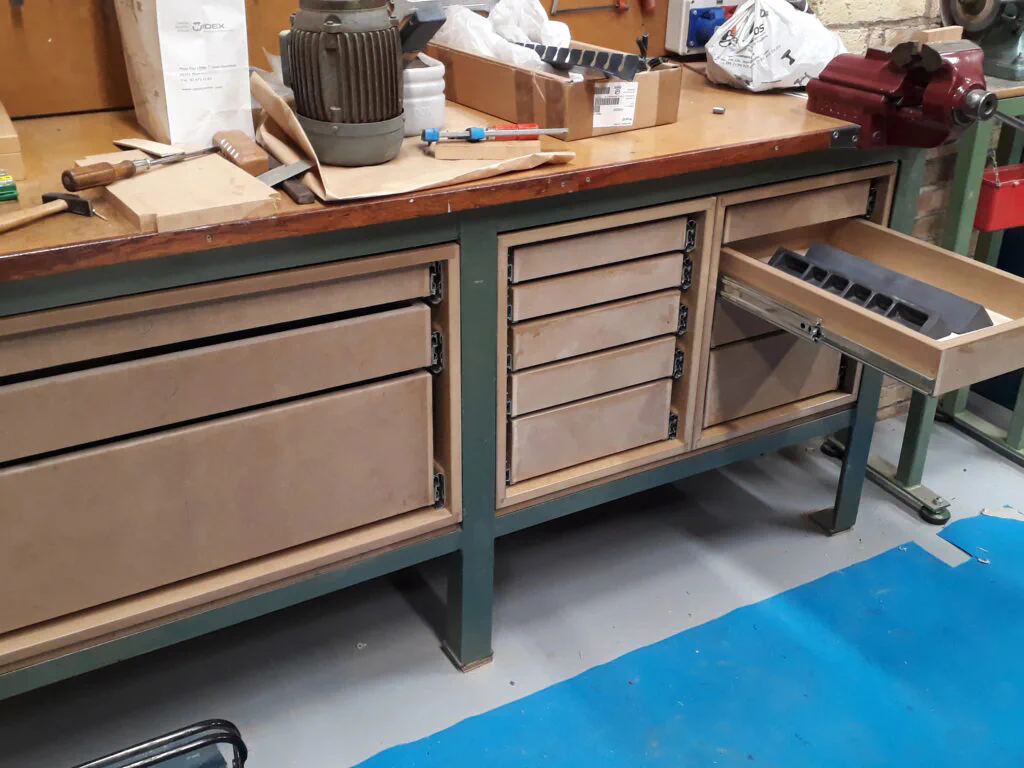
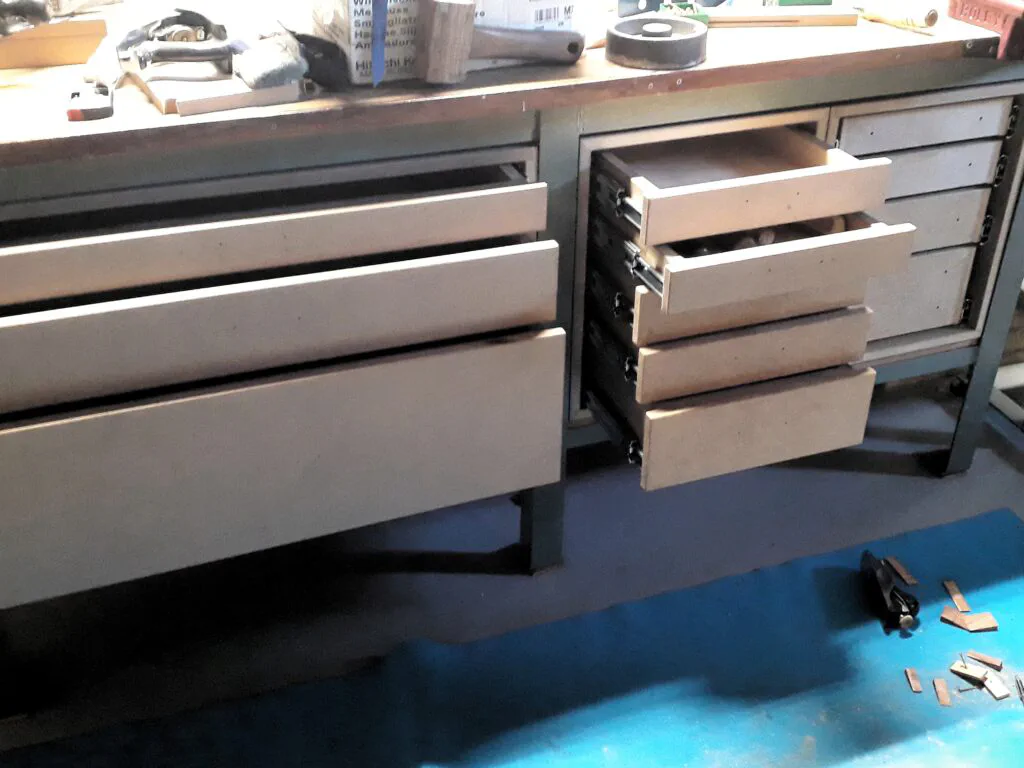
The next step was to fit the drawer fronts, ensuring consistent, equal gaps between the faces and around the perimeter of the cabinet. The drawer fronts were secured from the inside using screws. Here is the progress so far:
Custom Wooden Handles
I designed and fabricated the drawer handles myself using Bubinga wood—a dense, durable hardwood with a beautiful grain. I profiled the handles on the table saw and then sanded them to their final shape.
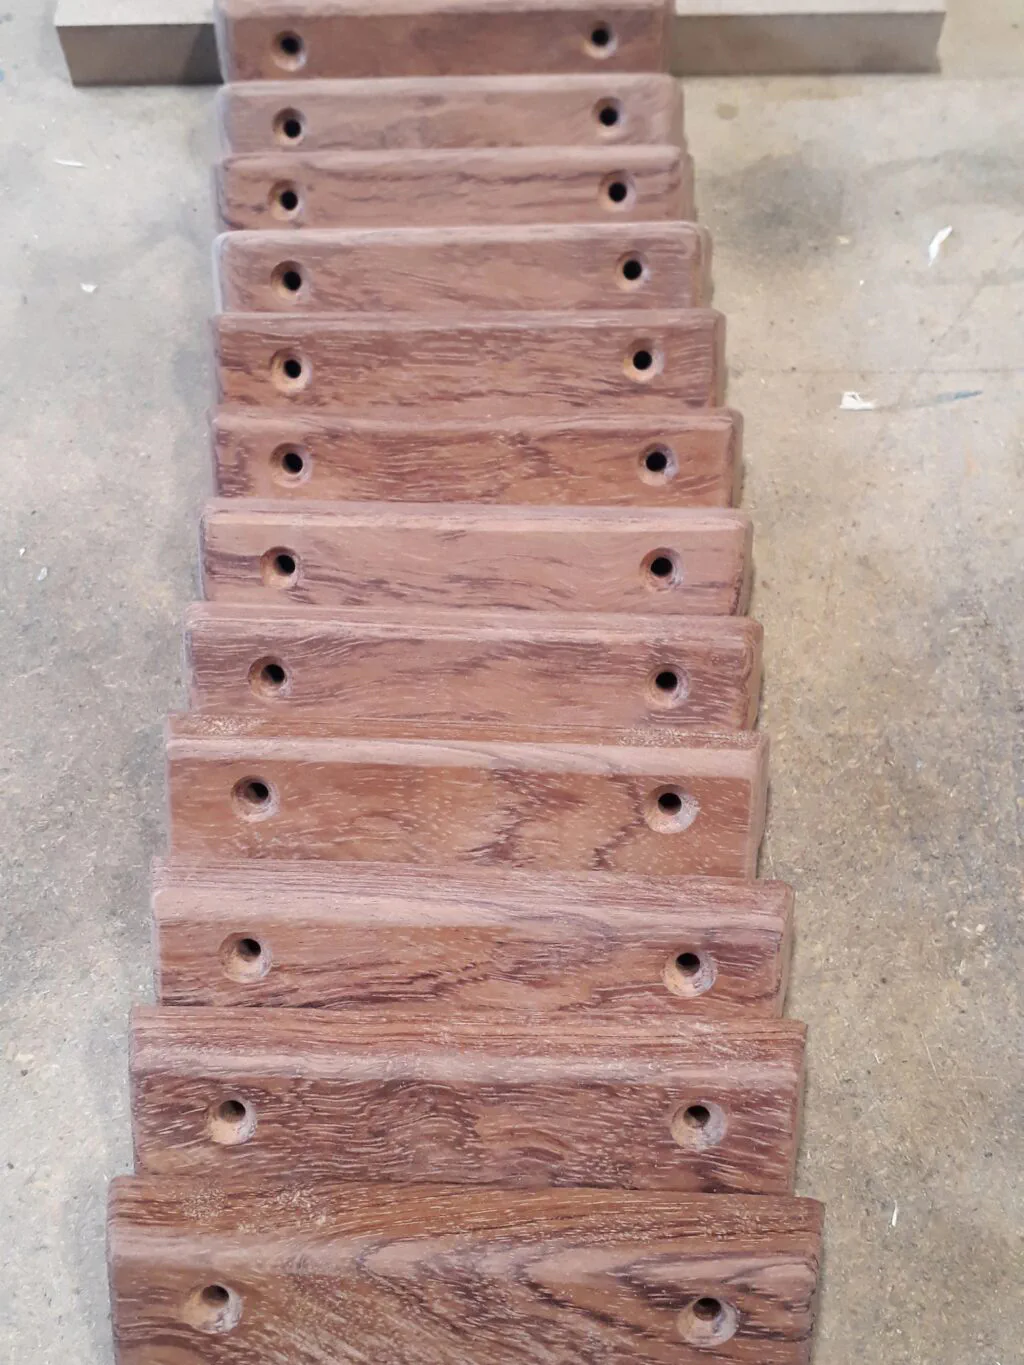
Once finished, the handles were screwed onto the drawer faces from the inside.
Finishing the Cabinets
I finished the cabinets using a water-based varnish. This was actually my first time trying a water-based finish, following a recommendation Leo gave me a long time ago. The final result turned out well, though I noted a few key differences compared to traditional solvent-based finishes:
- More coats required: It took a few extra layers to achieve a comparable build and sheen.
- Grain raising: The initial coats raised the wood grain significantly, demanding thorough sanding between applications.
- MDF Penetration: The varnish doesn’t penetrate MDF as deeply, which results in a less pronounced surface-hardening effect. I consider this hardening effect quite important for durability when working with MDF.
Nonetheless, the finish looks great and was much more pleasant to apply due to the low odor. Overall, it was a highly positive experience. Here is the final result:
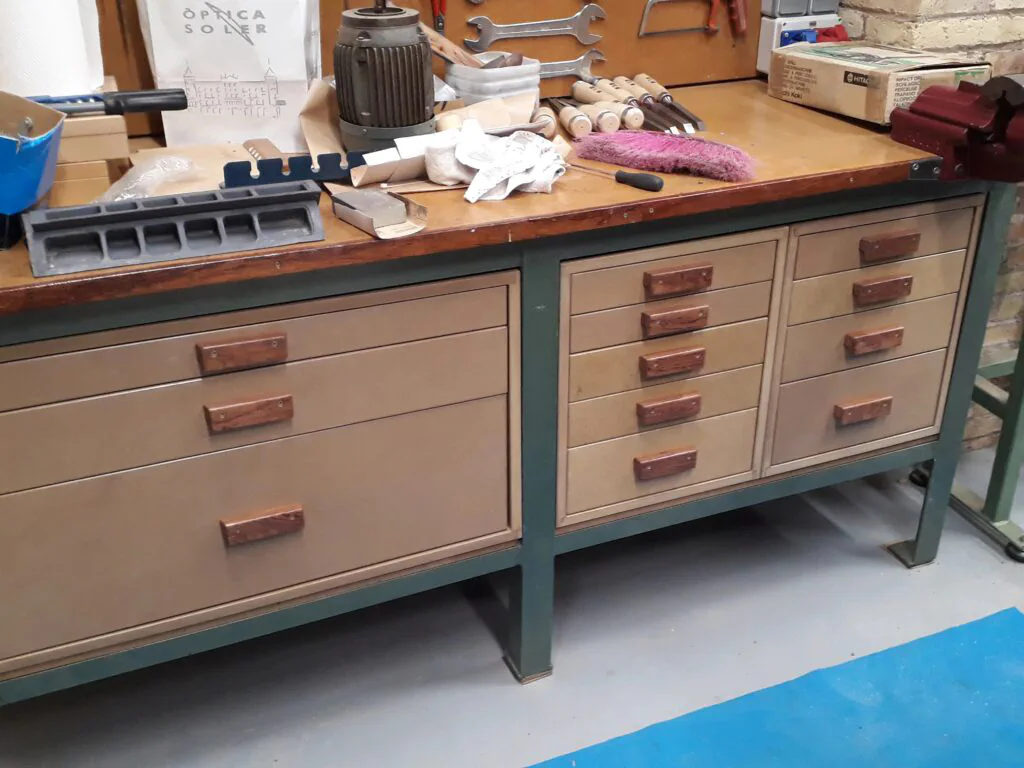
I also added custom dividers to a few of the drawers. It is tedious, detailed work, but incredibly rewarding once you start organizing your tools: