This summer we have been working on an extendable table for a dining room. The table, made mainly of American oak, opens in the middle so that an insert can be added, extending it by about 50 cm.
The table was intended to have generous dimensions, especially in terms of width. A width of 100 cm was chosen, together with a length following the golden ratio, that is, 161.8 cm. The result is a very comfortable table thanks to the space left in the centre, with a remarkably elegant shape.
It all began by cutting the boards to prepare the legs and the support structure. The wood was left over from a previous project and there was just enough of it. The cutting had to be carefully planned in order to minimise waste as much as possible.
The legs and rails were worked on the saw and the mortiser until the tenons and mortises were roughed out. They were then adjusted by hand with a shoulder plane and rasp. The result can be seen in the following photos:
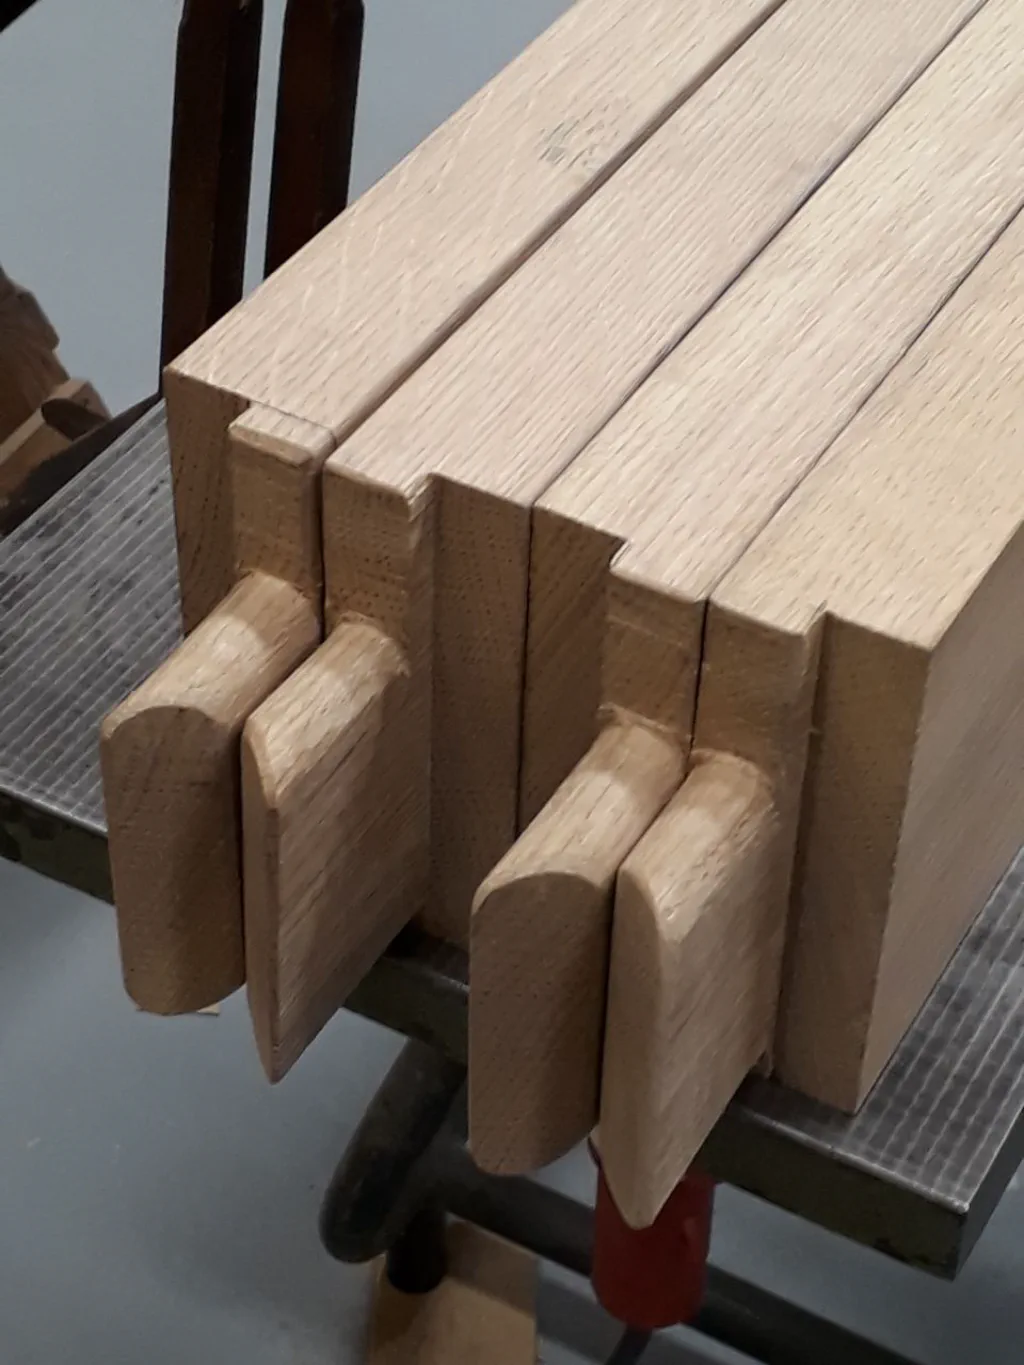
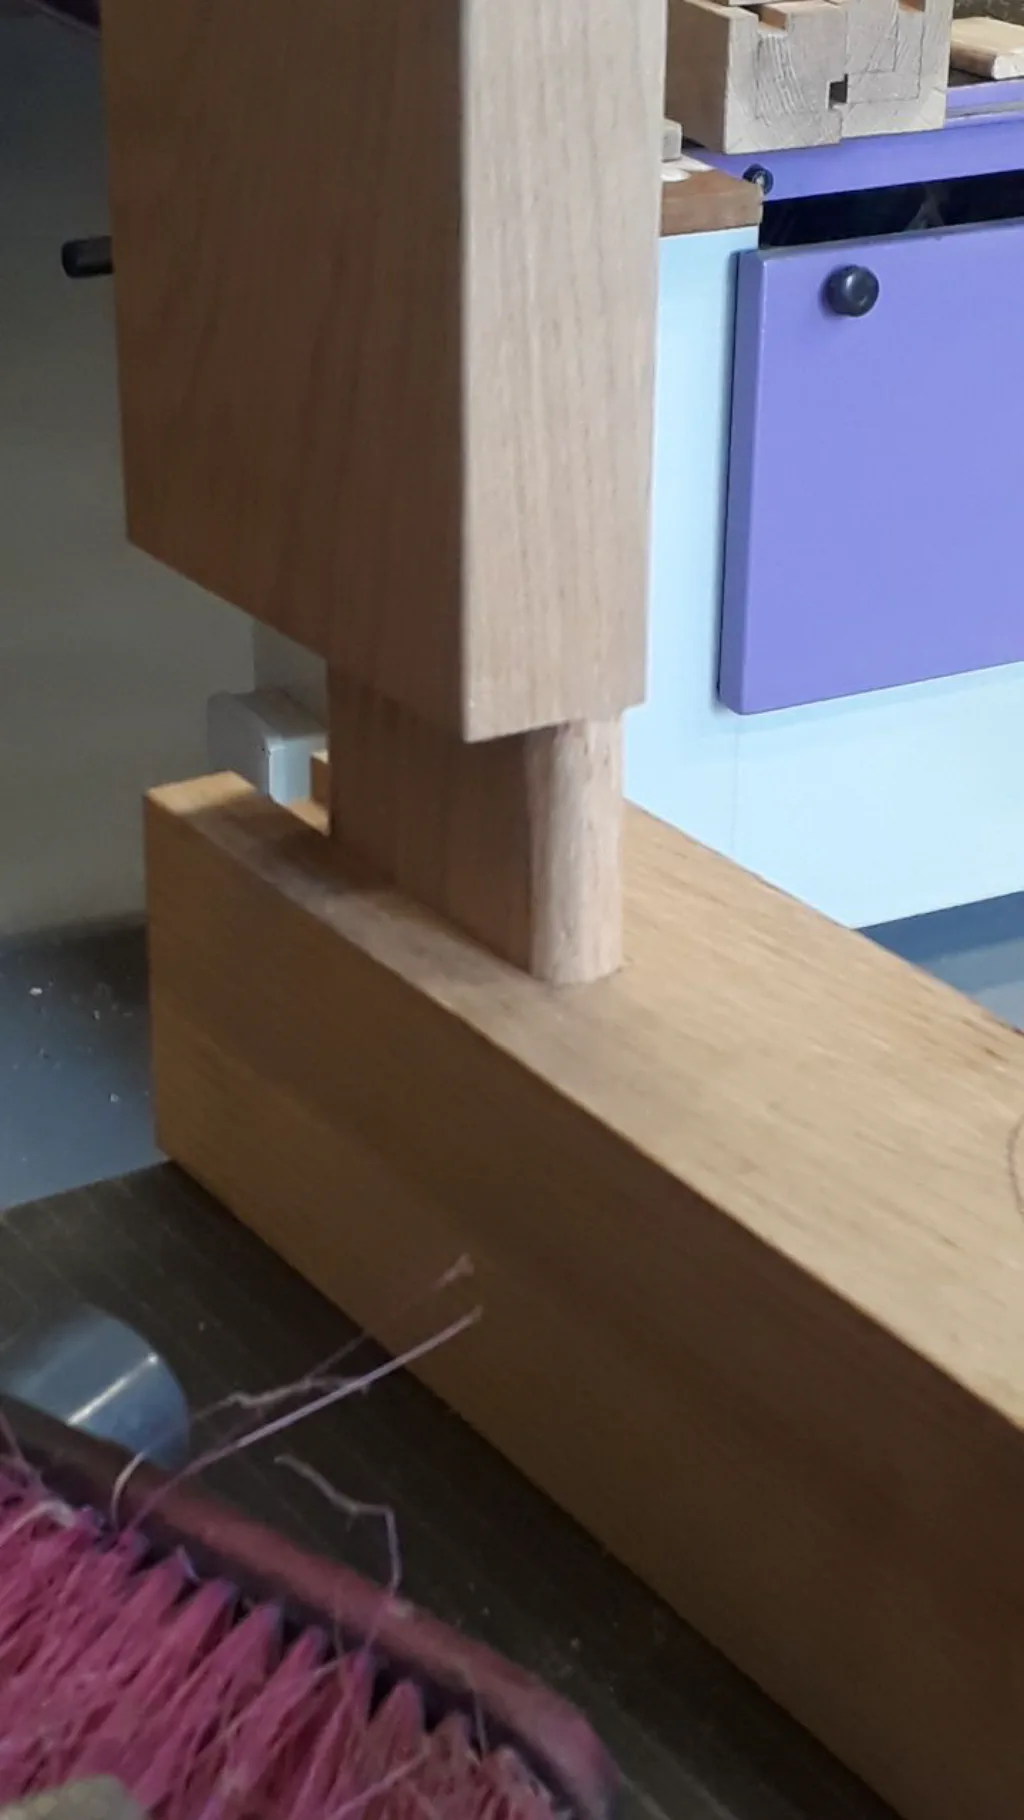
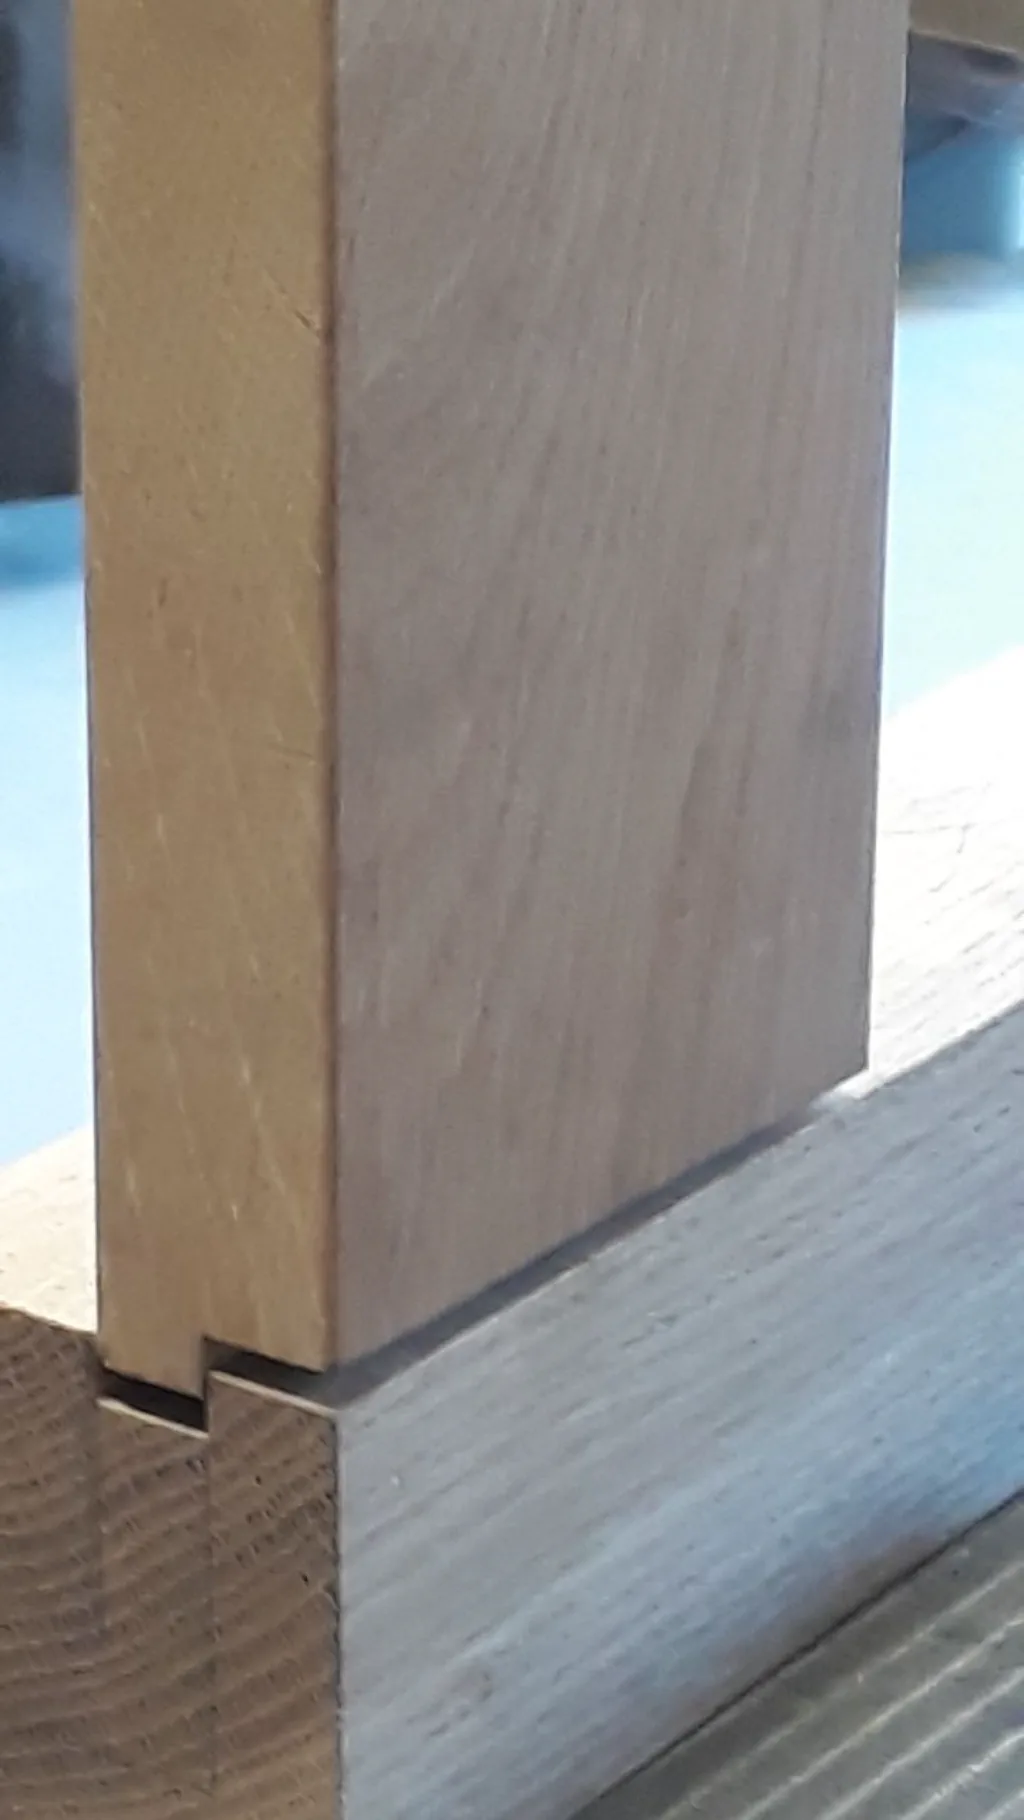

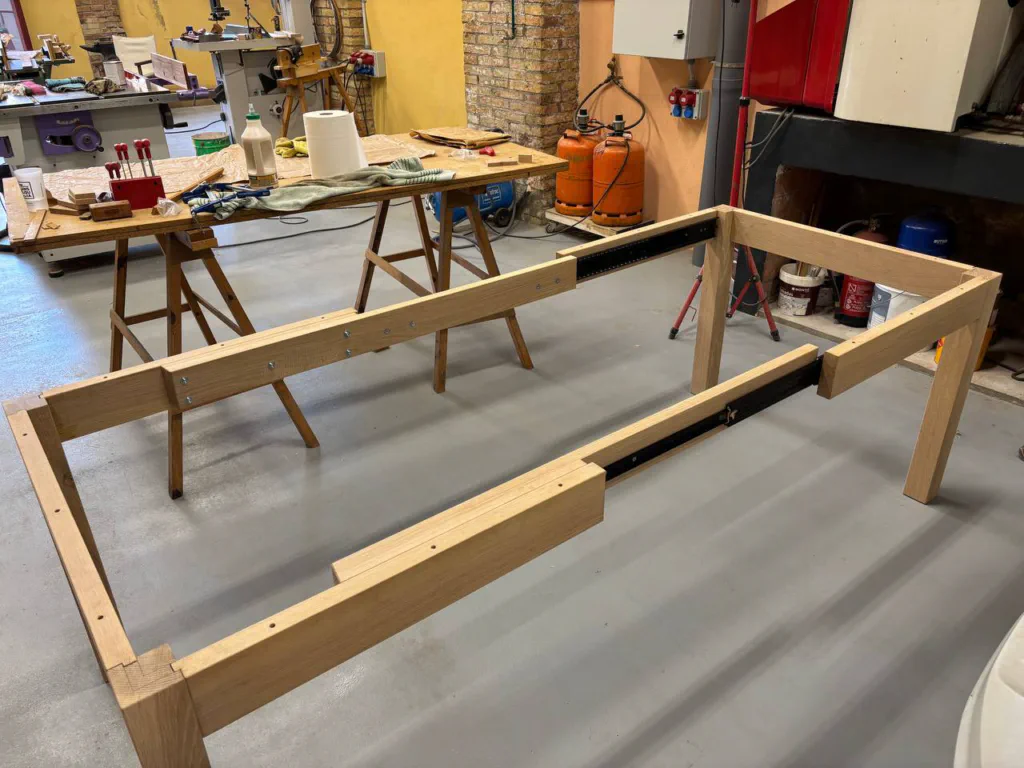
The stiles and rails were machined so that the tabletop could be screwed on, as well as the extensions that would support the slides. The whole structure and the legs were then glued and assembled after a dry fit. It should be noted that the long stile is cut in the middle, since the table is pulled open from the centre.

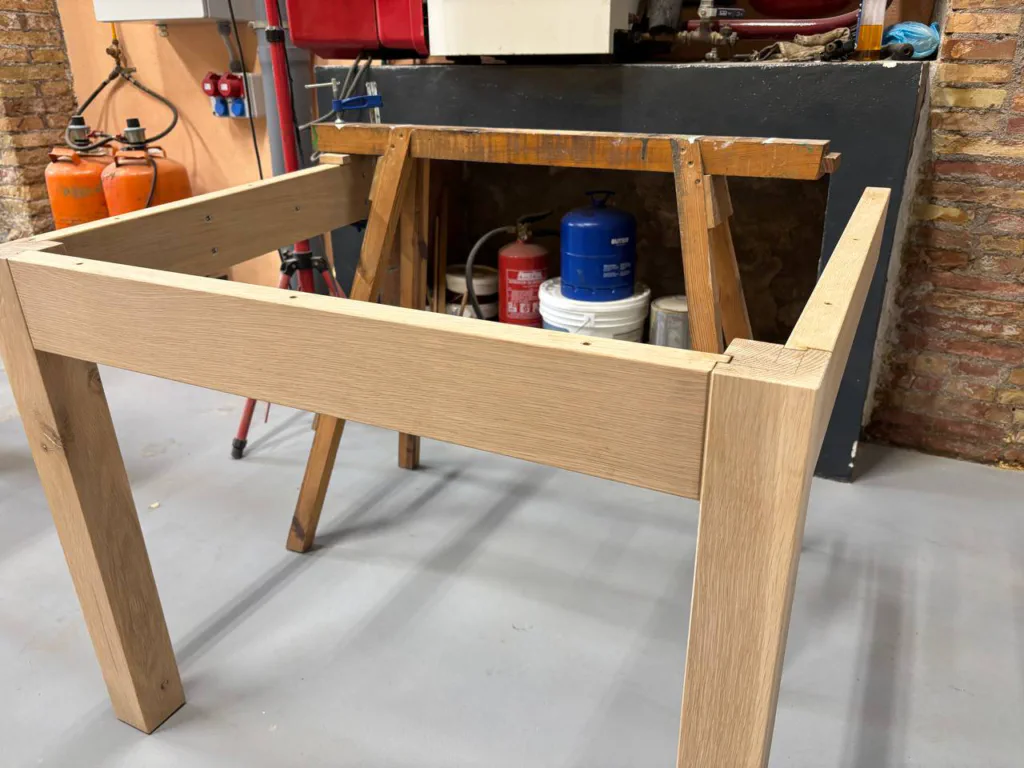
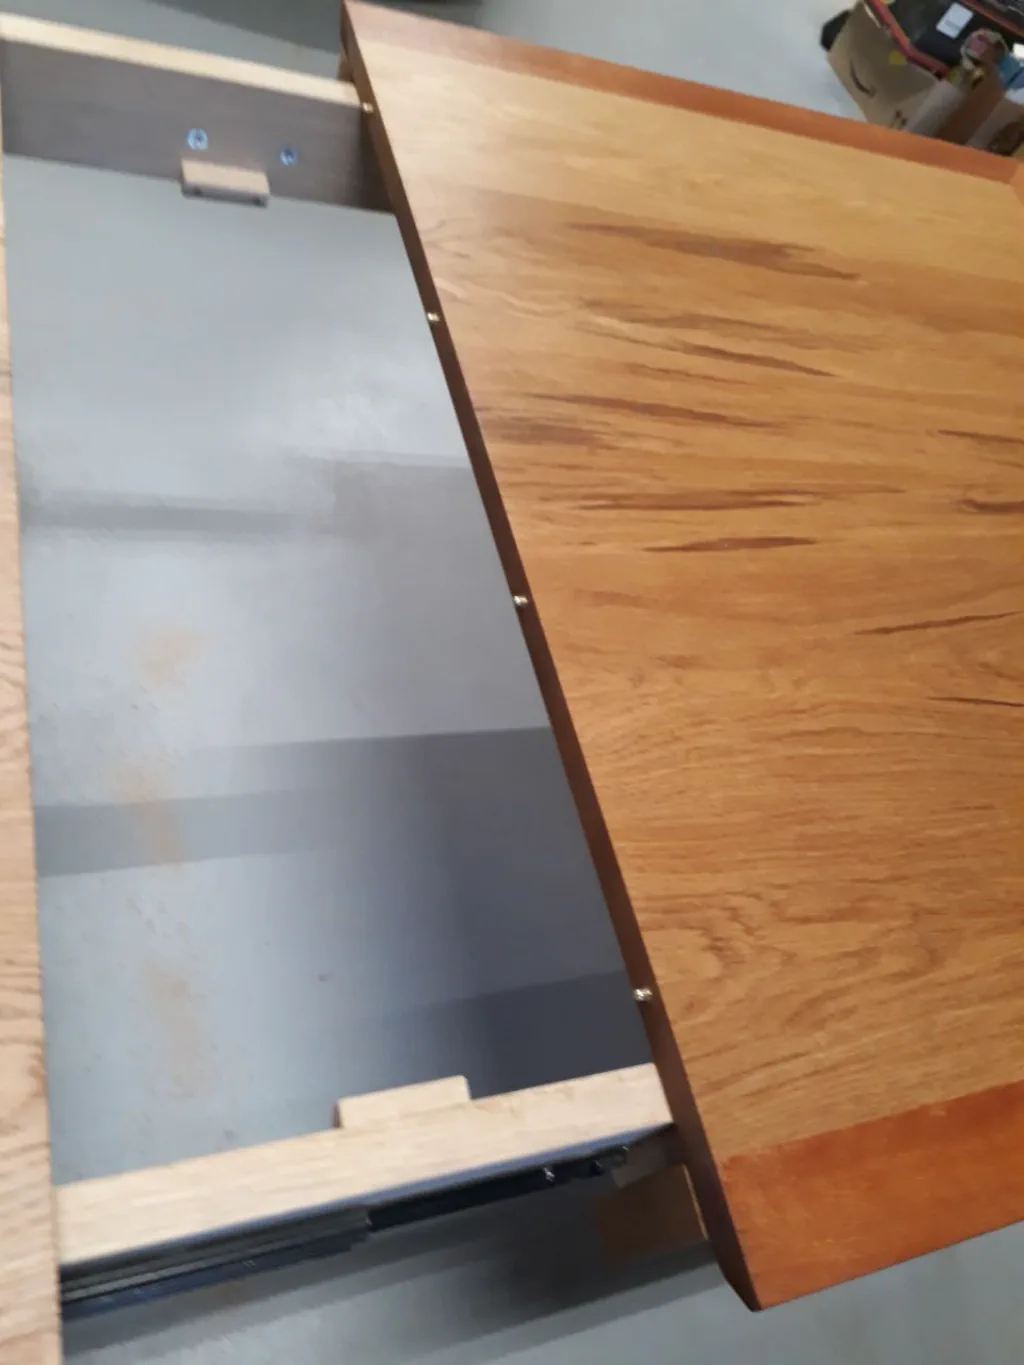
Next came the task of fixing the ball-bearing slides. They are Thomas Regout slides, generously sized and commonly used in camper van conversions. The slides have very tight tolerances and must be mounted with a certain degree of precision to ensure that they run smoothly.
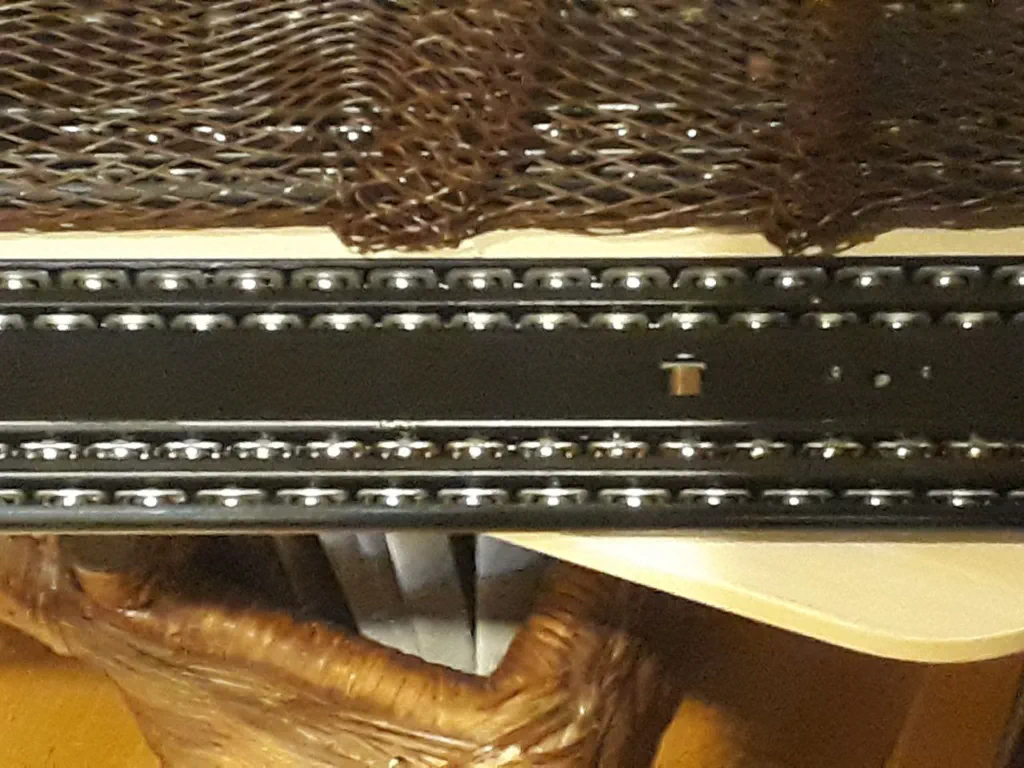
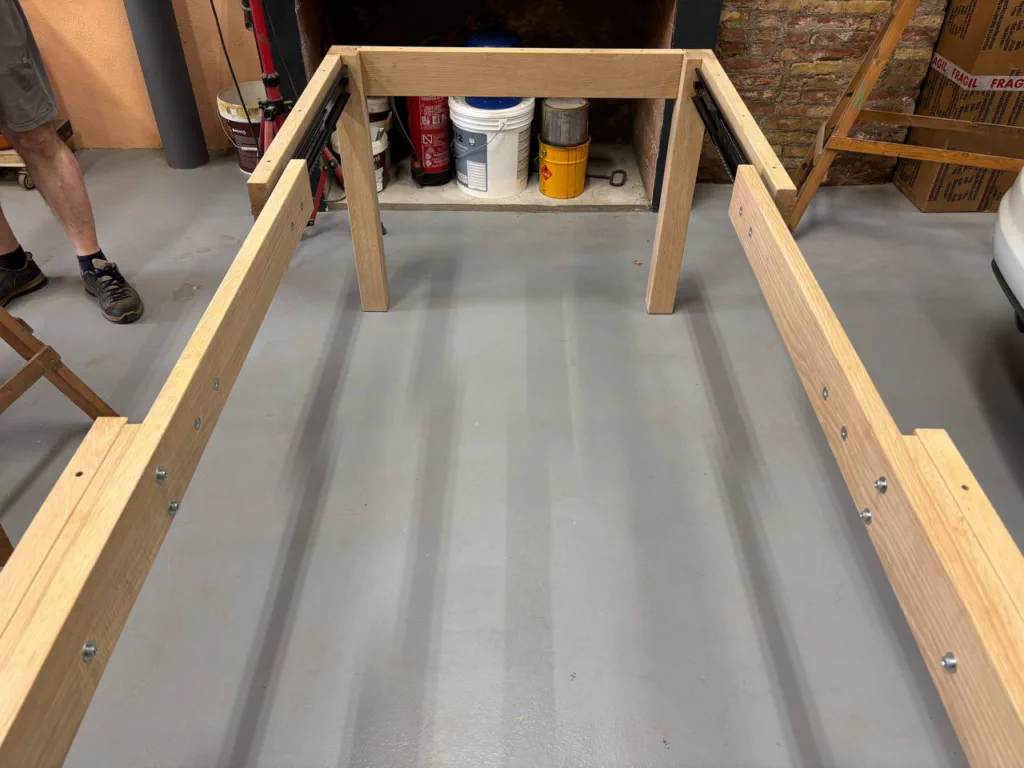
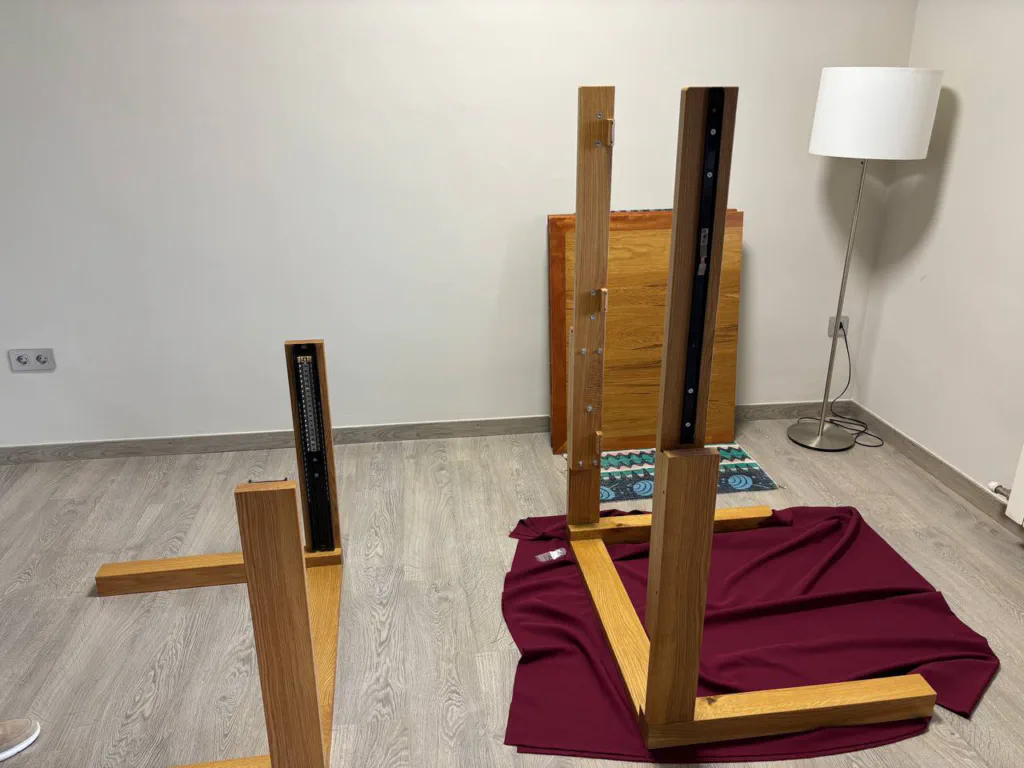
Most of the parts are screwed together because the table needs to be disassembled and moved in a small lift.
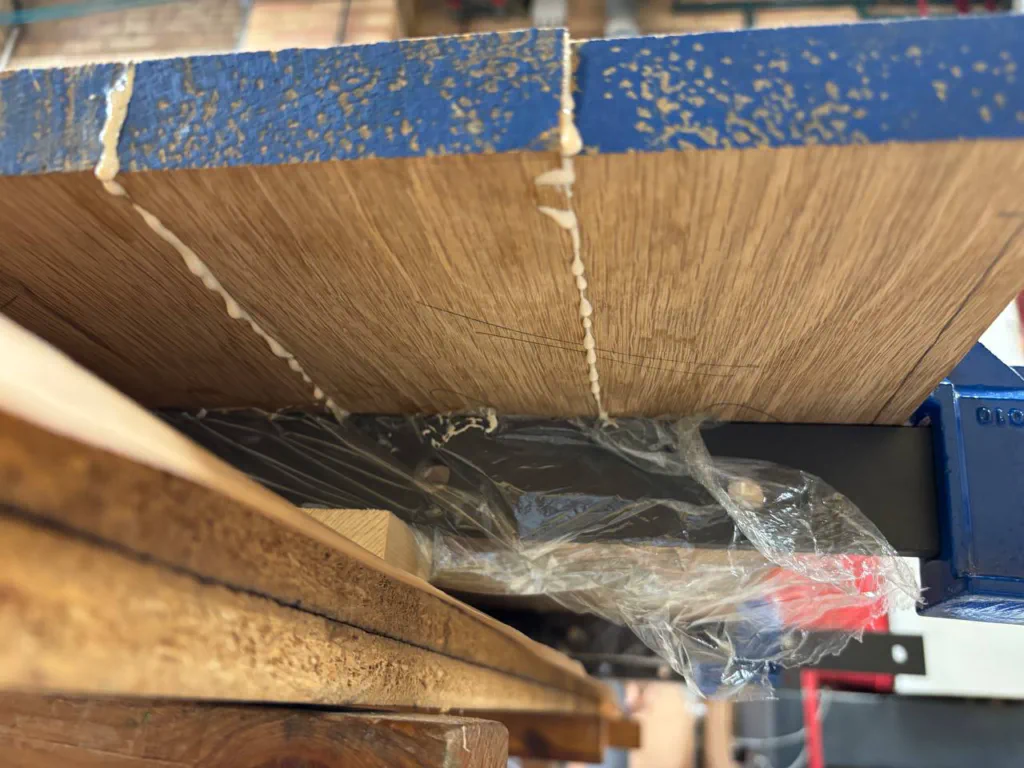
To make the tabletop, a series of carefully edge-jointed boards, all thicknessed to the same size, are glued edge to edge. Between each pair of boards, splines are added to help align the boards and make the joint stronger. For the glue-up, a set of beam clamps is used, properly aligned. It is a delicate operation: one has to work quickly when gluing, and the pressure from the clamps must be just right so that the joints make contact and the board does not bow.
Notice the splines on the edges of the boards. There is no
spline in the middle so that the tabletop can be cut into two halves. The glued tabletop seen from below. The glue drips
slightly, and it can be seen how the boards rest on the bow
of the clamps, protected from the glue with plastic. Top view of the glued tabletop. The clamps pressing the boards
can be seen.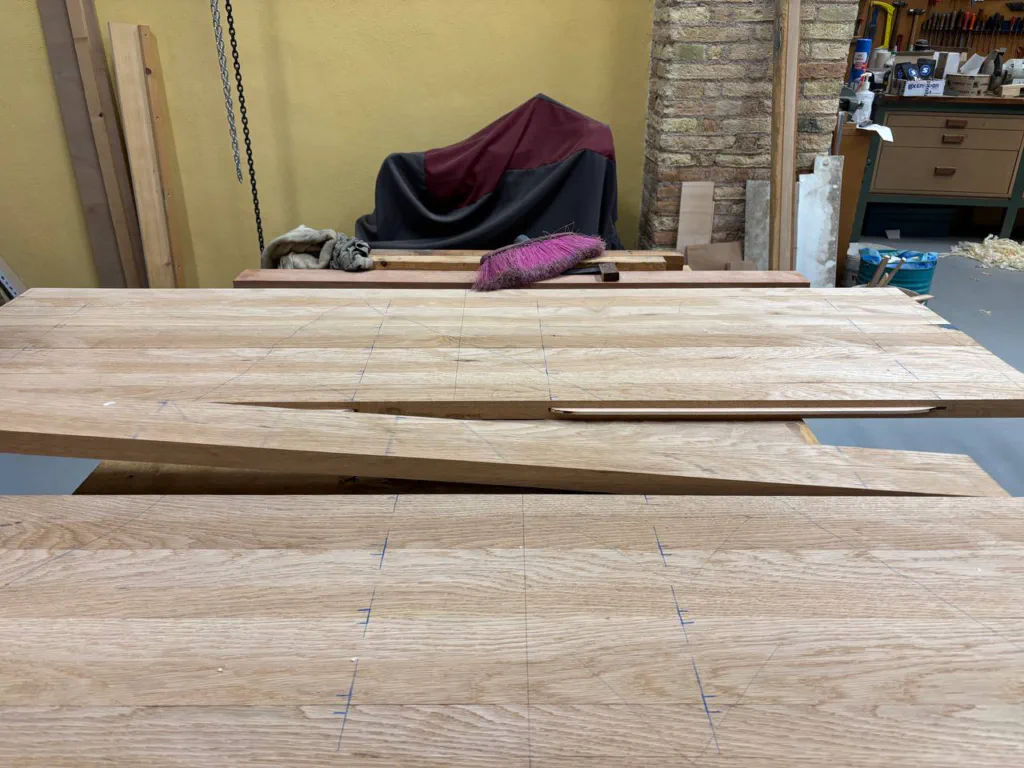
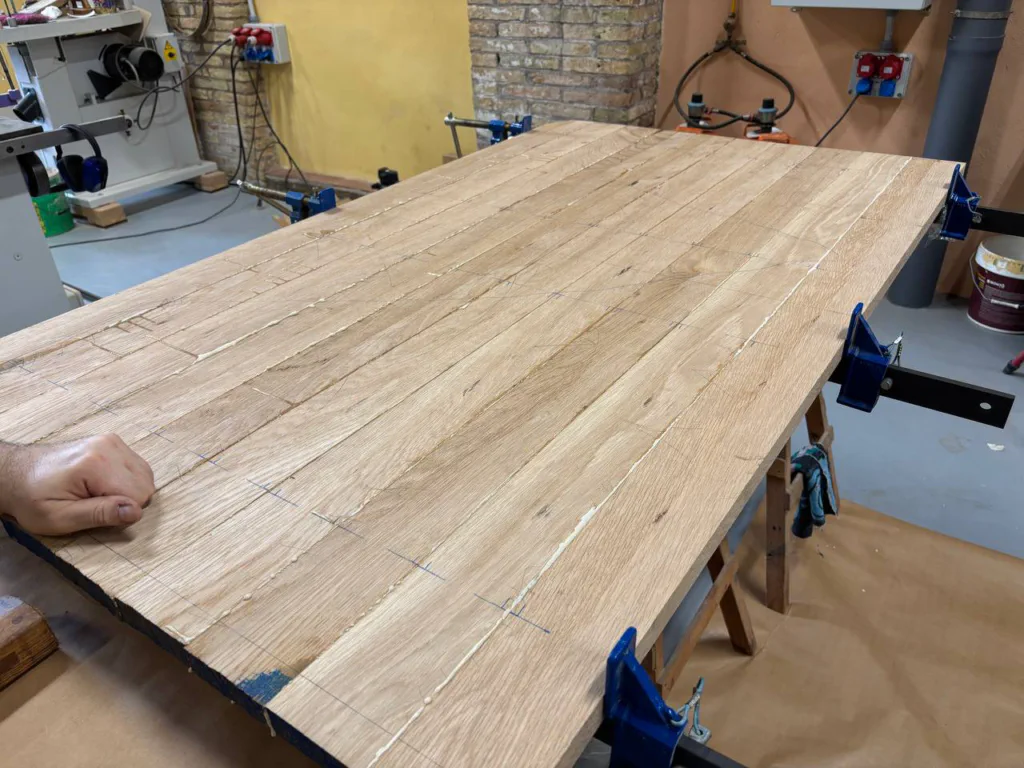
Finishing the tabletop is laborious. First it has to be flattened with a plane or jointer plane, and then finished with a belt sander and the help of straightedges. The result is a perfectly flat tabletop.
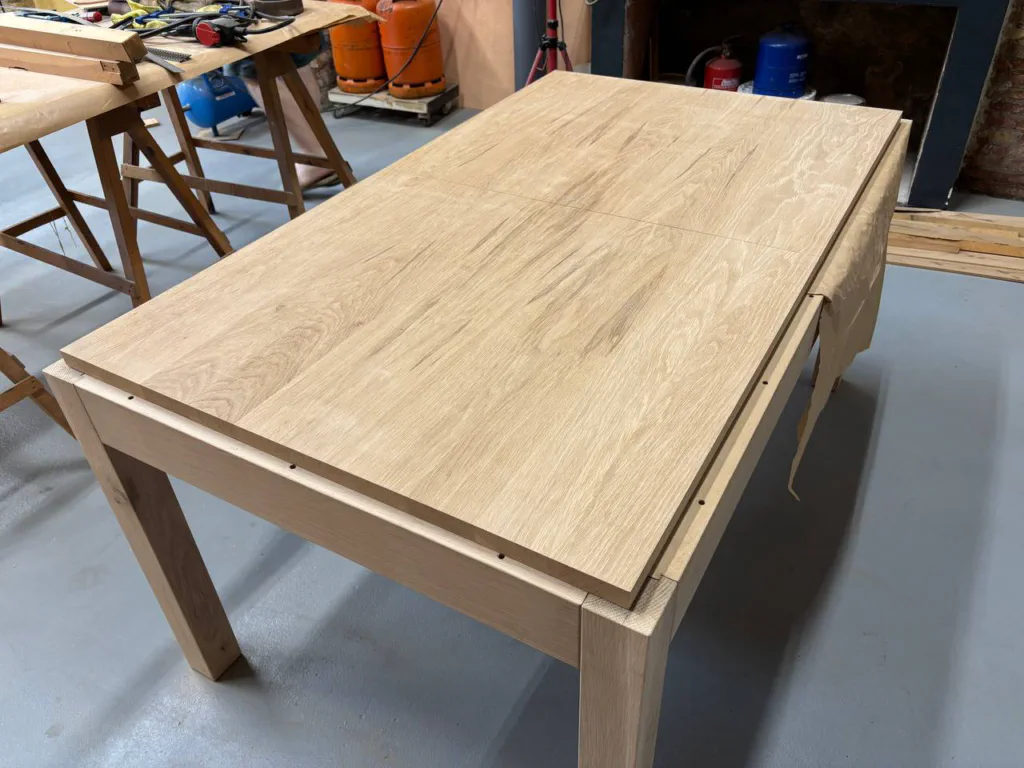
It then has to be squared and cut in half. This operation was carried out at the workshop of our good friend Joan Ramon, who has a sliding table saw large enough to handle a tabletop like this without difficulty. The result can be seen below.
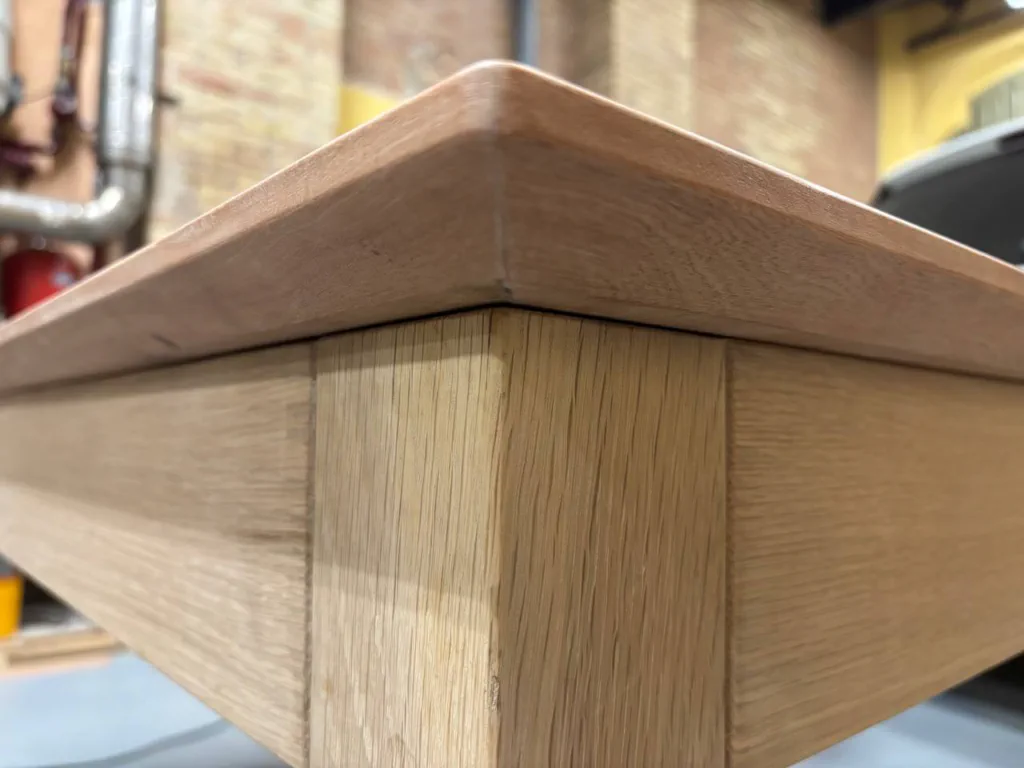
Next, the edges are prepared in bossé, a very smooth tropical wood with an orange-brown colour, a fairly fine pore and a very good finish. Bossé is one of the woods reminiscent of Cuban mahogany. It is sometimes known as cedar because of the smell it gives off when cut, but it has no relation or similarity to true cedar. The contrast between American oak and bossé is elegant and pleasant. The edges of the tabletop are applied glued with a spline and left unmoulded. The final shape will be given later, once the whole piece is assembled.
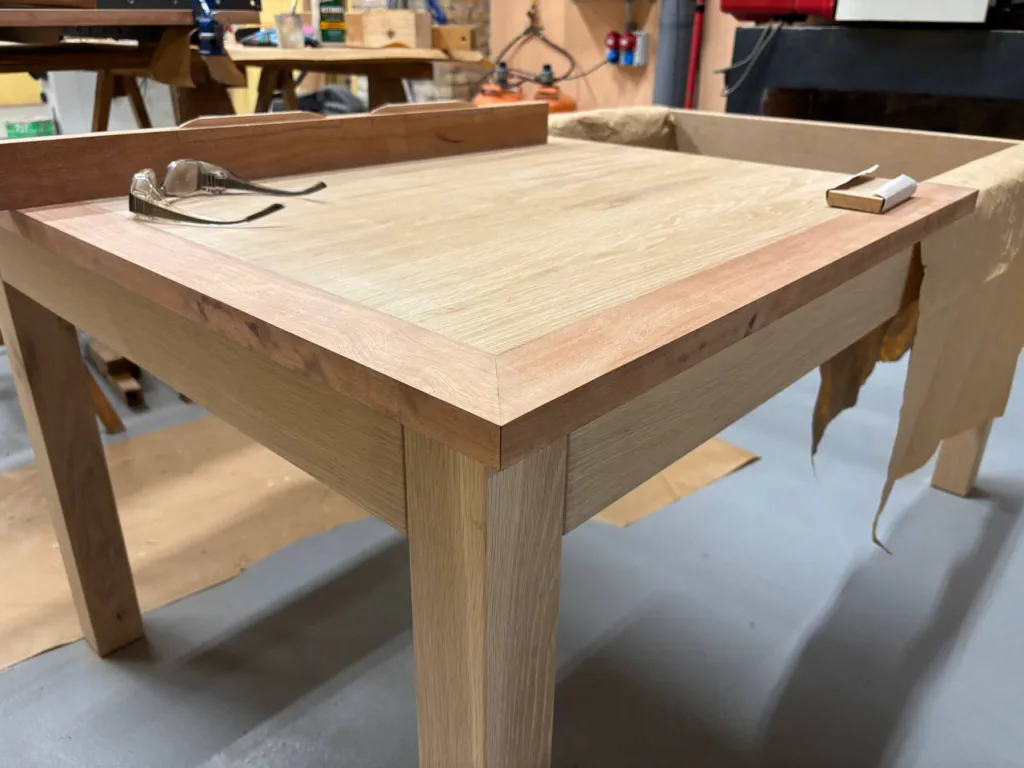
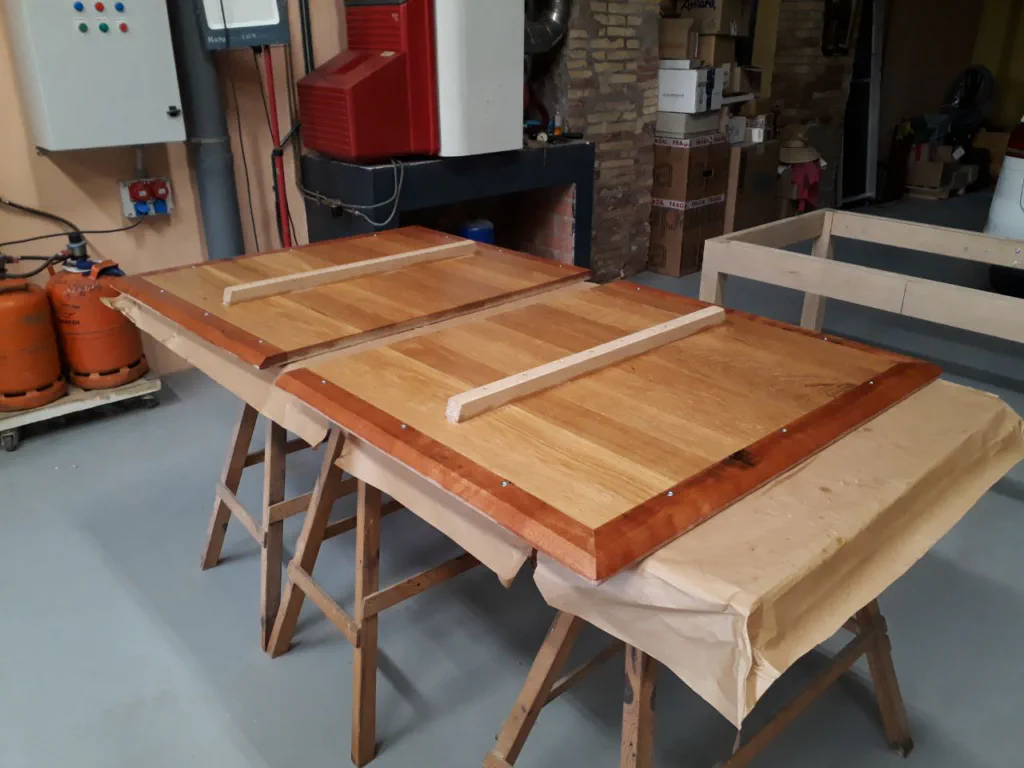
Leaf of the tabletop with the bossé edge glued on, still to be moulded
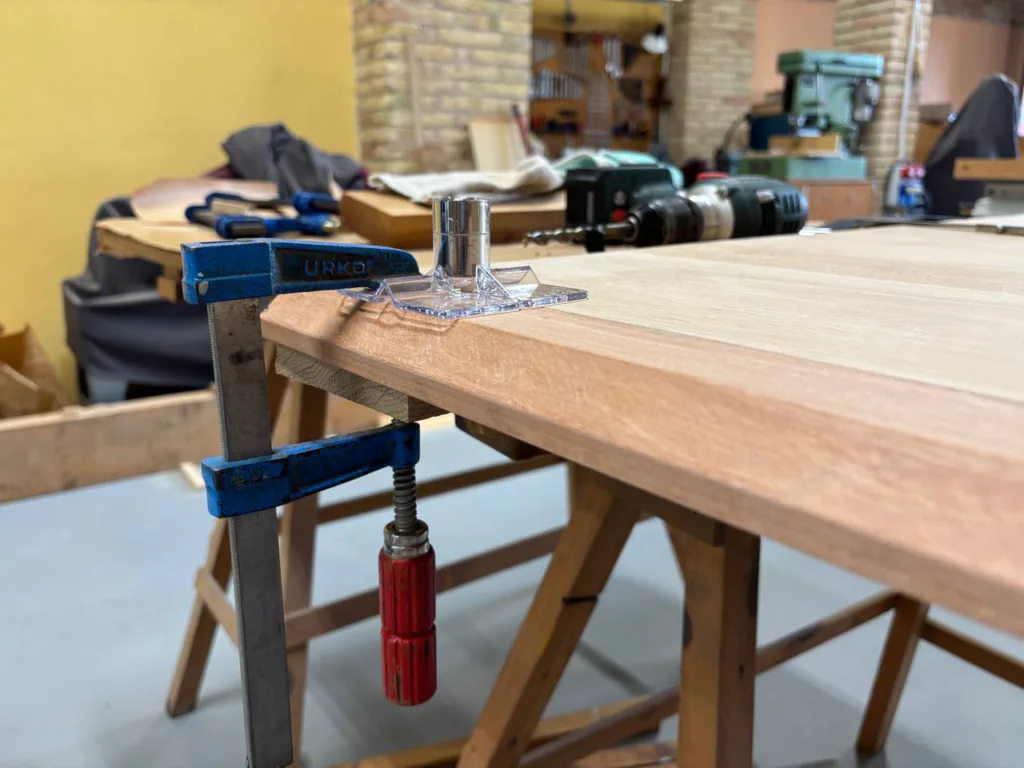
The edge is moulded with the saw. A complicated moulding is not wanted, only a thinning of the edge to give the table a greater sense of lightness. It is passed through the circular saw using a jig to hold it, which slides along the table guides. It is then rounded off by hand with a block plane and softened with sandpaper.
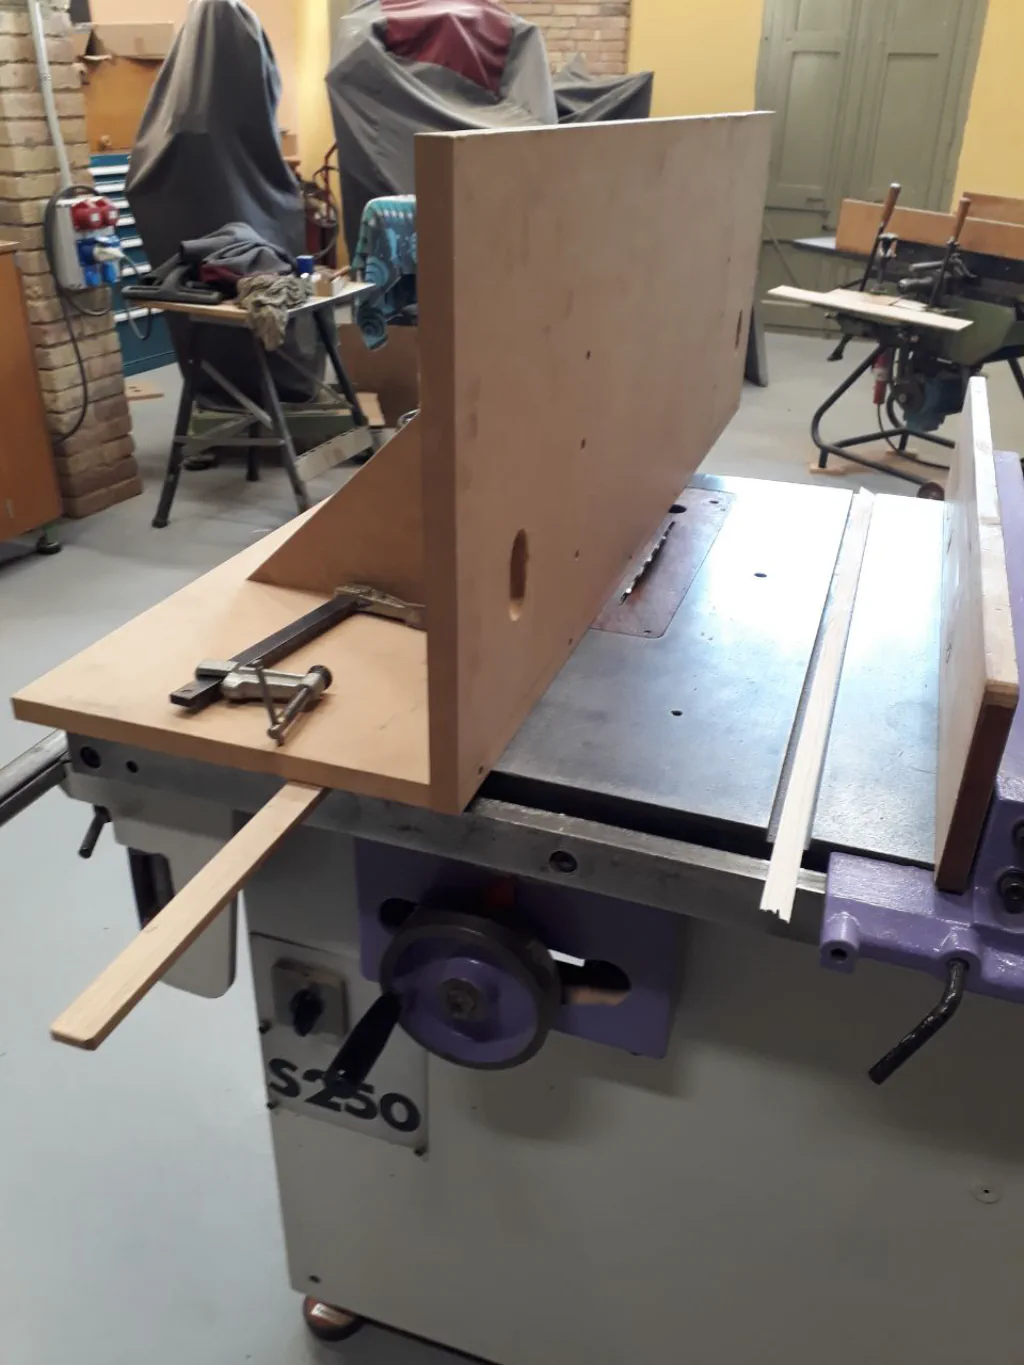
Moulding jig mounted on the saw table. Note the inclination of the saw and the guide slots on the table
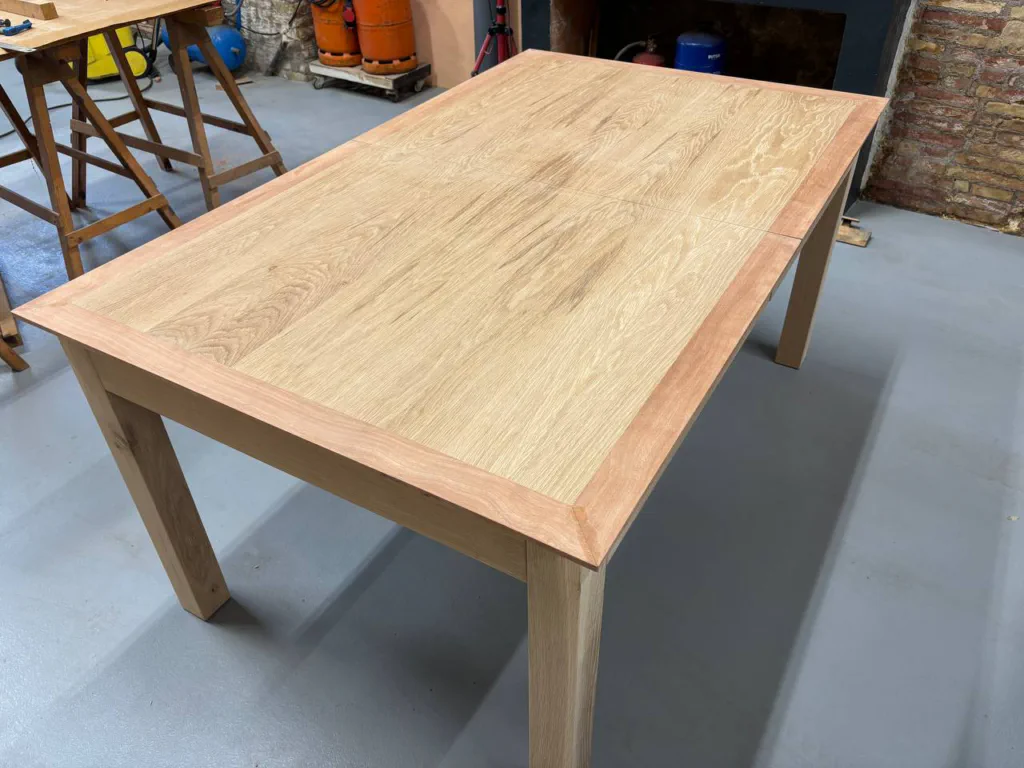
The tabletop with the moulded edge Detail of the moulding General view of the tabletop with the moulding applied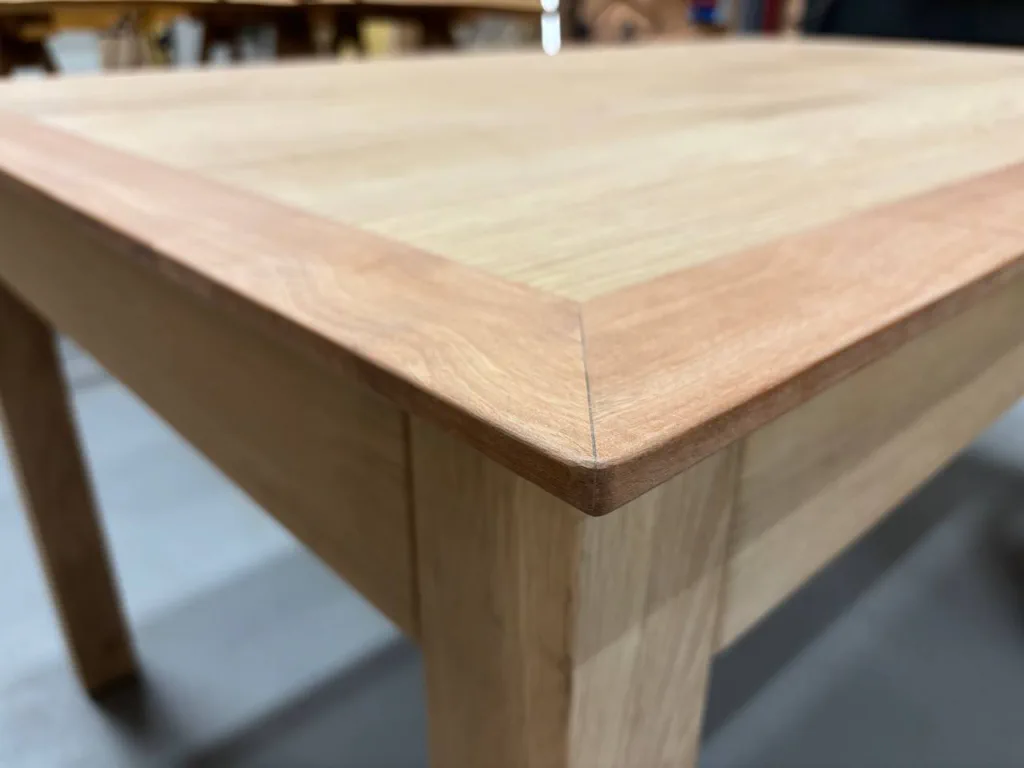
To finish the tabletop, the points where it has to be screwed to the structure are marked and threaded inserts are installed. These elements, when they are of good quality, allow strong screwed joints in wood. Rampa inserts are excellent. The screw threads are very well defined and do not splinter the wood at all when they are installed according to the instructions. The result is a very strong removable joint. When installing the inserts, it is very important that they go in perfectly perpendicular; if necessary, it is worth using a guide to ensure this.
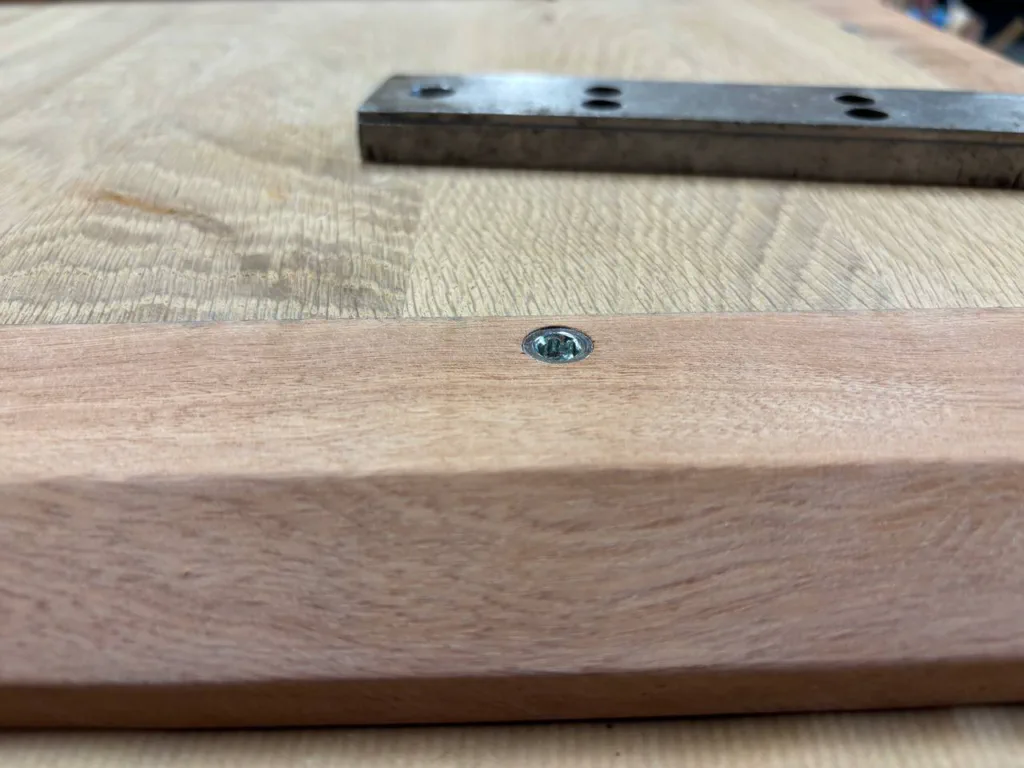
Detail of a Rampa insert screwed into the tabletop
Guide for drilling square. Essential for the inserts if drilling by hand
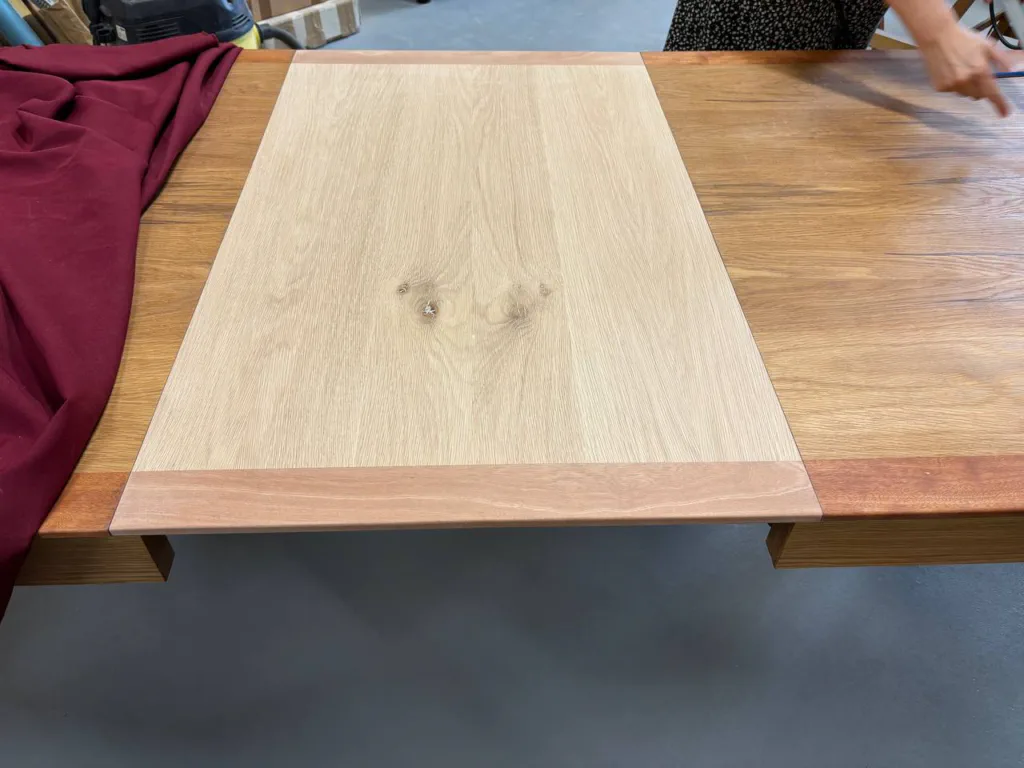
The tabletop is ready. An insert has also been made to place in the middle of the table when the two leaves are opened. It makes it possible to extend the table for two more people. Since the table opens from the centre and the legs move apart, nobody ever has a leg between their own legs.
To store the insert, a central drawer is made. It remains visible when the table is opened and is hidden by the structure when the table is closed.
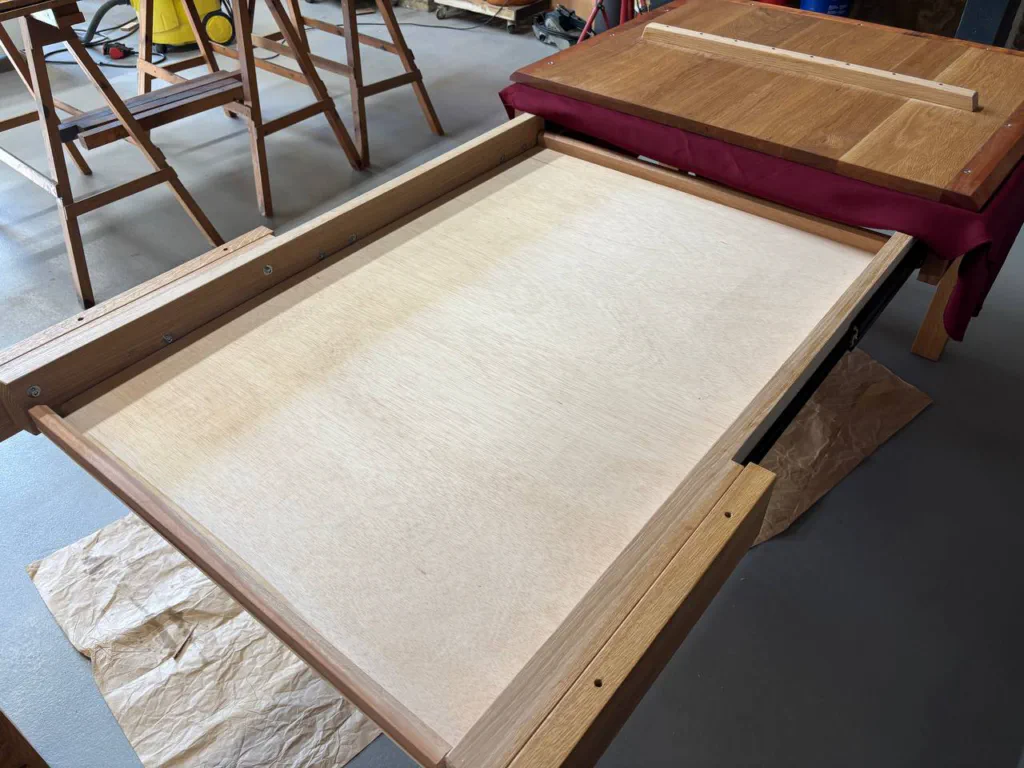
Drawer for storing the insert
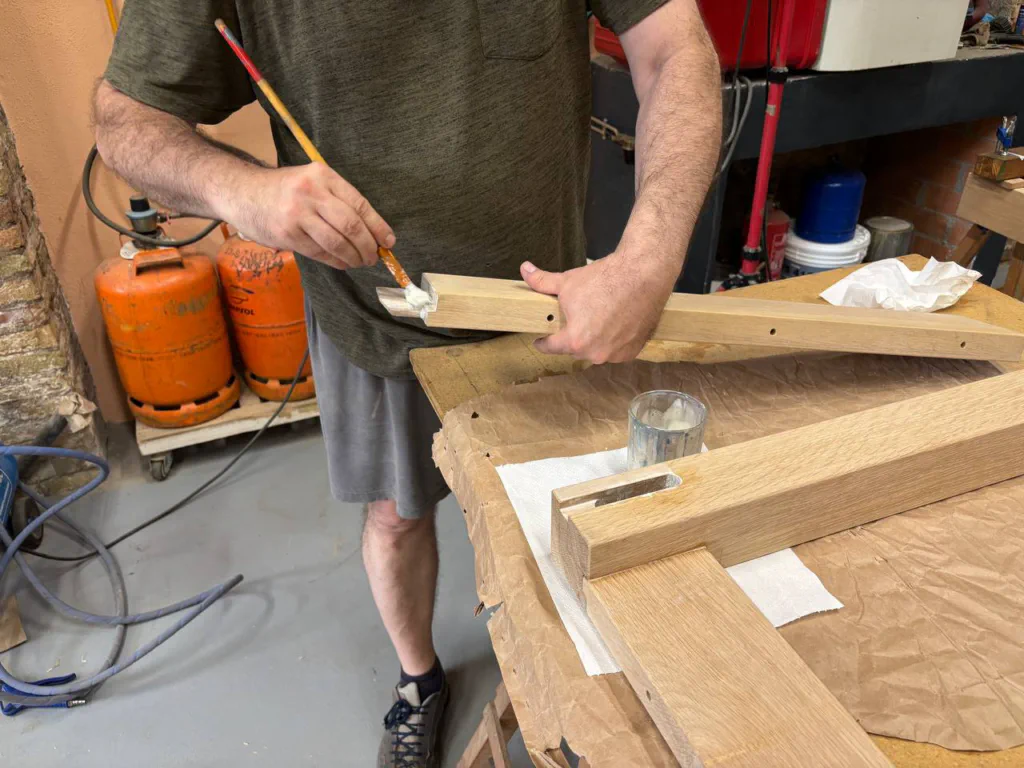
With everything ready, all that remains is to finish the wood. It is sanded finely and oil is applied, since an open-pore finish was wanted, one that would preserve the natural texture of the wood. We use a specific oil with better properties for a dining table. It is Livos Kunos-243 oil, which is specifically intended for kitchen worktops. It is applied with a cloth and wiped off after a few minutes. Two or three coats are applied, and it is polished with dry cloths, rubbing intensely. It then acquires a very diffuse and silky sheen.
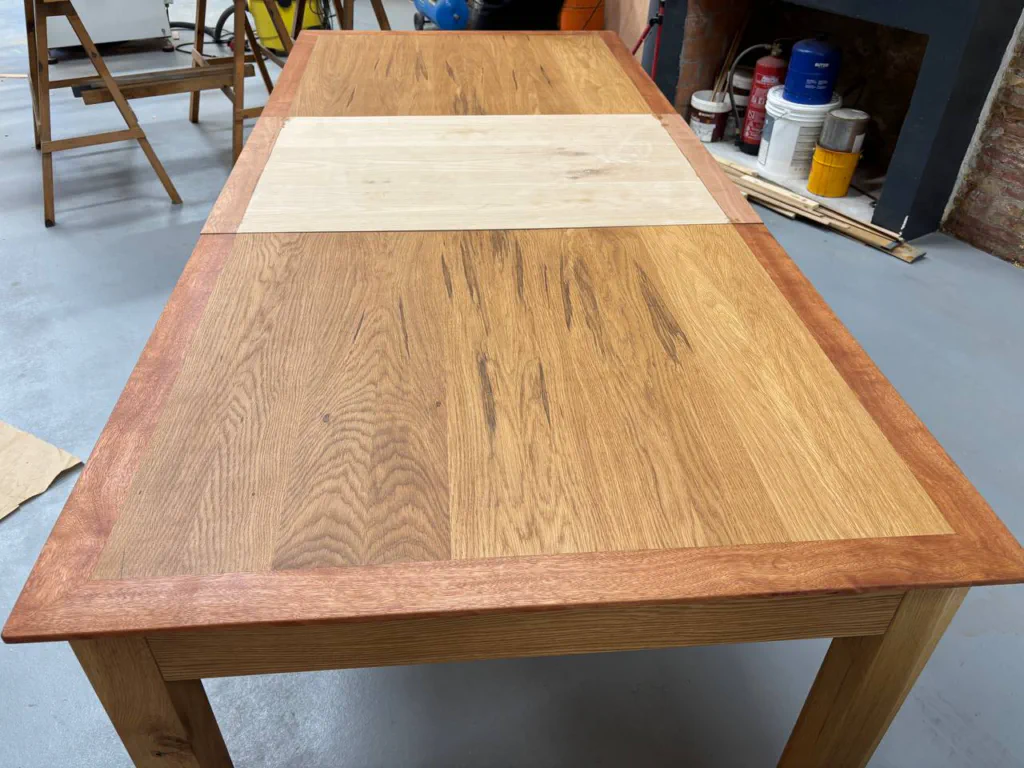
Extended table with the insert still untreated with oil
Finishes on the underside of the tabletop. The Rampa inserts and reinforcements can be seen.
Detail of the positioning pins for the tabletop leaves
All that remains now is to transport the table and assemble it in place. Let’s hope it fits in the small lift!
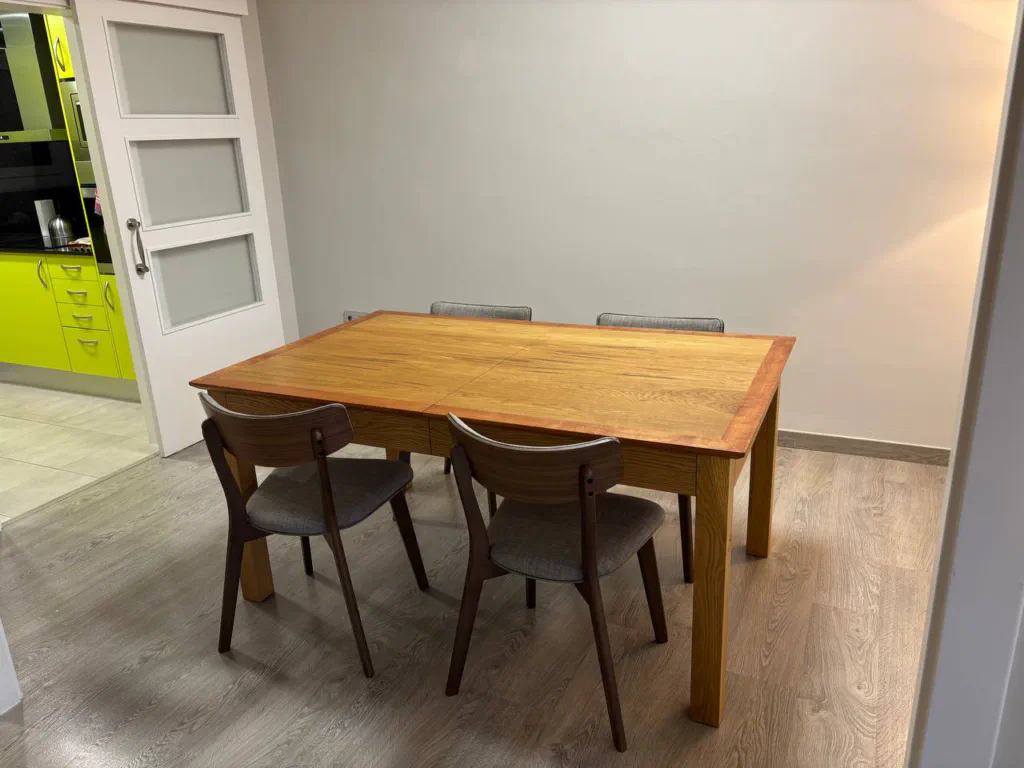
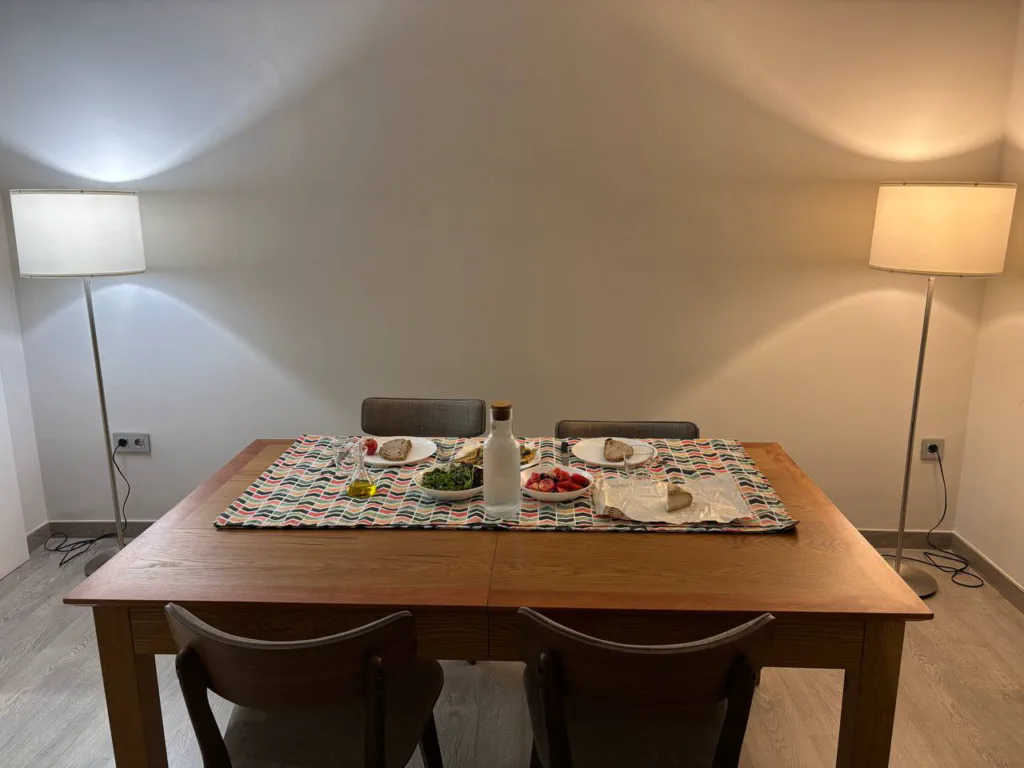
Assembling the table in place Table set and ready for dinner