
One of my projects this summer was to finish the cabinet for the Wörner B13 drill press. The work mainly consisted of cladding the steel support frame with MDF. The ultimate goal was to prepare it for the electrical wiring and a set of drawers to organize the machine’s tooling.
Panelling the Steel Frame
After cutting, adjusting, and fastening the main panels with interior screws, the frame was mostly covered:
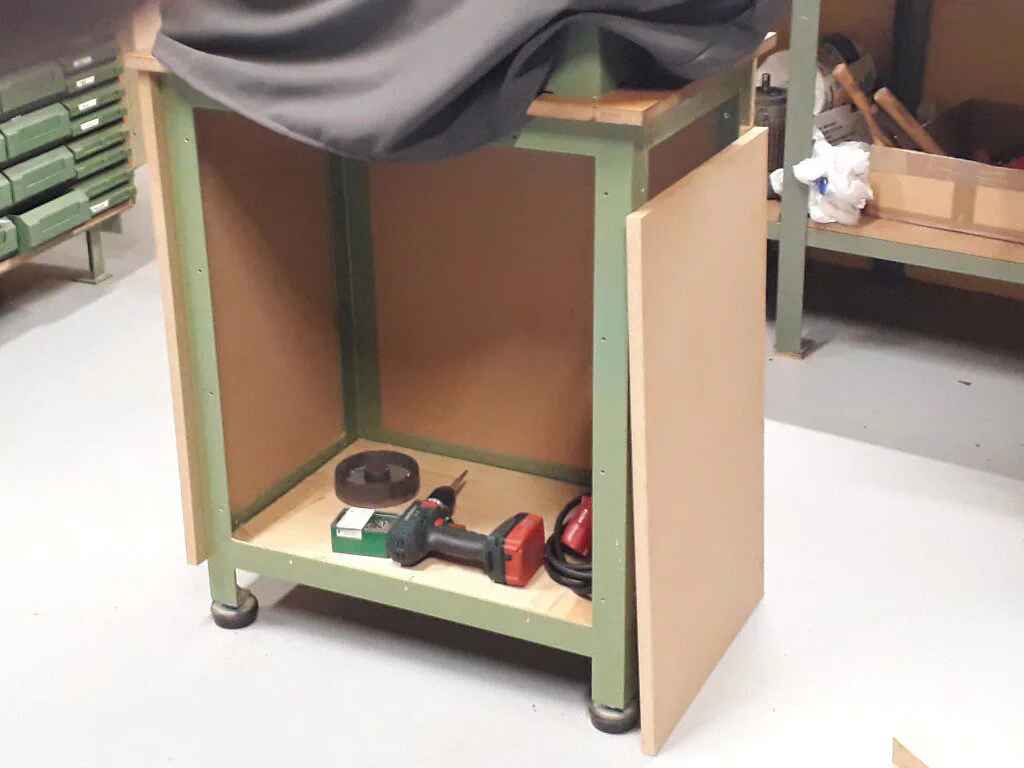
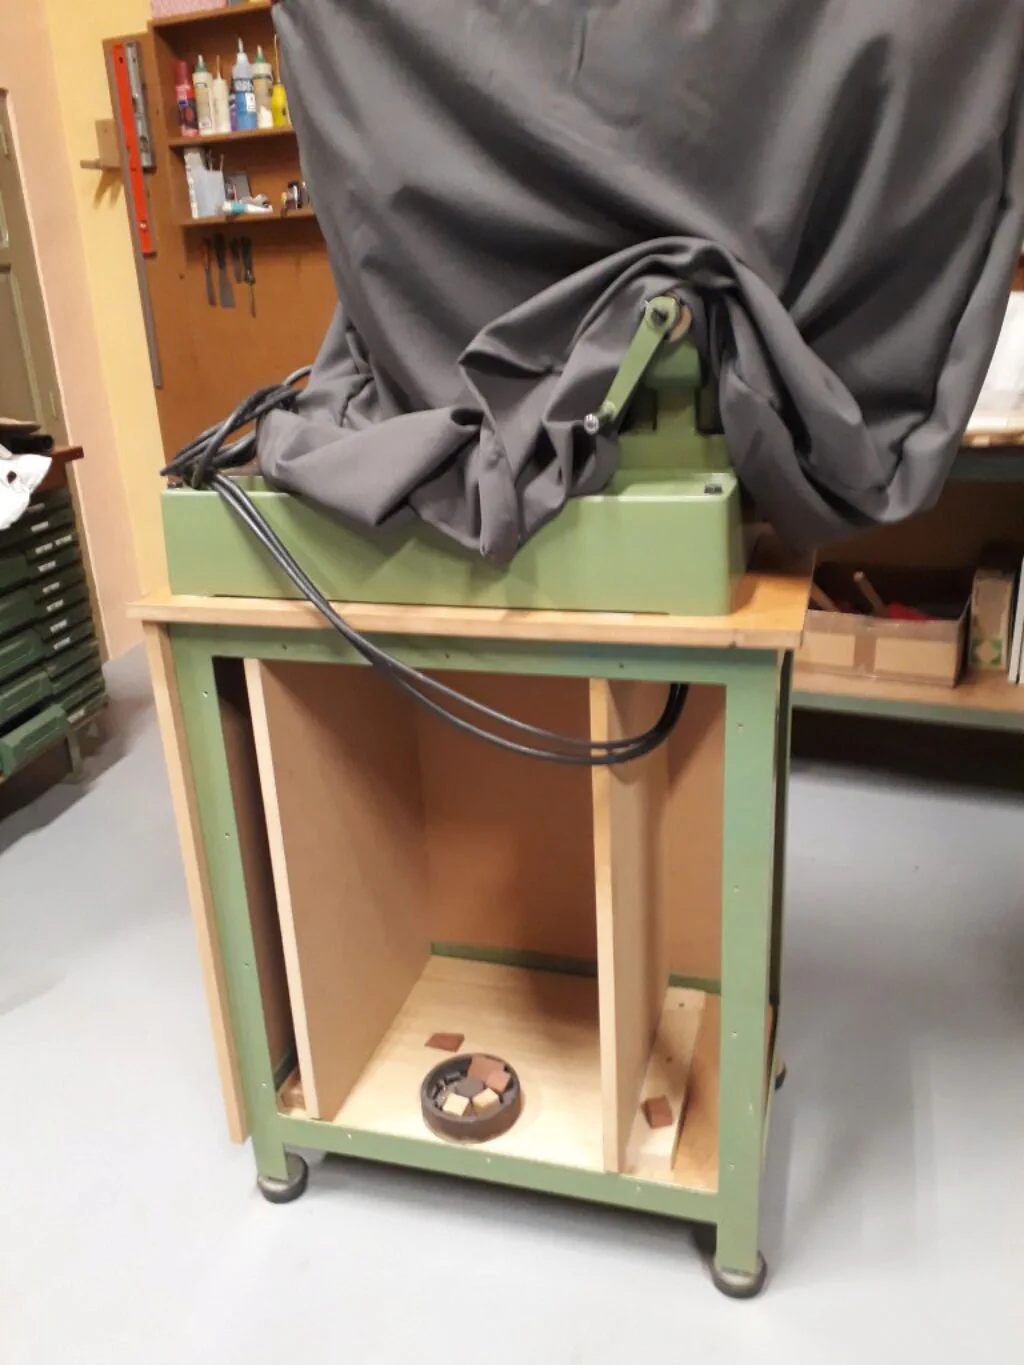
The next step was to add internal supports for the drawers and to separate:
- The control switch area (at the front) from
- The VFD and drill press column area (at the back). Note that the drill press column protrudes below the table when it is in its lowest position.
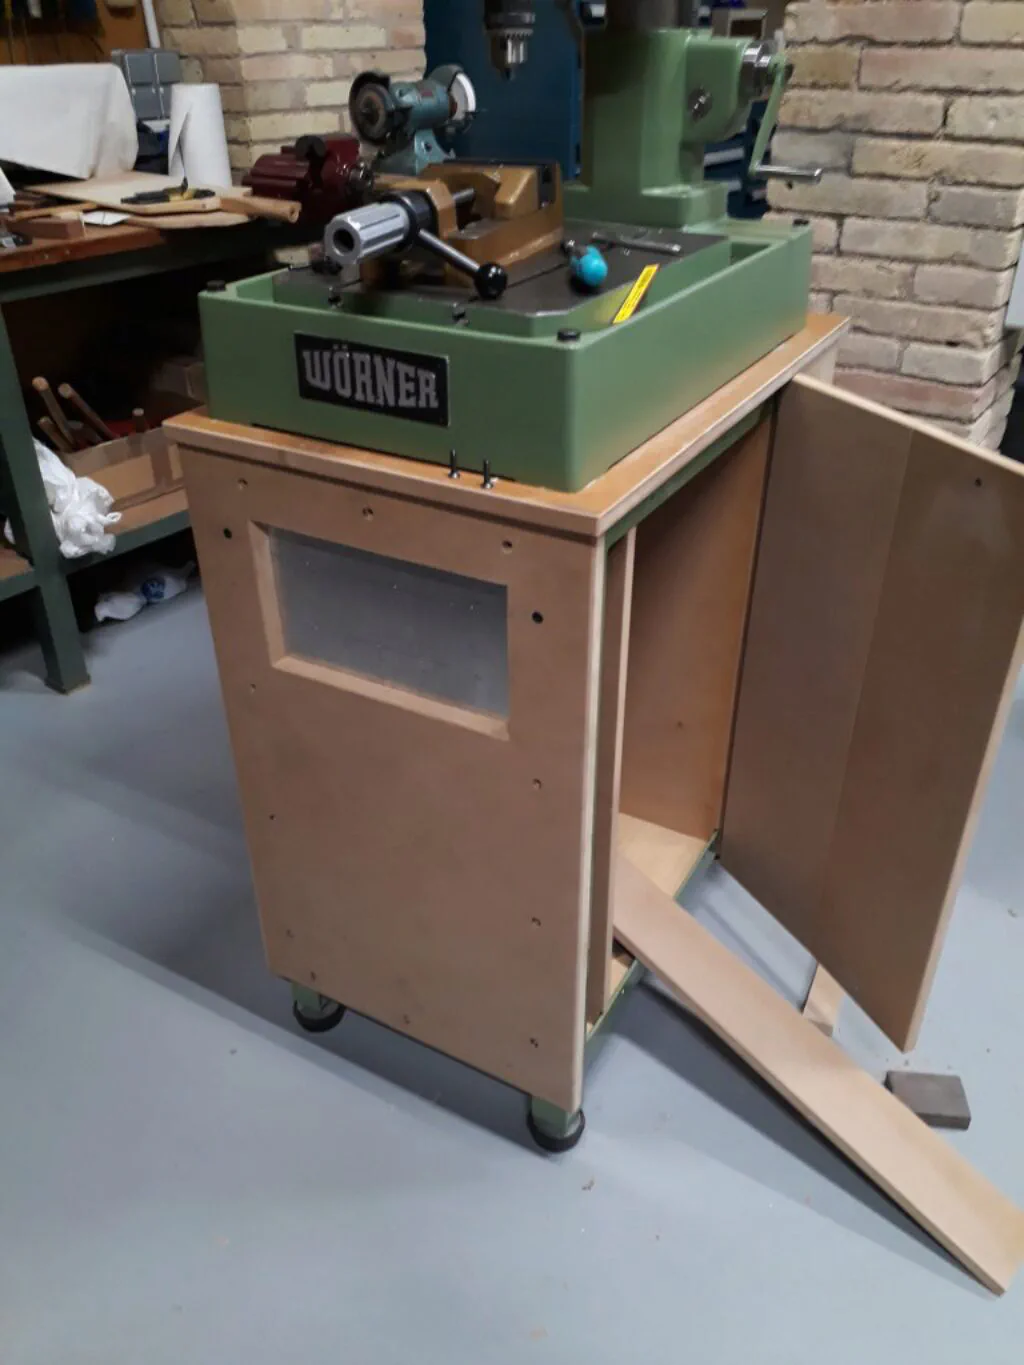
After adding these components, this is how the cabinet looked:
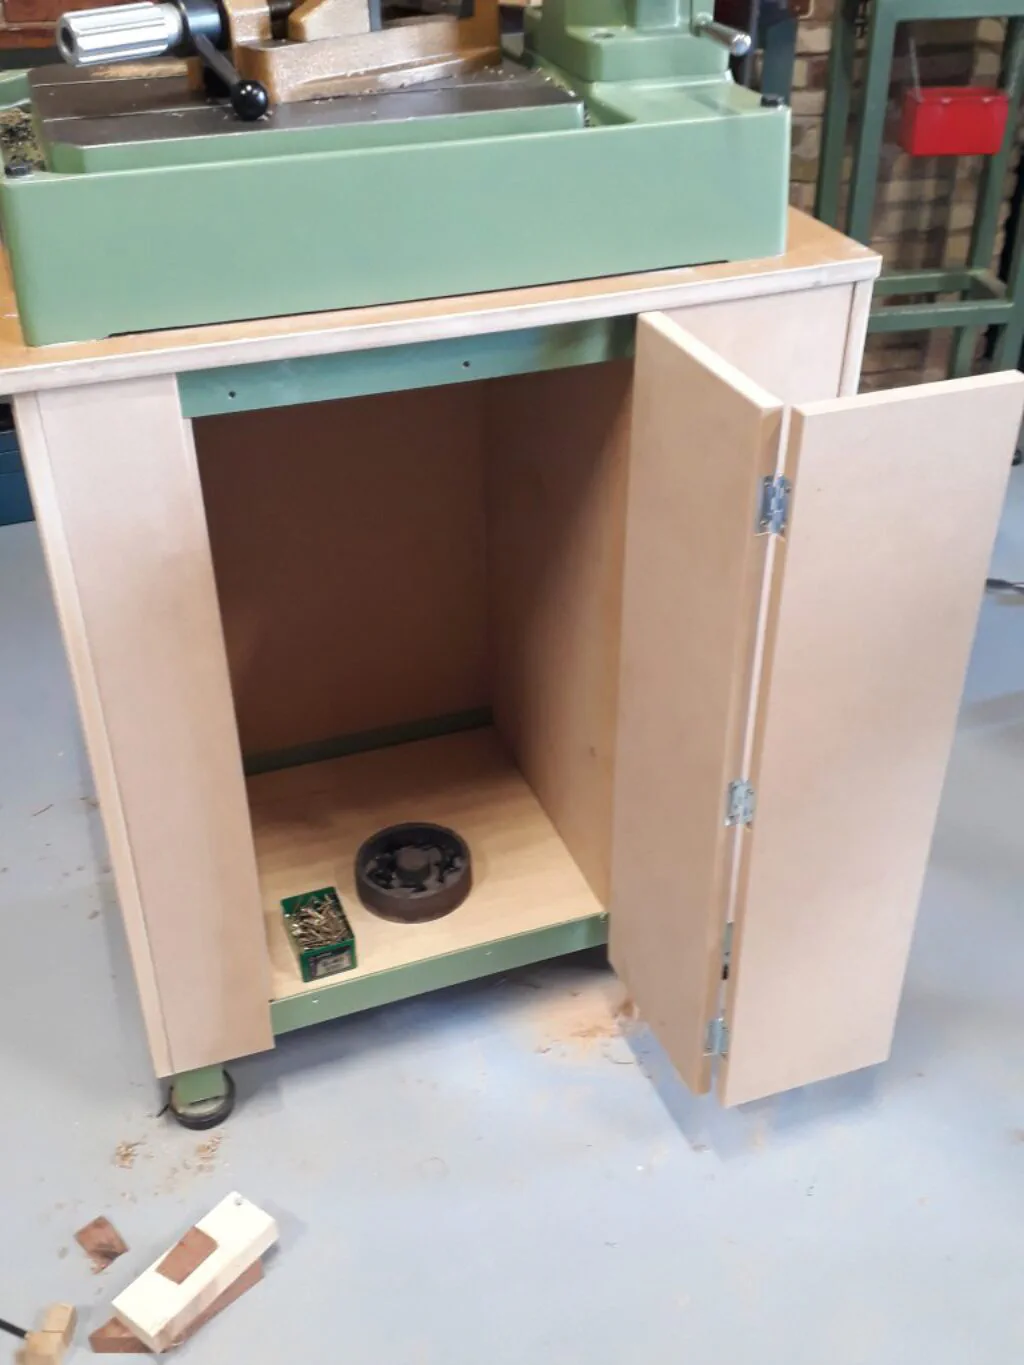
A few extra panels and a double-hinged door that folds flat against the back of the cabinet provided the finishing touches:
Wiring the Machine
The machine required a proper set of control switches and power management. From the start, I decided to run it using a VFD to achieve better speed control without having to frequently change the belts. The motor and light cables run through the column of the machine, making them accessible from the back of the cabinet. Naturally, the switches needed to be on the front panel.
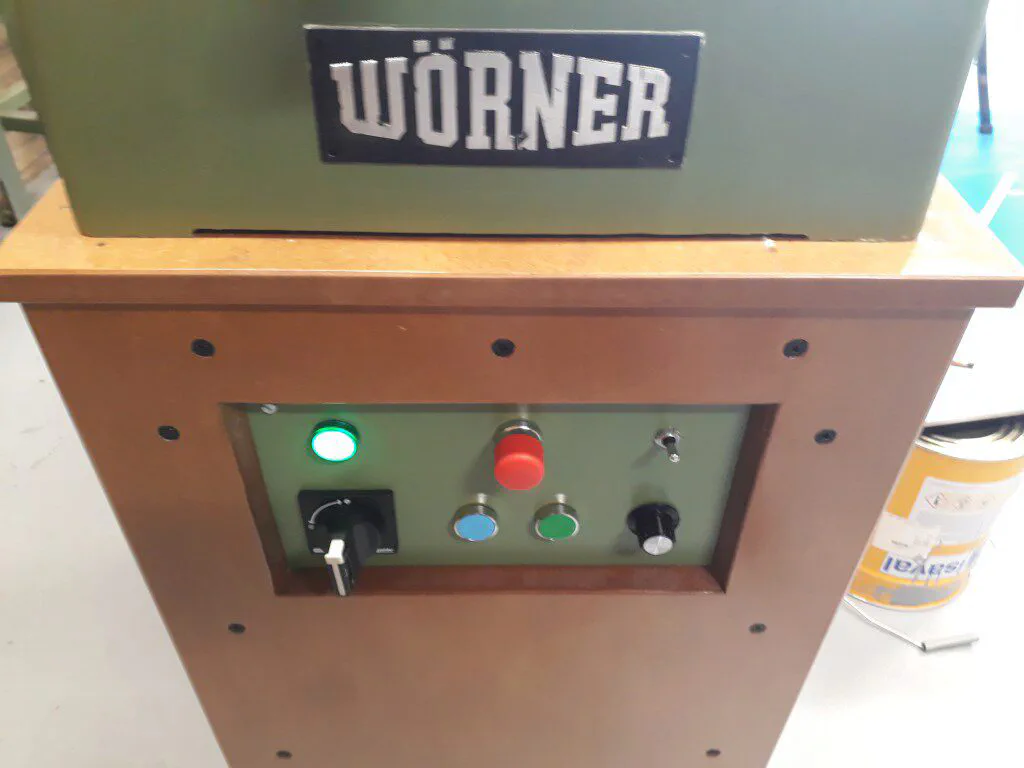
The control panel design includes:
- A main power switch.
- A pilot light.
- Forward and reverse pushbuttons.
- A stop pushbutton.
- A toggle switch for the machine’s light.
- A 10-position rotary switch for speed selection. I used a binary-coded switch, which reduces the number of control wires and is fully compatible with the VFD control.
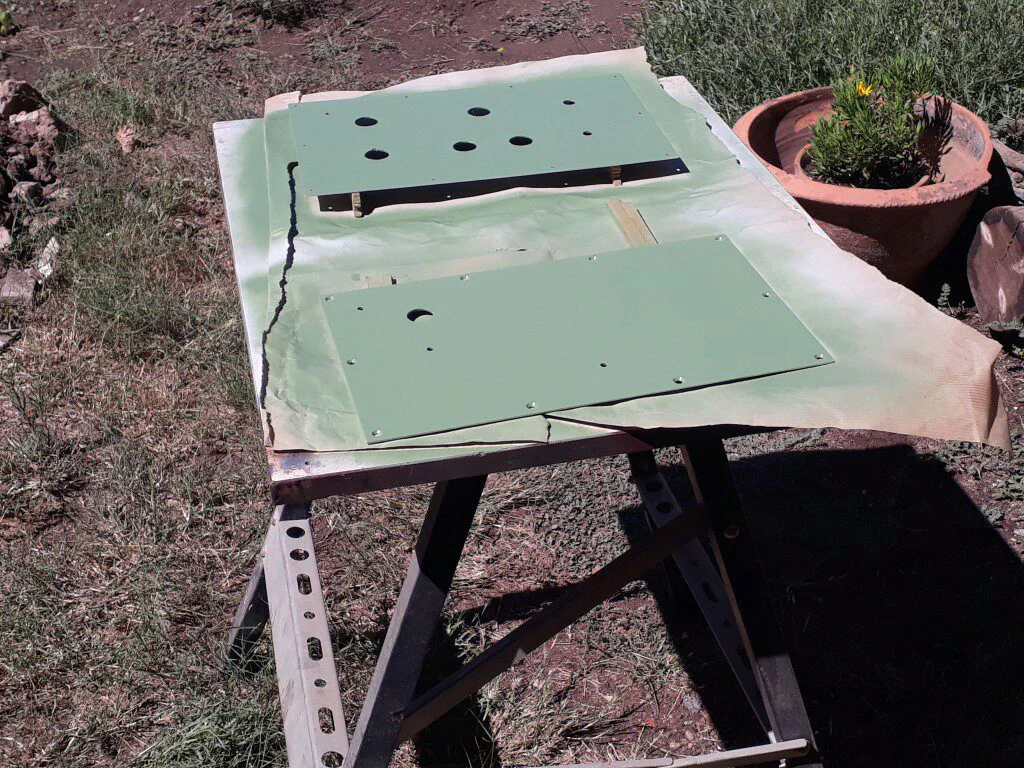
For the control panel, I used an aluminium plate that I drilled and painted in RAL Reseda Green to match the machine’s original colour. The panel was attached to the front of the cabinet, accessible through a cutout in the MDF:
As seen in the previous pictures, another aluminium panel serves as both a support and a heatsink for the VFD. This panel was mounted in a similar fashion to the back of the cabinet. The following pictures show the completed front and back wiring:
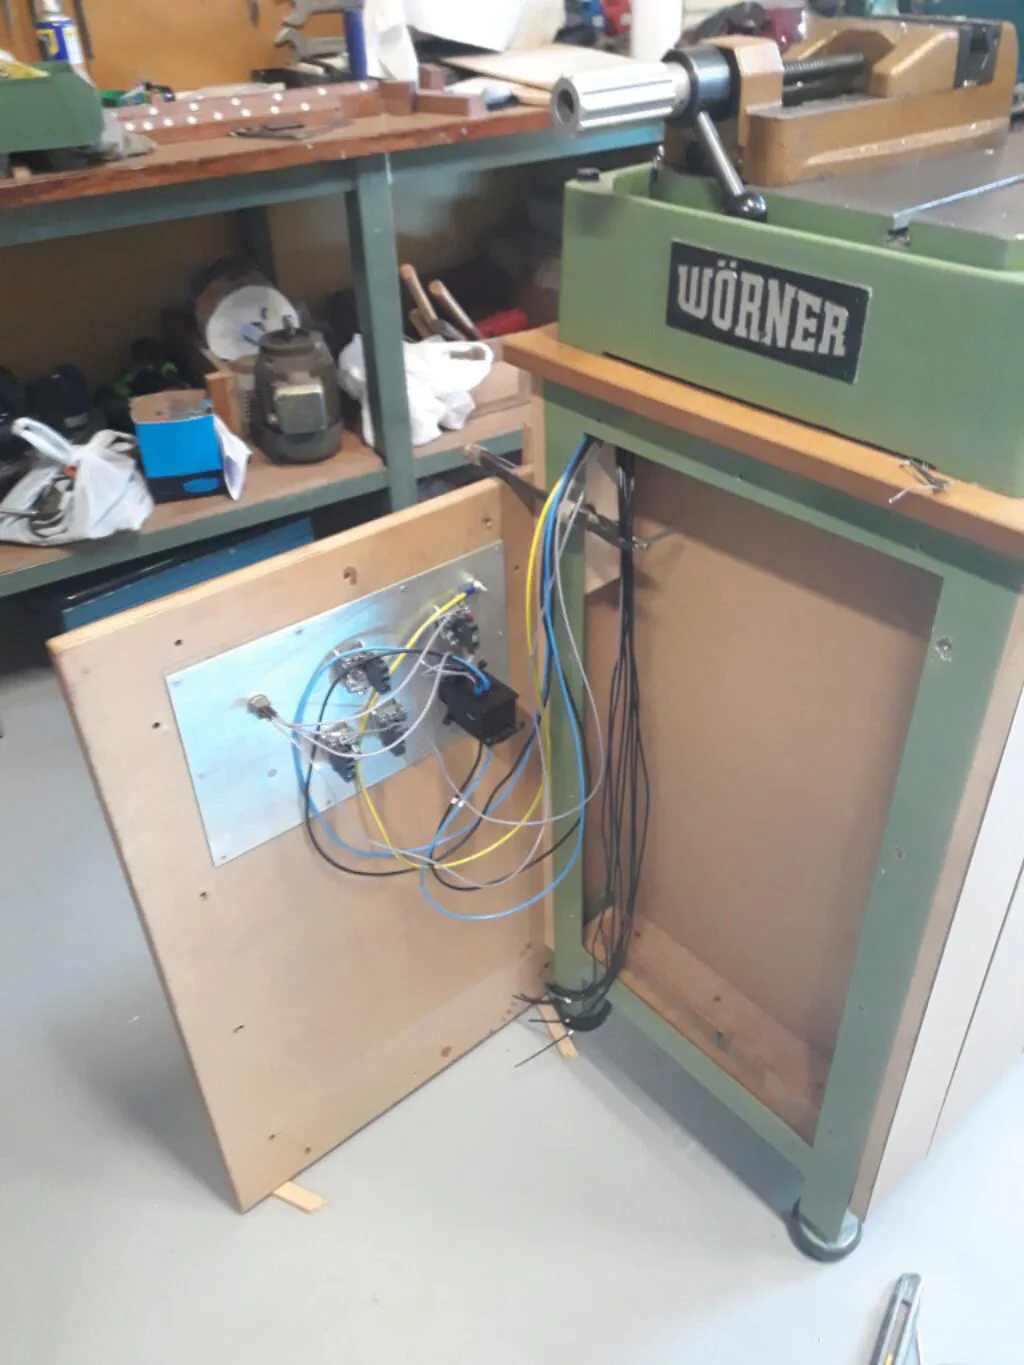
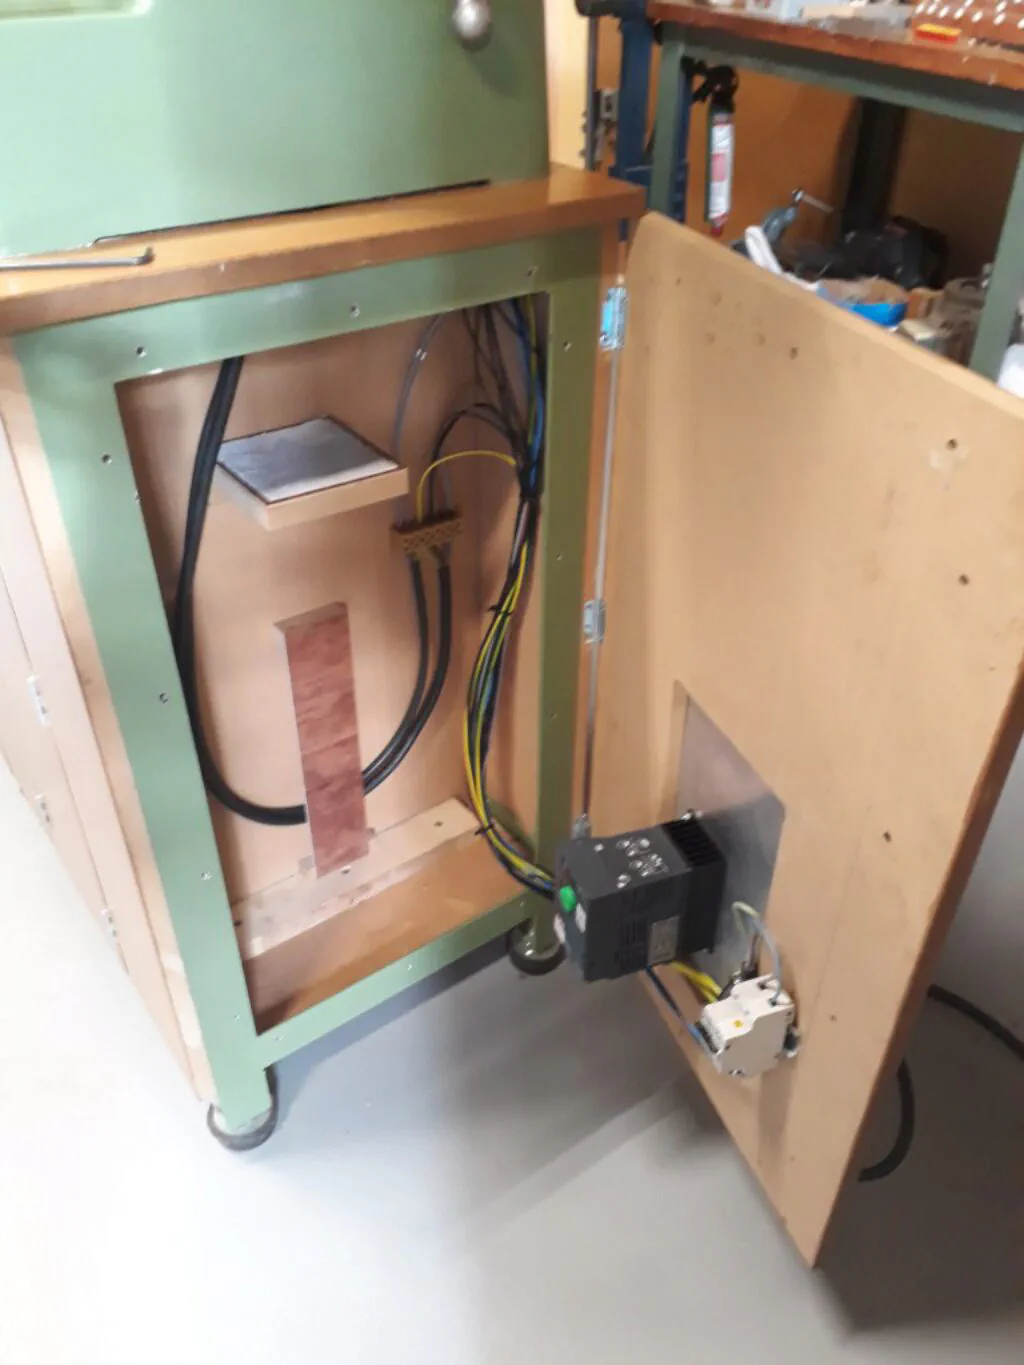
Note that the back panel is also hinged. This makes it much easier to access when adjusting or programming the VFD. Additionally, I added a protective shield to prevent any oil dripping from the column onto the VFD.
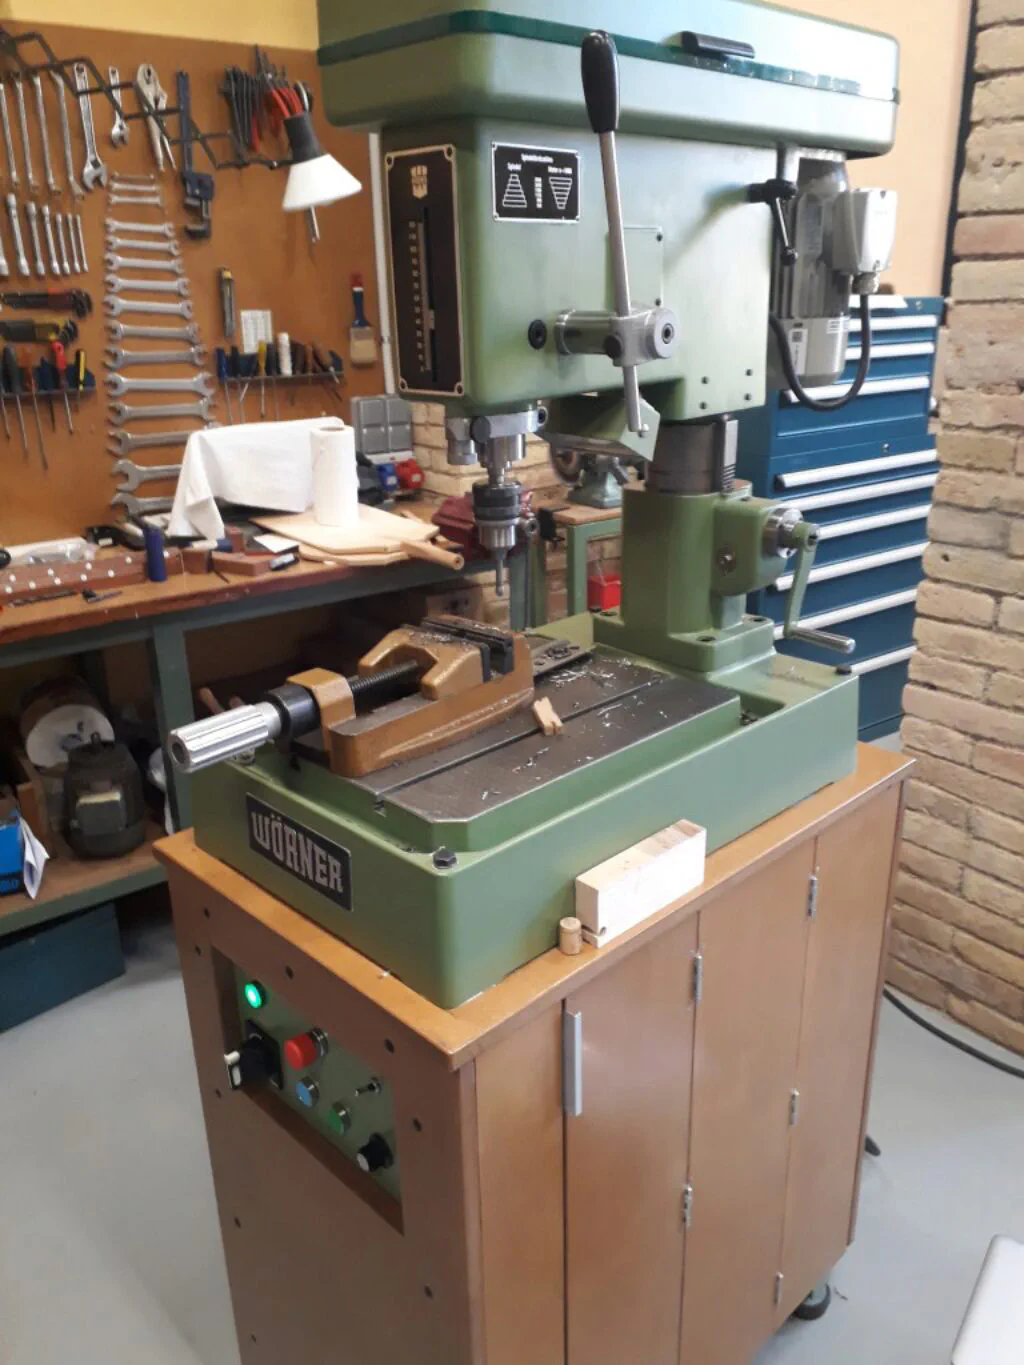
Here is how the machine looks with all the MDF varnished and the electrical panels mounted:
Adding a Set of Drawers
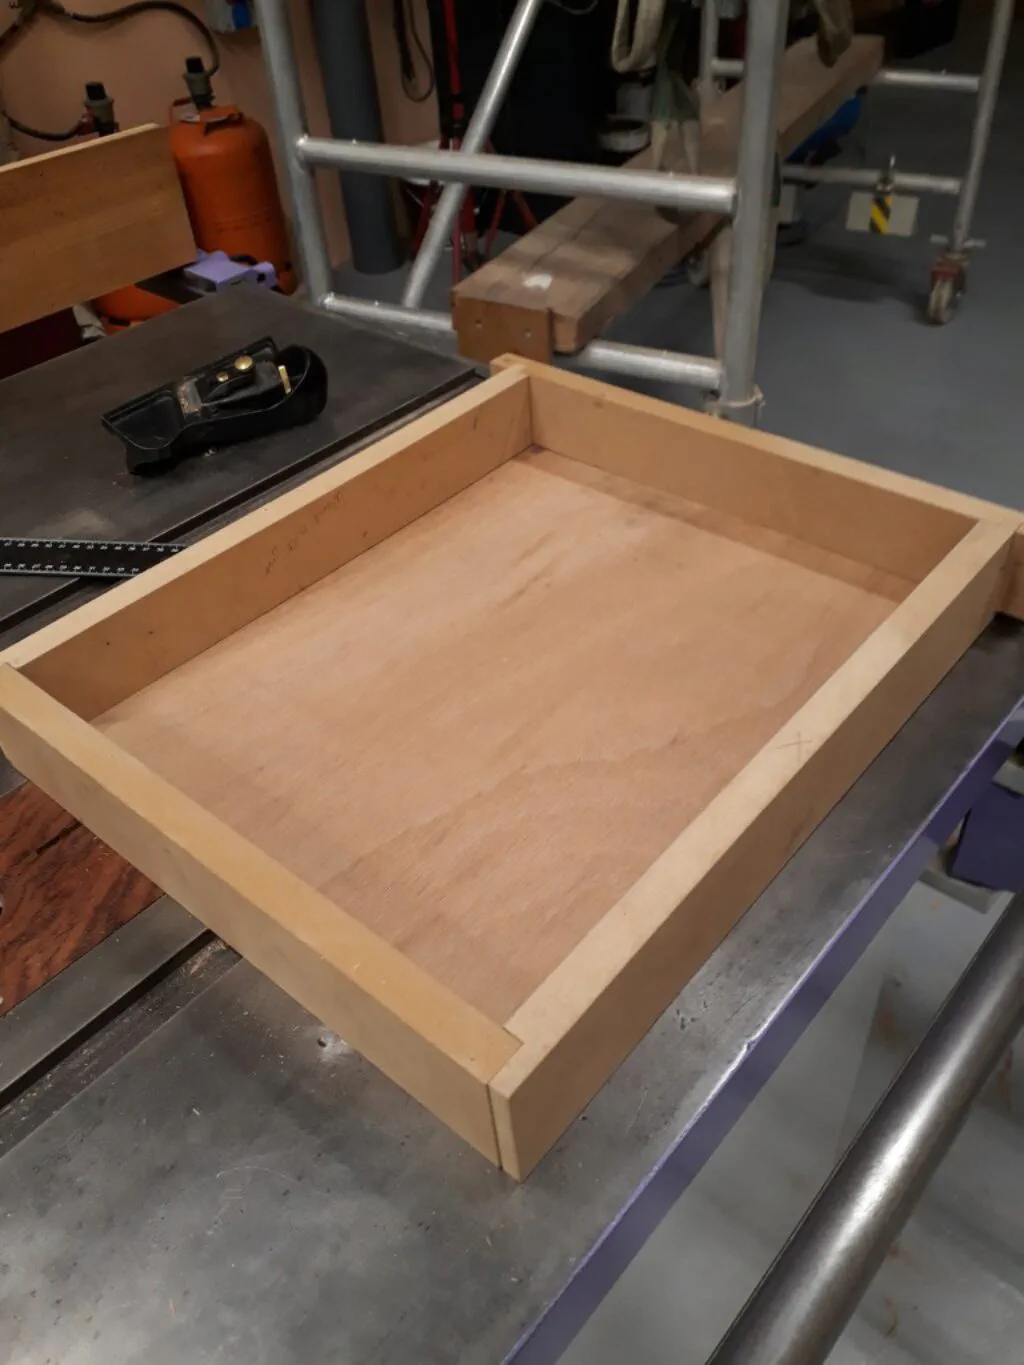
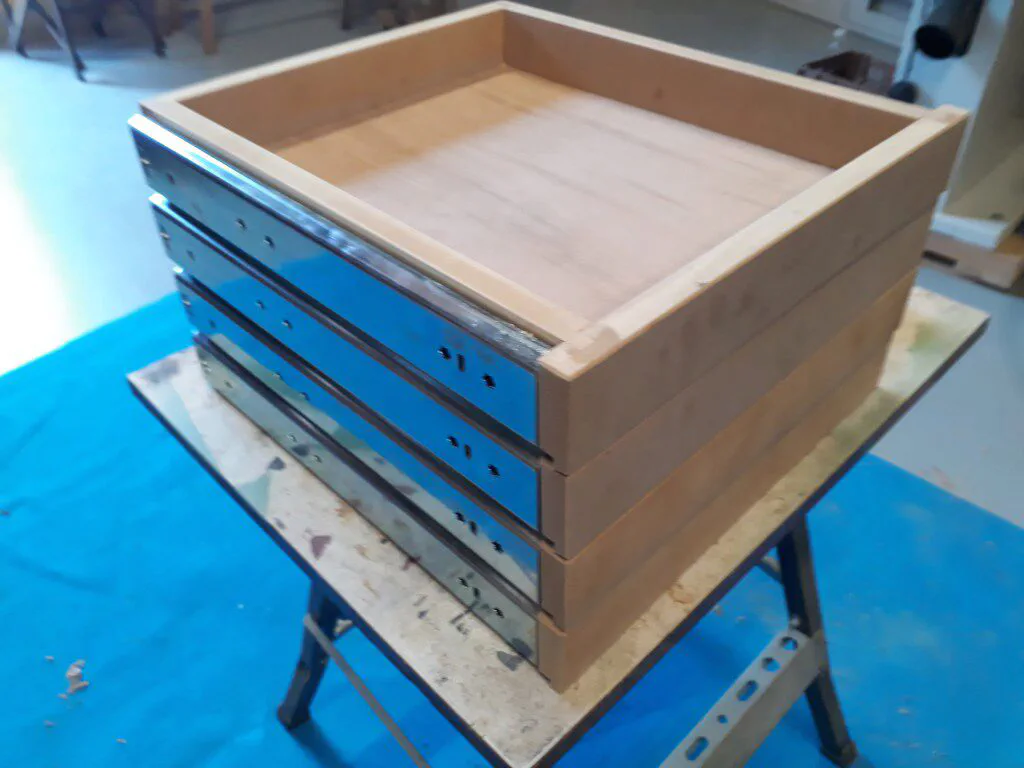
The next step was to add a set of drawers running on over-extension slides. I chose medium-duty Thomas Regout ball bearing slides purchased from guiastelescopicas.com.
The drawers were constructed from MDF and plywood to very precise dimensions to meet the tight tolerances required by the ball-bearing slides. The slides were aligned using a jig made from scrap wood, which was progressively cut down to set the height for each subsequent level. A custom-made self-centering punch was also used to precisely center the screws in the counterbored holes.
Overall, the result was highly satisfying, as you can see below:
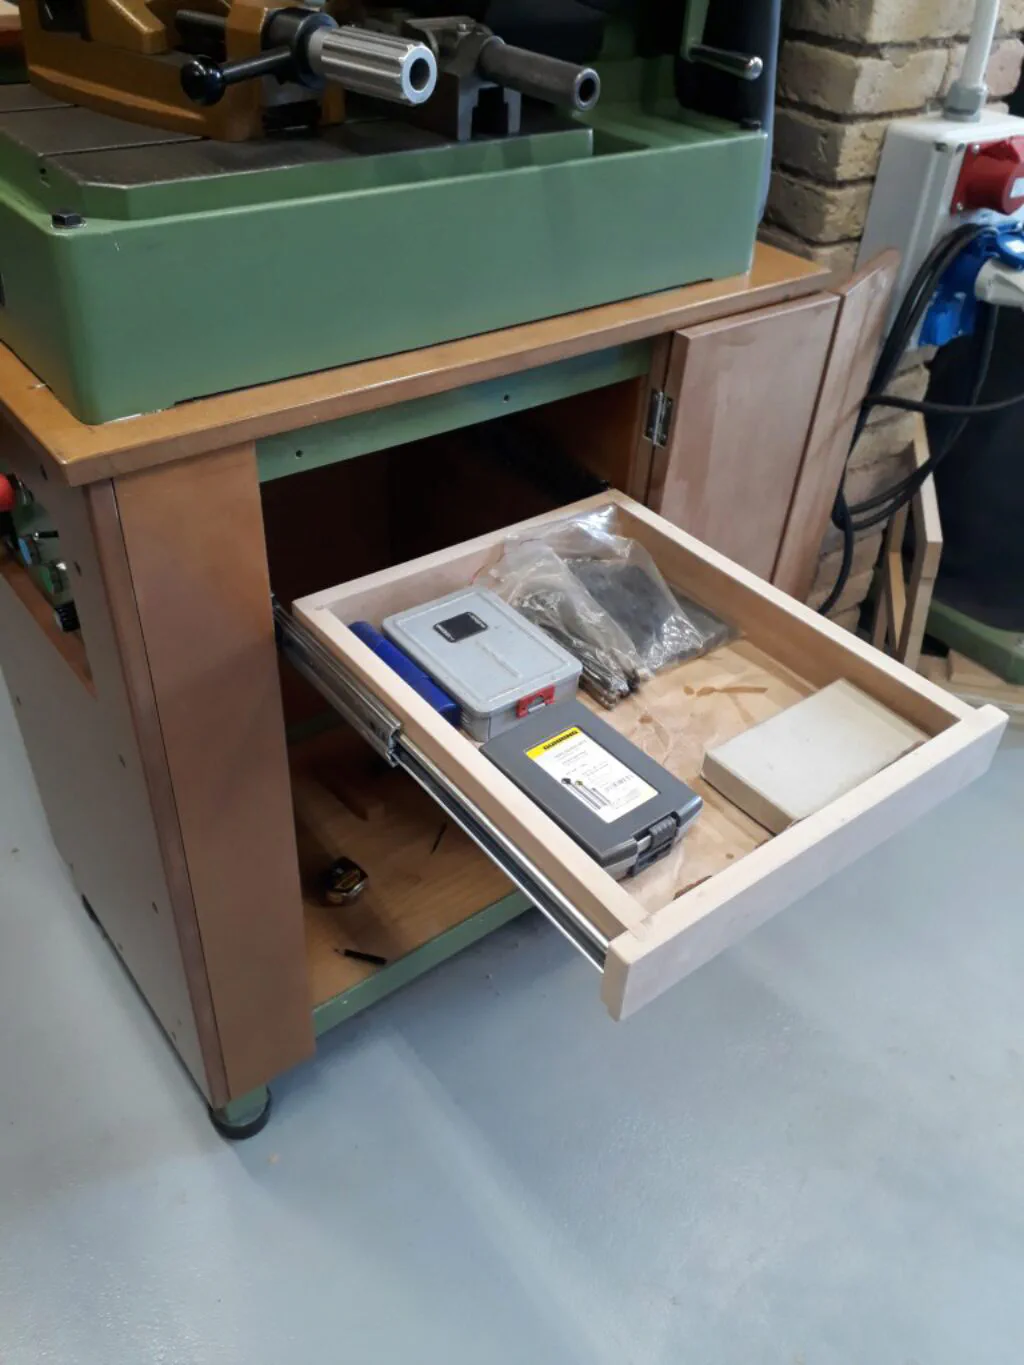
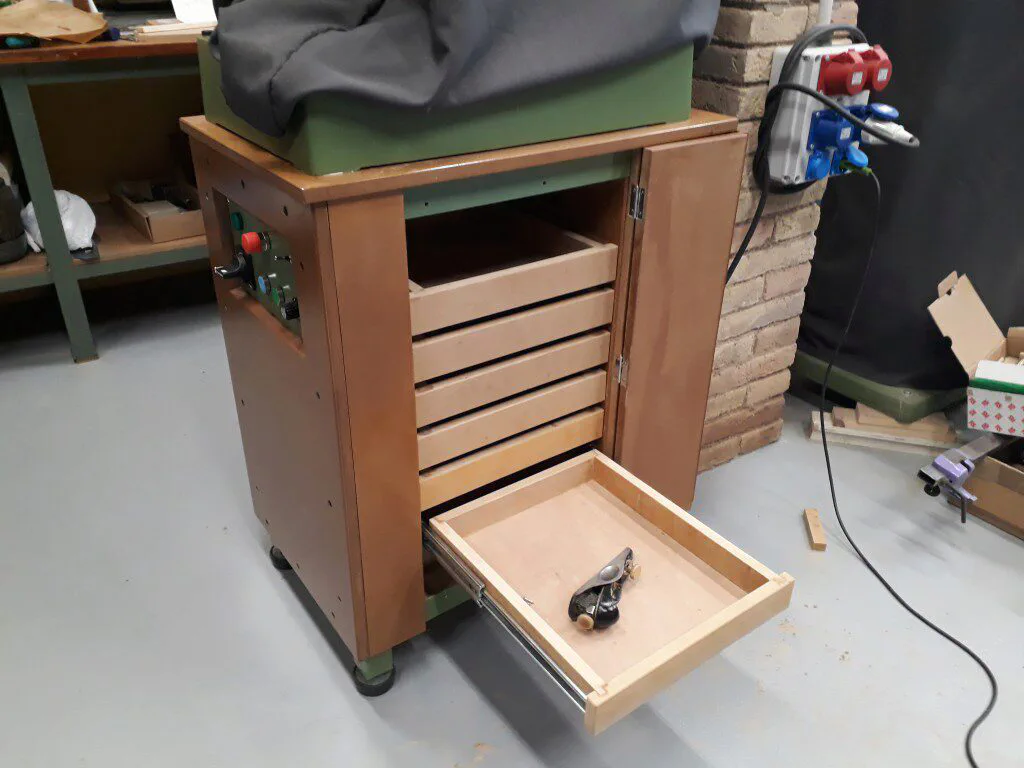
Note that the top drawer has extra vertical clearance to allow drill bits to be stored upright — but that will be the subject of a future post!