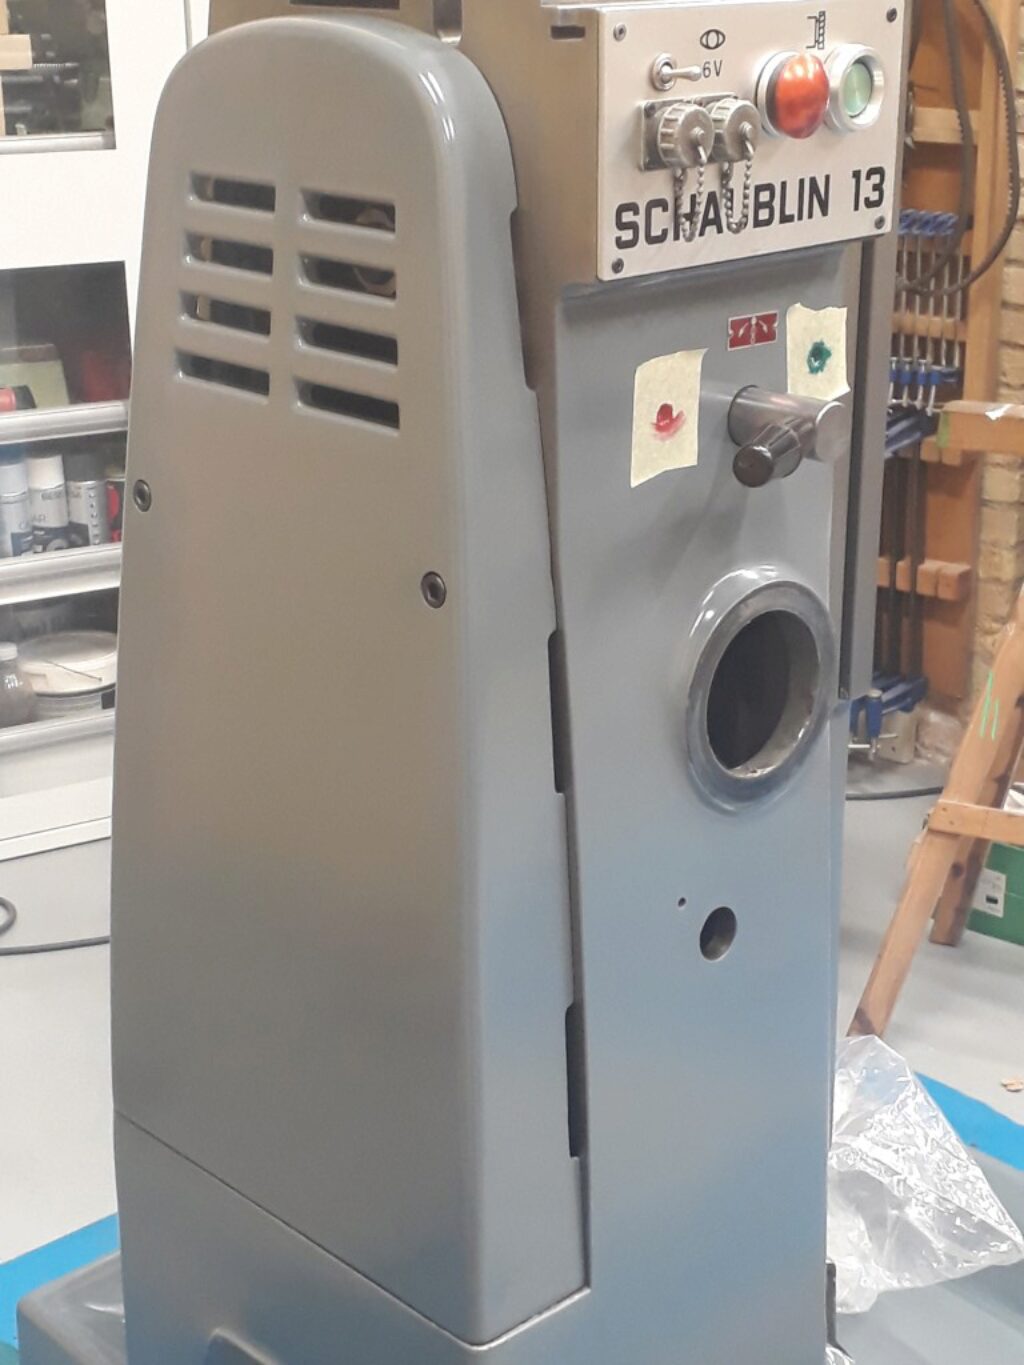
Here I face to recover the original aspect of the Schaublin 13. I will try to preserve original colors and distributions and, to some extent, the original coating where possible.
Which is the state of the Schaublin coating
The machine has a three colors scheme.
There is an «internal» coating that is used to protect the hidden interiors: the main casting interior, the internal faces of the sliding apron, etc. This is a kind of aluminium based coating of a thick feeling. I cannot precisely identify it.
There is a plain grey that is used along the main column and support. The coating is non-sensible to the solvent test. Thus it is a king of resistent coating. It exhibits a good aspect apart from the chips tray, that is moderately affected by the use. The precise grey is a difficult matter. For sure it is no RAL color according to may chart.
There is also a hammered effect coating that is used along the apron, the tables and the head. Also some tooling and the electrical cabinet uses this paint. On many posts this is described as silver color but —at least in my machine— it is not exactly a pure silver. It has a hue with some green component and maybe other tertiary components. This gives a more «sophisticated» feel.
The color of the handles cannot be appreciated. The use have eroded all traces of it. In some sense it remembers the internal coating.
The coating scheme to be used
I decided to overhaul the coatings in the Schaublin using this path:
Internal coating will be redone just in special cases. For sure, the interior of the main casting will not be painted again. Where needed, I will use the same coating that in the case of handles.
The plain gray will be determined by the paint supplier to get a best match color. I want to use 2K polyurethane enamel to have a chemical resistent coating.
The hammered paint parts will be coated with a home mixed hammered enamel to match the original color. I will use a «Hammerite» like product. It has a good resistance and it is easy to apply.
Handles will be painted using a plain finish «Hammerite» like enamel of a light grey color.
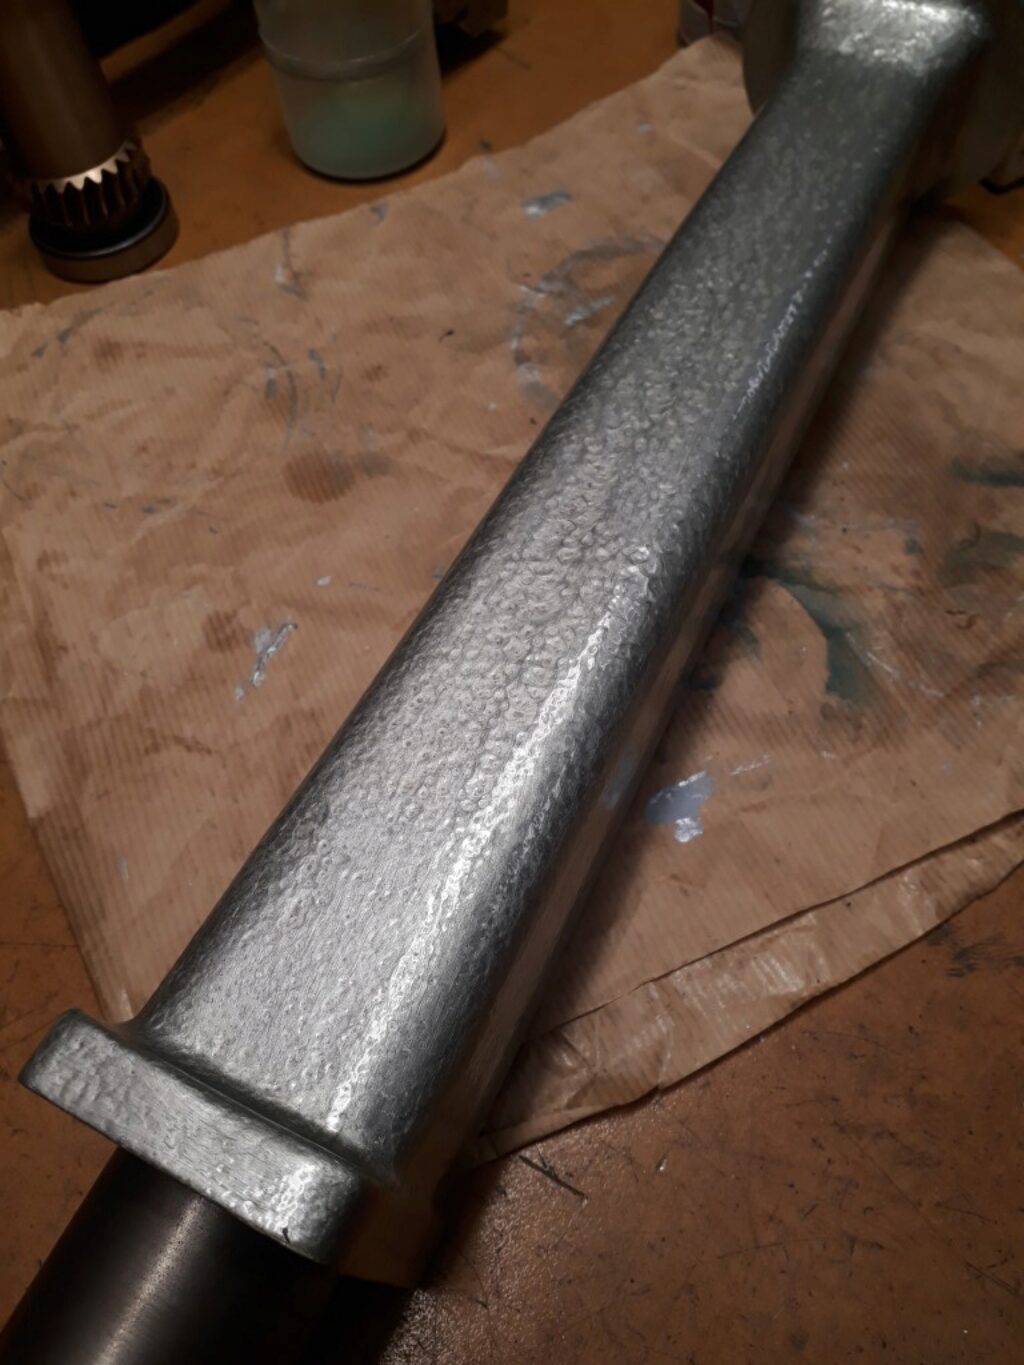
The hammered finish enamel
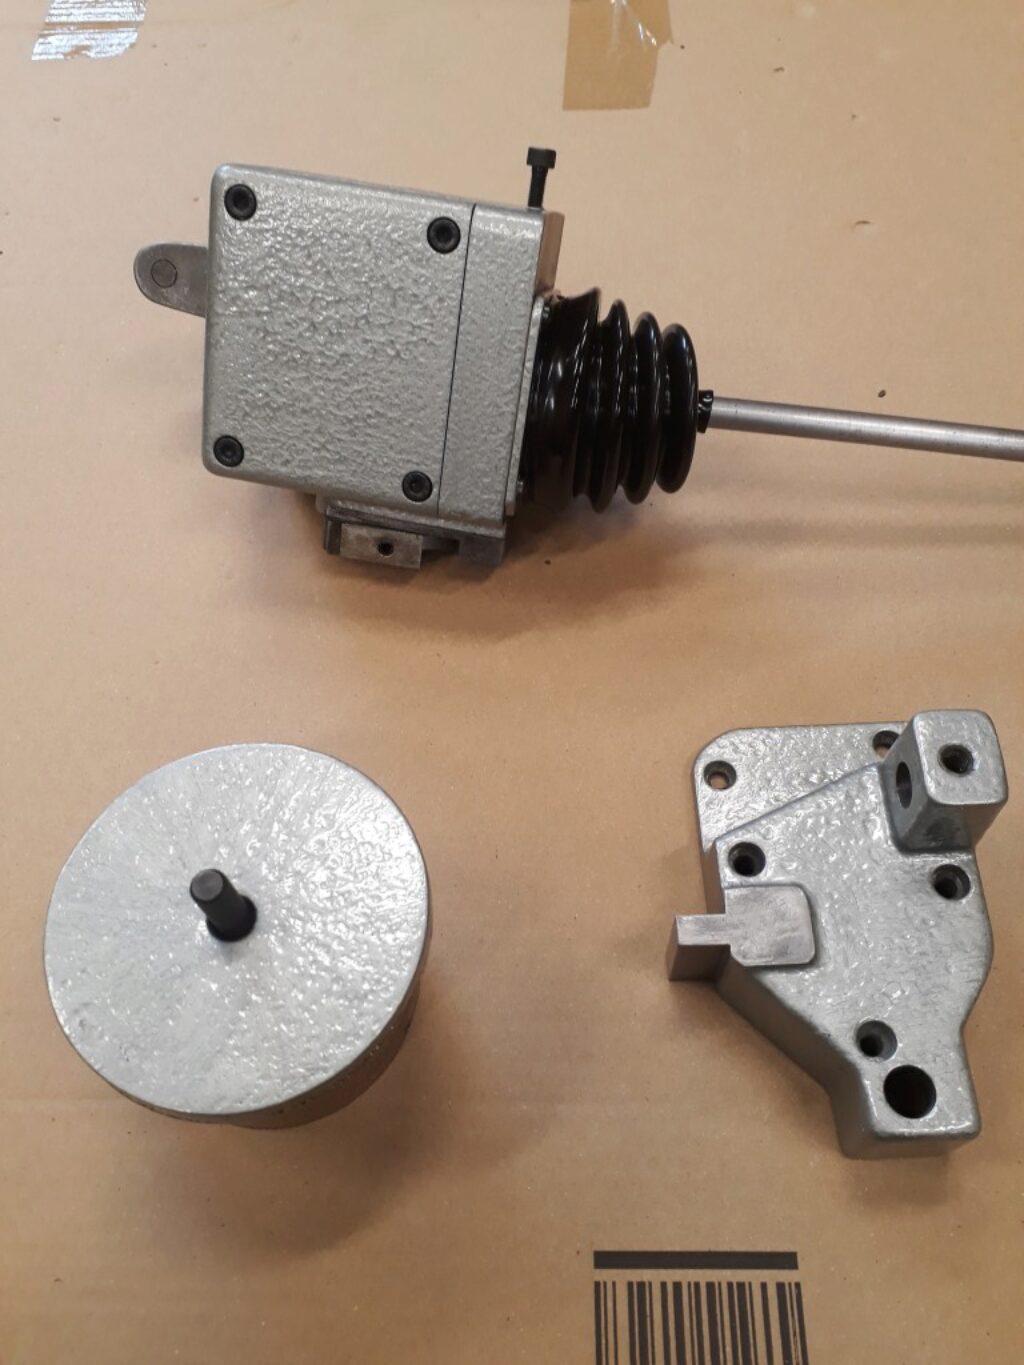
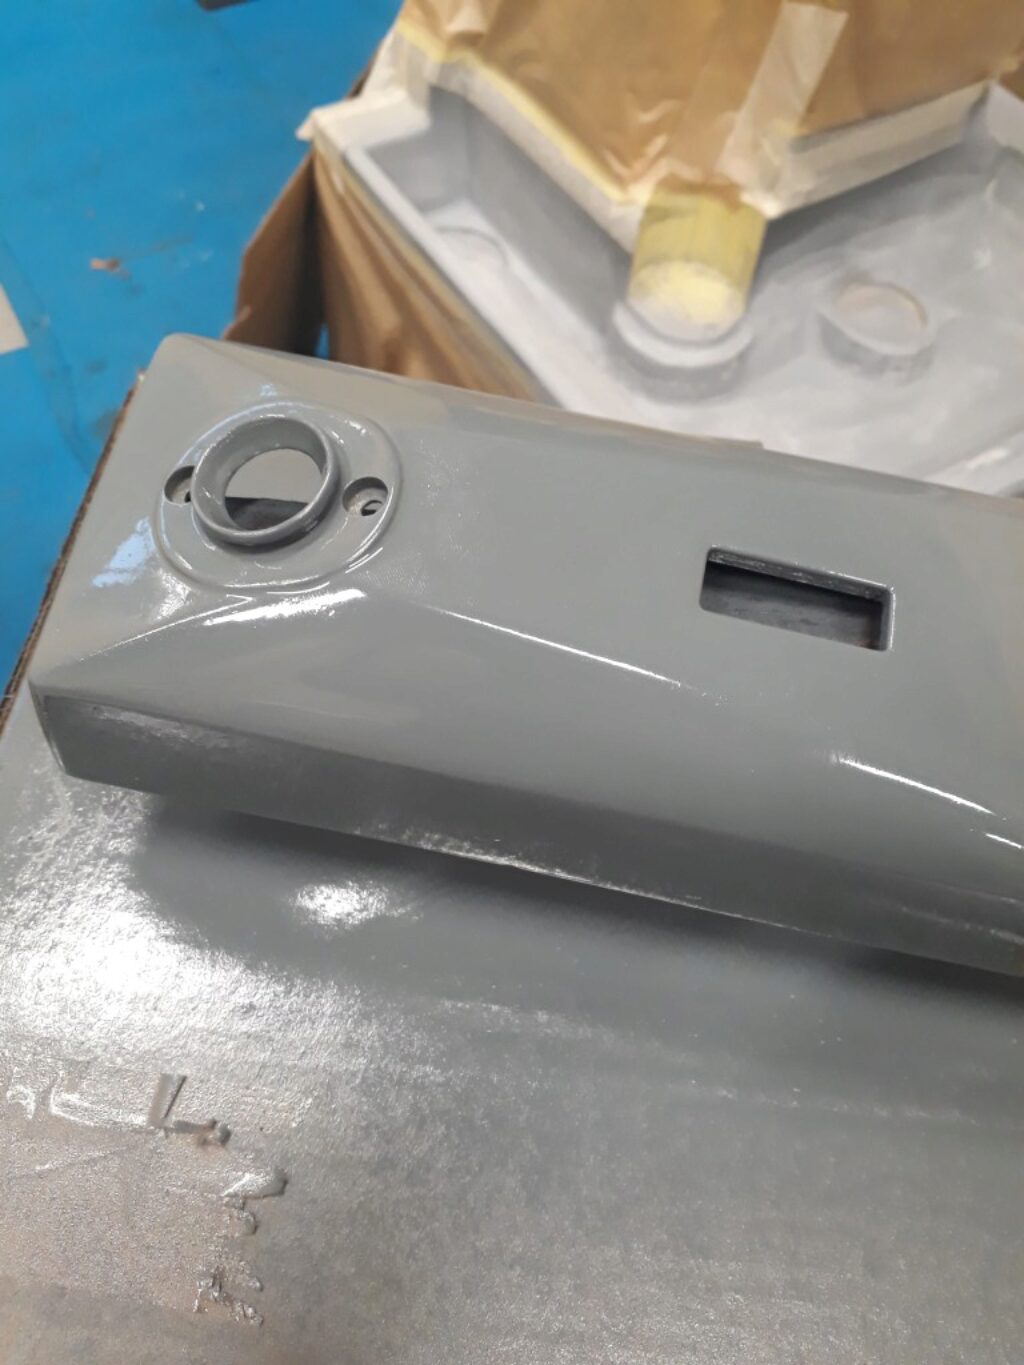
The hammered coat used was a mix of «gris plata» and «verde seda» of Oxiron martelé. Just a small amount of green was added to approximate the original Schaublin tone. The resulting match was rather good. Paint was applied by brush. The picture below shows the Z axis handle support after painted.
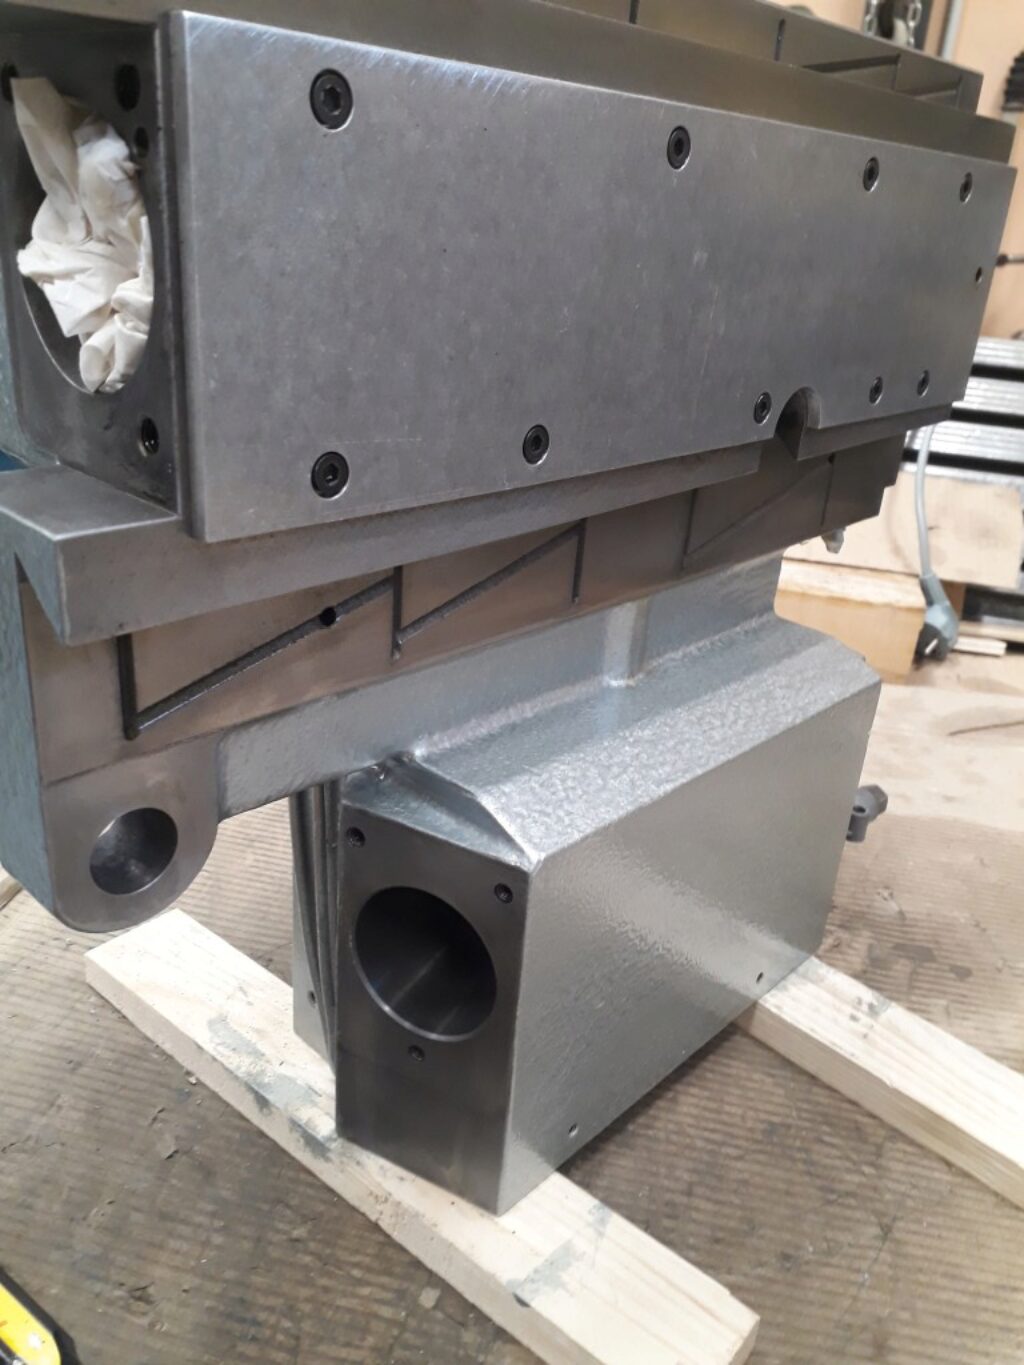
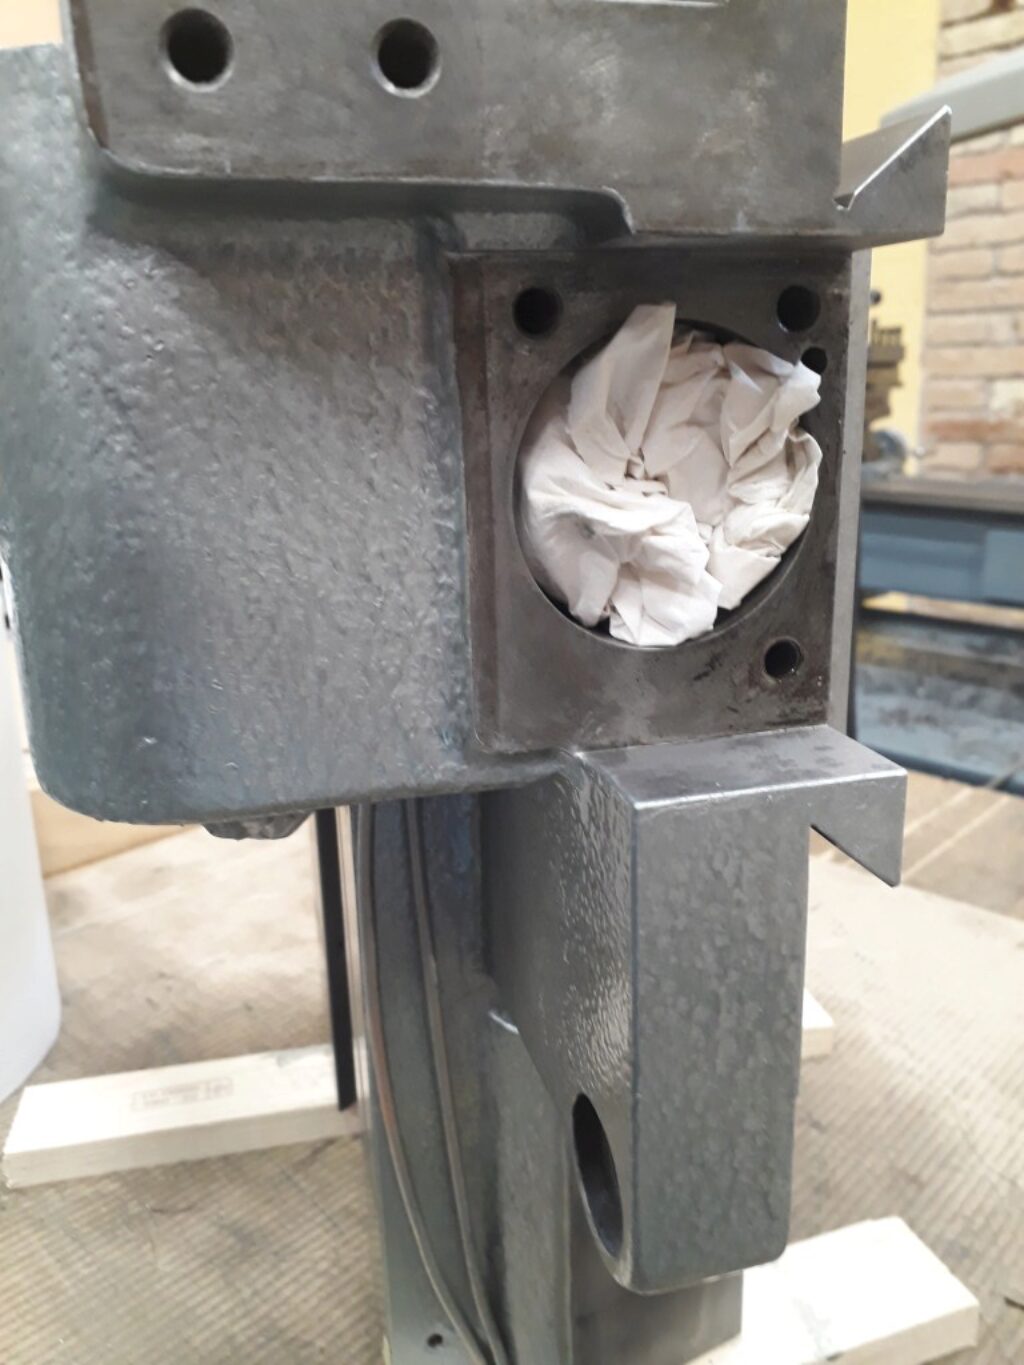
Other parts originally painted with hammered finish have been also newly painted. These include the apron and its auxiliary covers and boxes as shown in next pictures.
The clear enamel of handles
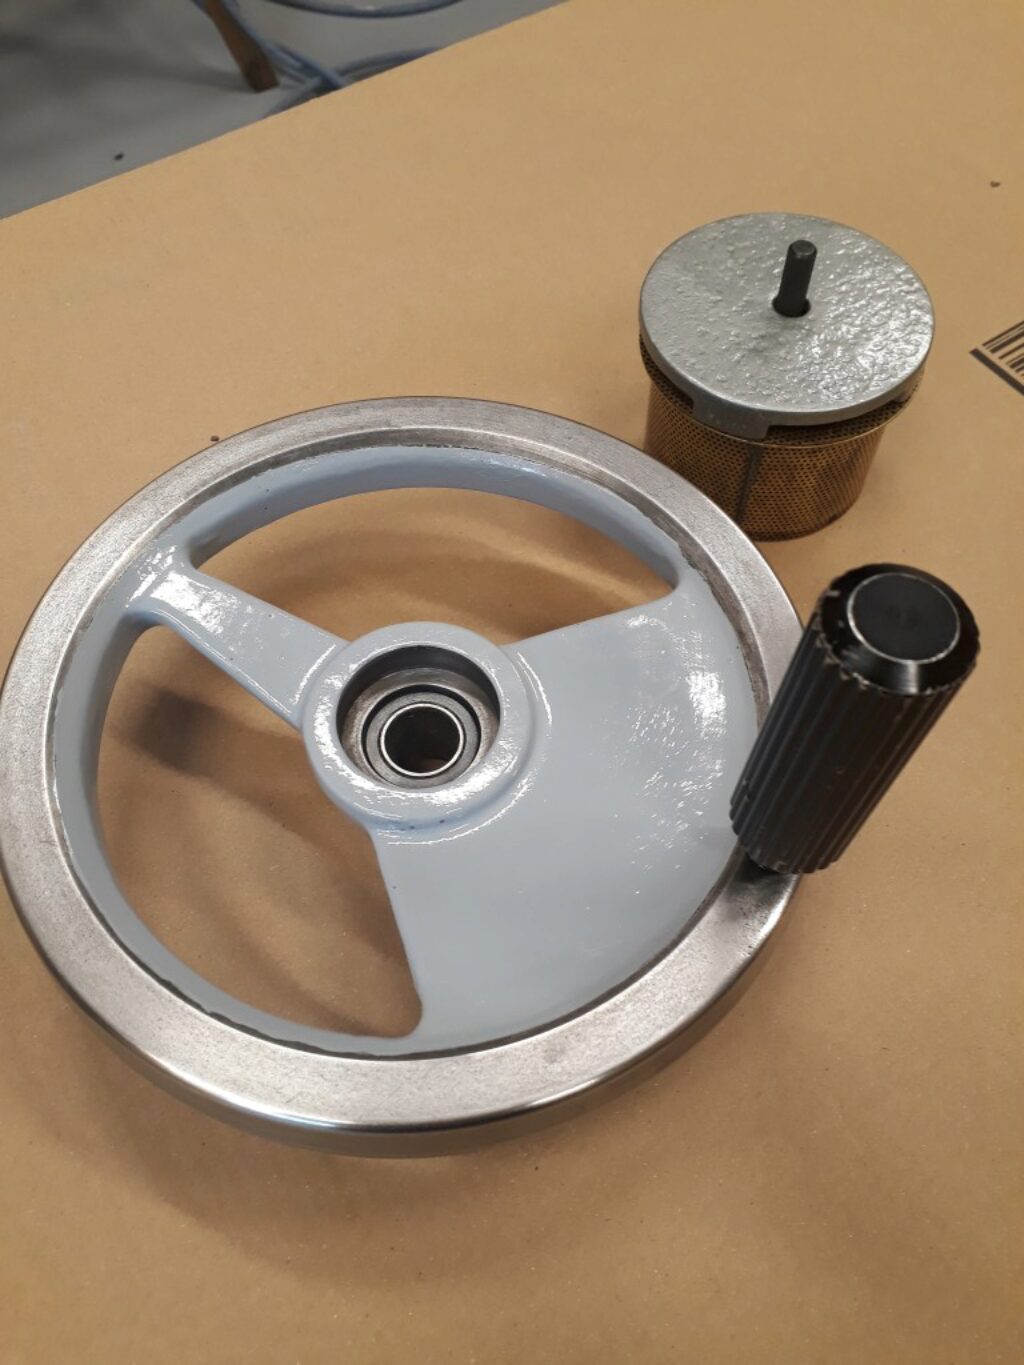
Handles have been coated with smooth gloss Oxiron of color «gris perla». The picture below shows the handle of the Z axis.
The main grey tone
The main grey tone of the machine was matched against a rather extense sample collection by Torrents Autocolor, that is my usual provider of painting products. A very close, but not perfect, match was found. To test it, they prepared a small brush cap bottle of enamel:
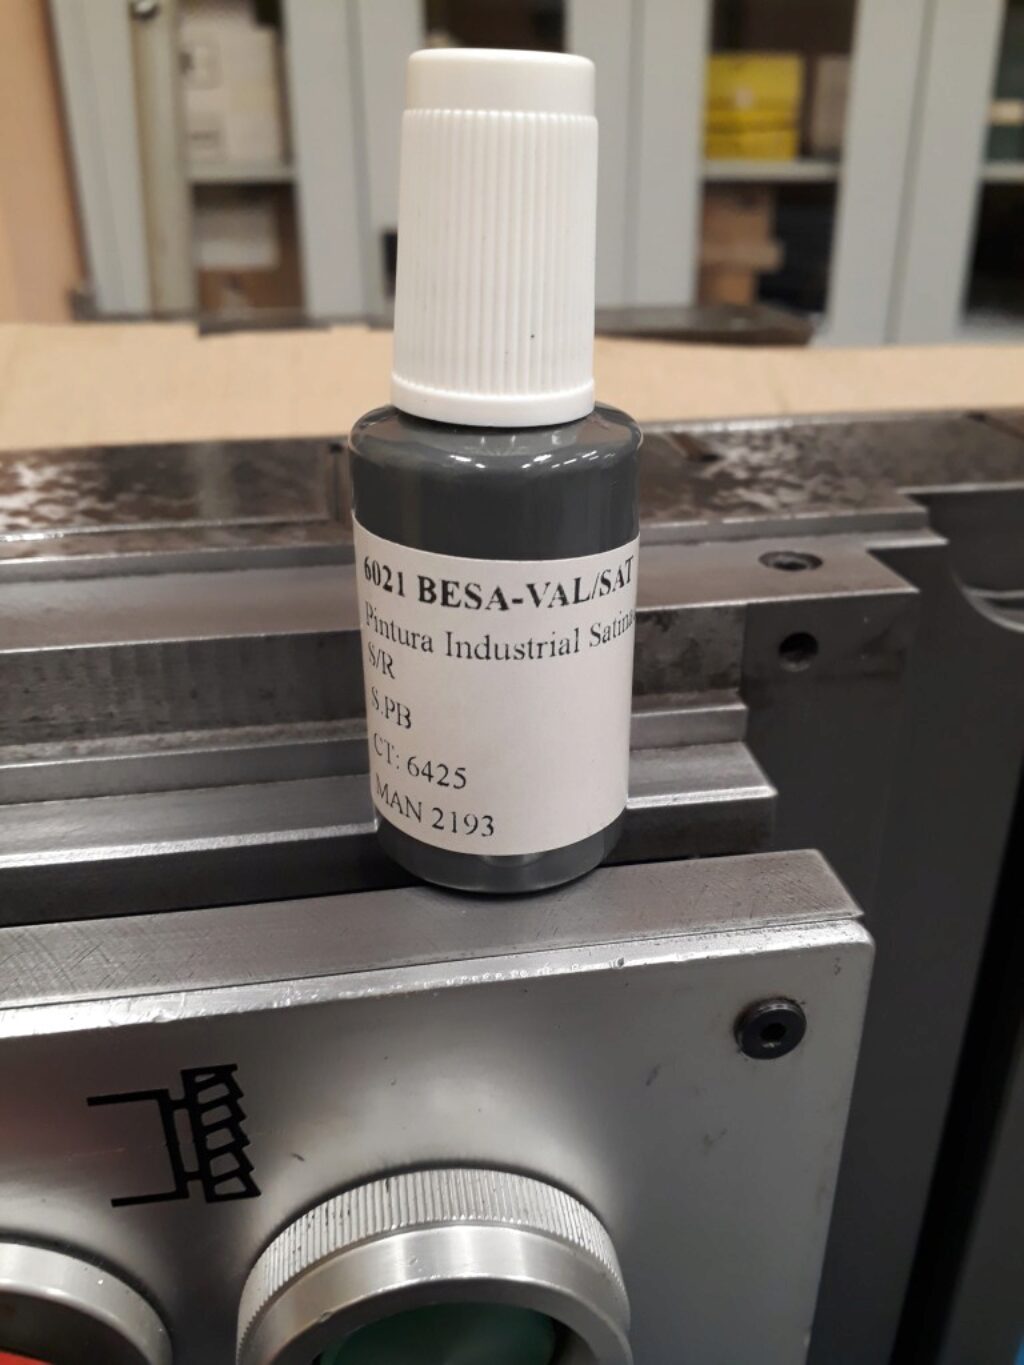
Applied over the original pint, the result is realy close as can be seen in this picture:
Unfortunately, the precise hue cannot be shared because the provider use an internal reference instead of a standard color specification.
Paint rollers, spray cans and guns
I was commited to give the grey tone parts a good appearance as it is suposed to have a Schaublin machine :-). I have a good experience with fine pore foam rollers in the past. However, the coating I’m using is really aggresive with the foam and makes difficult to do a good job with it. In the last machine I rebuilt, I used paint spray cans with a nice result: not very expensive, precise tone and, very convenient to apply and manage. Thus, I wanted too try spray cans with PUR coating. The experience deserves some comments.
There are two kind of 2K PUR spray cans: say pre-mixed and on-time mixed. My coatings provider can prepare both kinds with any custom color and with any gloss level.
Pre-mixed cans are filled with the PUR base, the hardener and a component that retains the hardener effect until paint is sprayed. Then, the can has a log pot live. Paint applyed well enough. The result, however, was upsetting. After a long period of curing, the coating was very sensible to chemical agents and not very scratch resistant. Even a drop of alcohol was able to dissolve the coating. I would say it was worst than usual alkyd enamel.
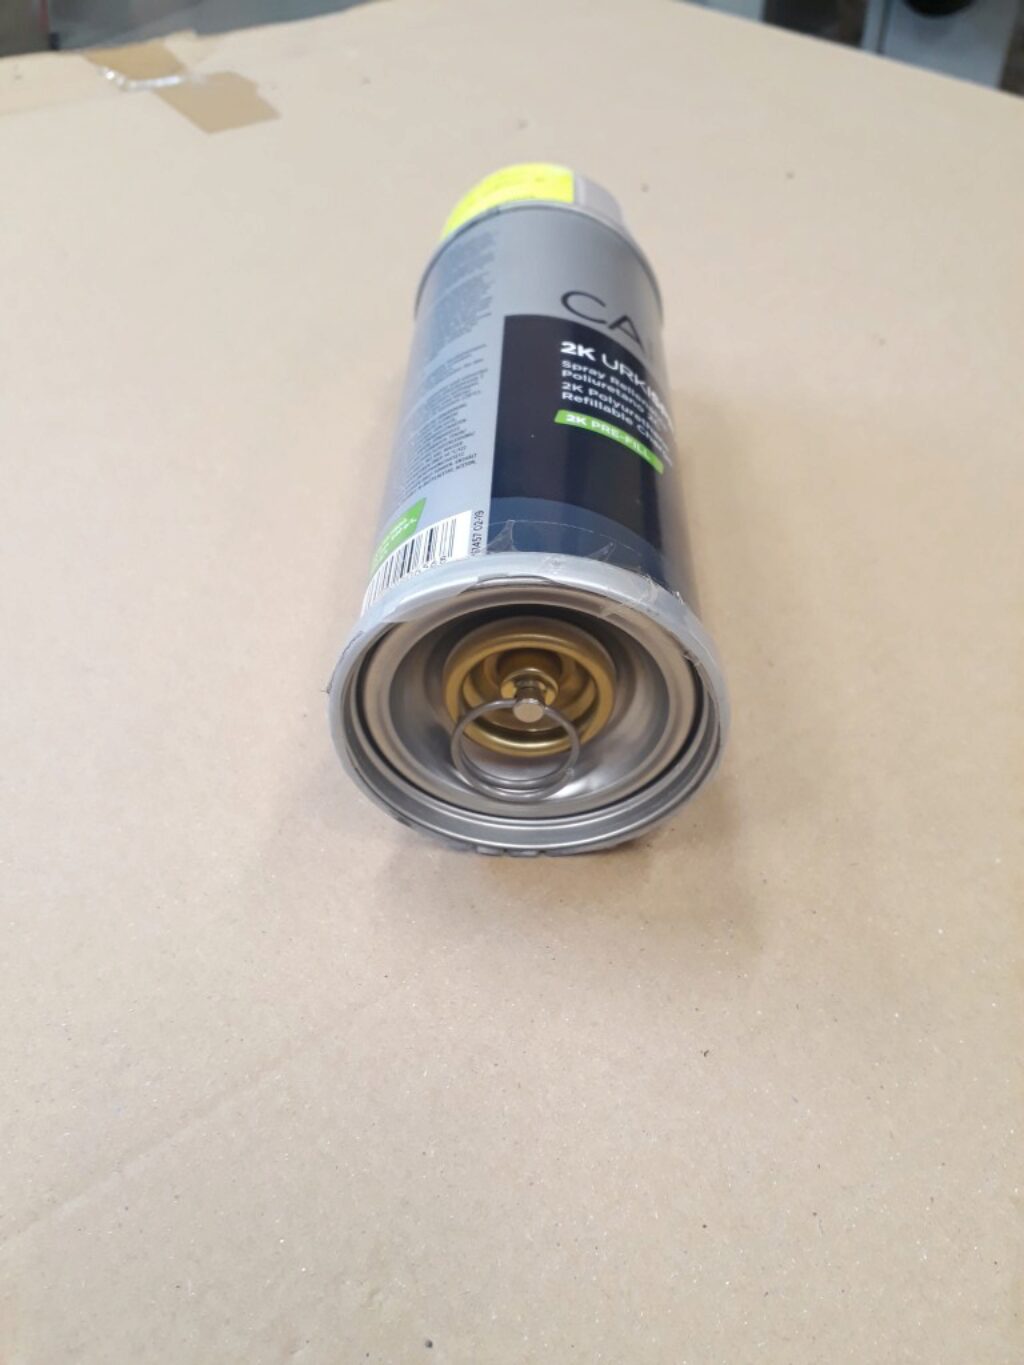
On-time cans have a double compartment. One contains the PUR base and the other contains the hardener. Both can be mixed by a mechanical action that destroys the comparments bulkhead. This is usually done by acting on the bottom of the can. This makes this kind of cans easyly identified. In this case, the experiment was much more successful. The coating dryed faster —although not very fast—, and after the curing time the coating was much more resistent to scratches and usual chemical products. However, cans are really expensive, coating is not so hard as a home mixed PUR uses to be and pot live is short —it lasts some days—.
The picture below shows the bottom of a on-time can: you can see the mechanism to destroy the internal bulkhead and activate the hardener.
After all these tests, I decided to fall back into the classical mix-yourself-and-gun-spray-it procedure.
Painting guns and compressor
I have some experience using a spray gun long time ago. I applyed PUR varnish to many of my furniture. Result was good enough, but I learned that you need an important air flow achieve good results. Things in this area have improved: the transfer ratio of guns is much better, partially by the environmental regulations. So, I was determined to find a small, low flow and high transfer ratio spry gun to replace my old Sata.
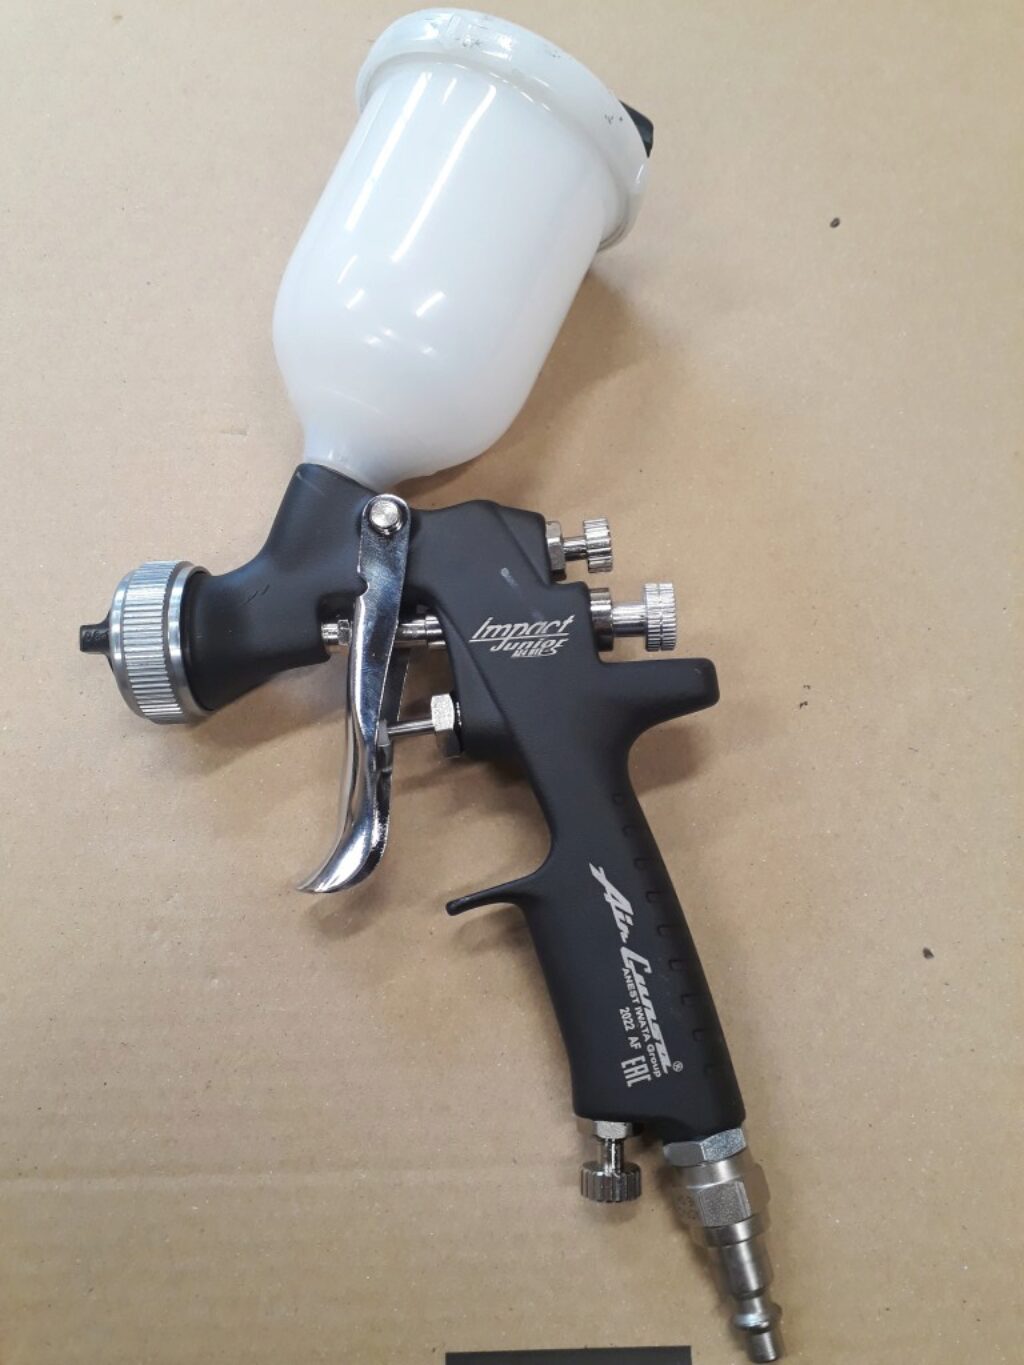
After reading and looking here and there I got a cheap Iwata AZ4. A first sight when arrived confirms that it is not the best well finished gun nor the best material at all. I mounted the AZ1 1.3mm cap and needle. Despite the quality, the gun is impressive when used. At 1 bar it sprays very nicely and makes easy to get very good and smooth surfaces. Air consumtion is really low. A 1 KW compressor is absolutely enough to drive the gun. It has a fan size perfectly well suited to small and medium size machines we are used to overhaul. The transfer ratio is really good and almost no paint fog floats in the air. I really recommend it.
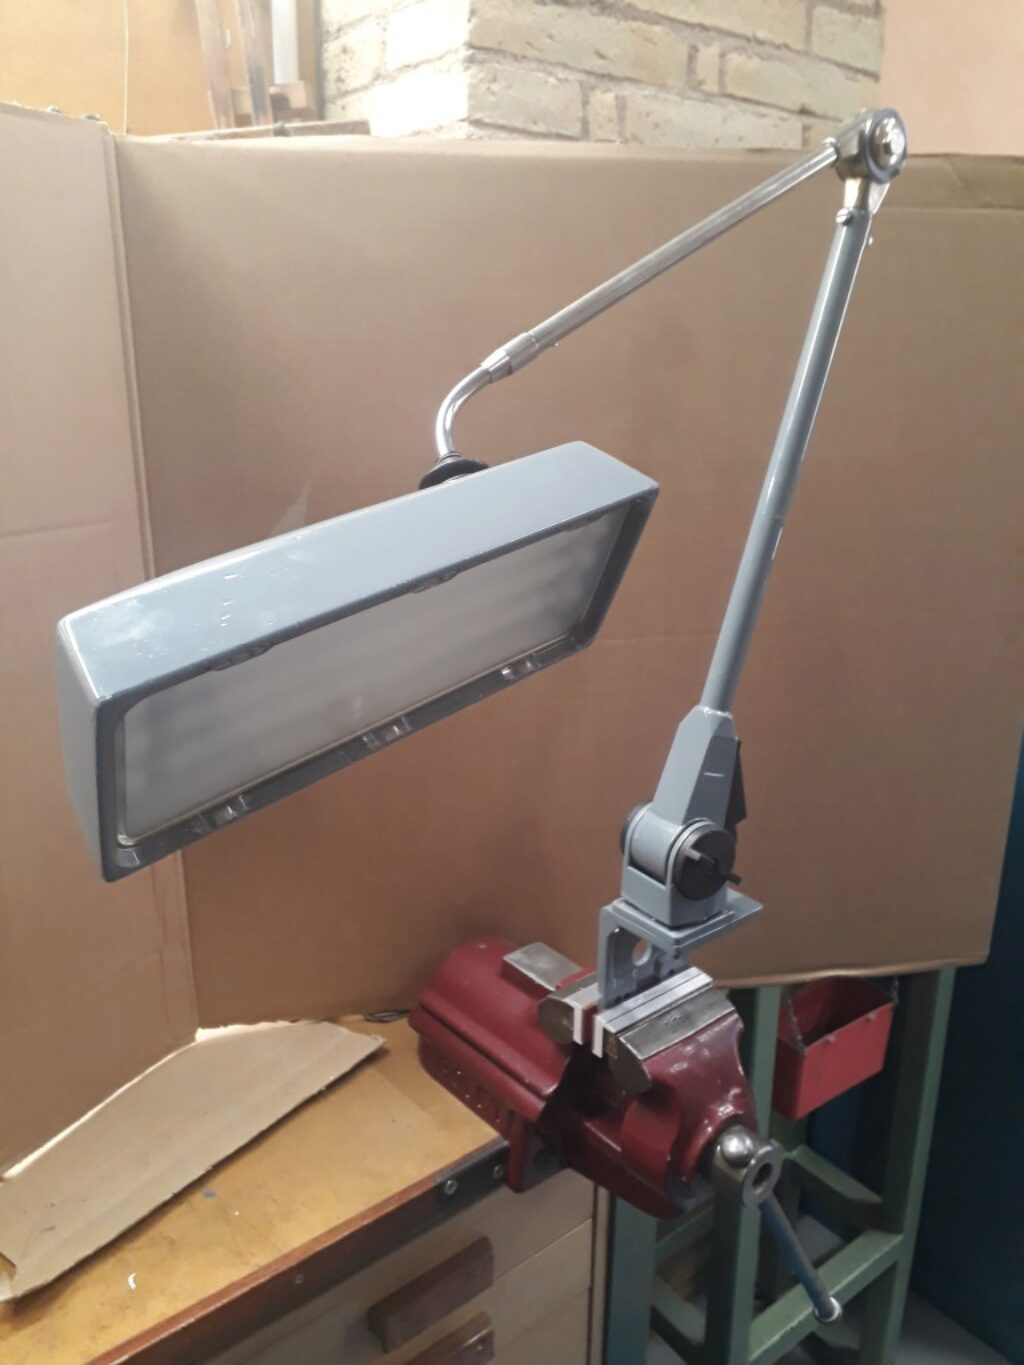
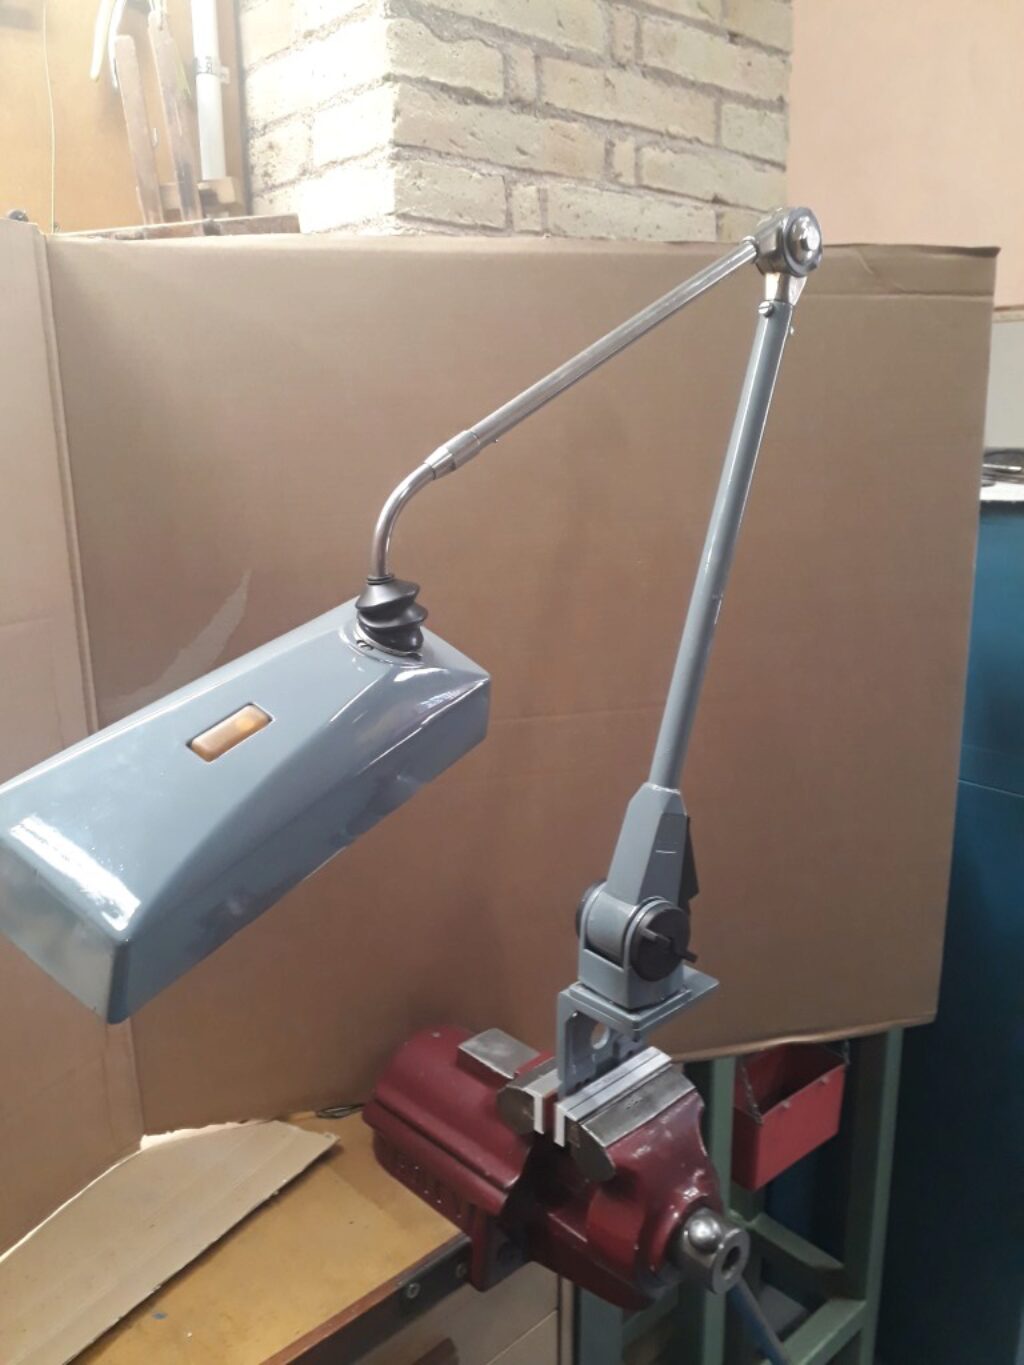
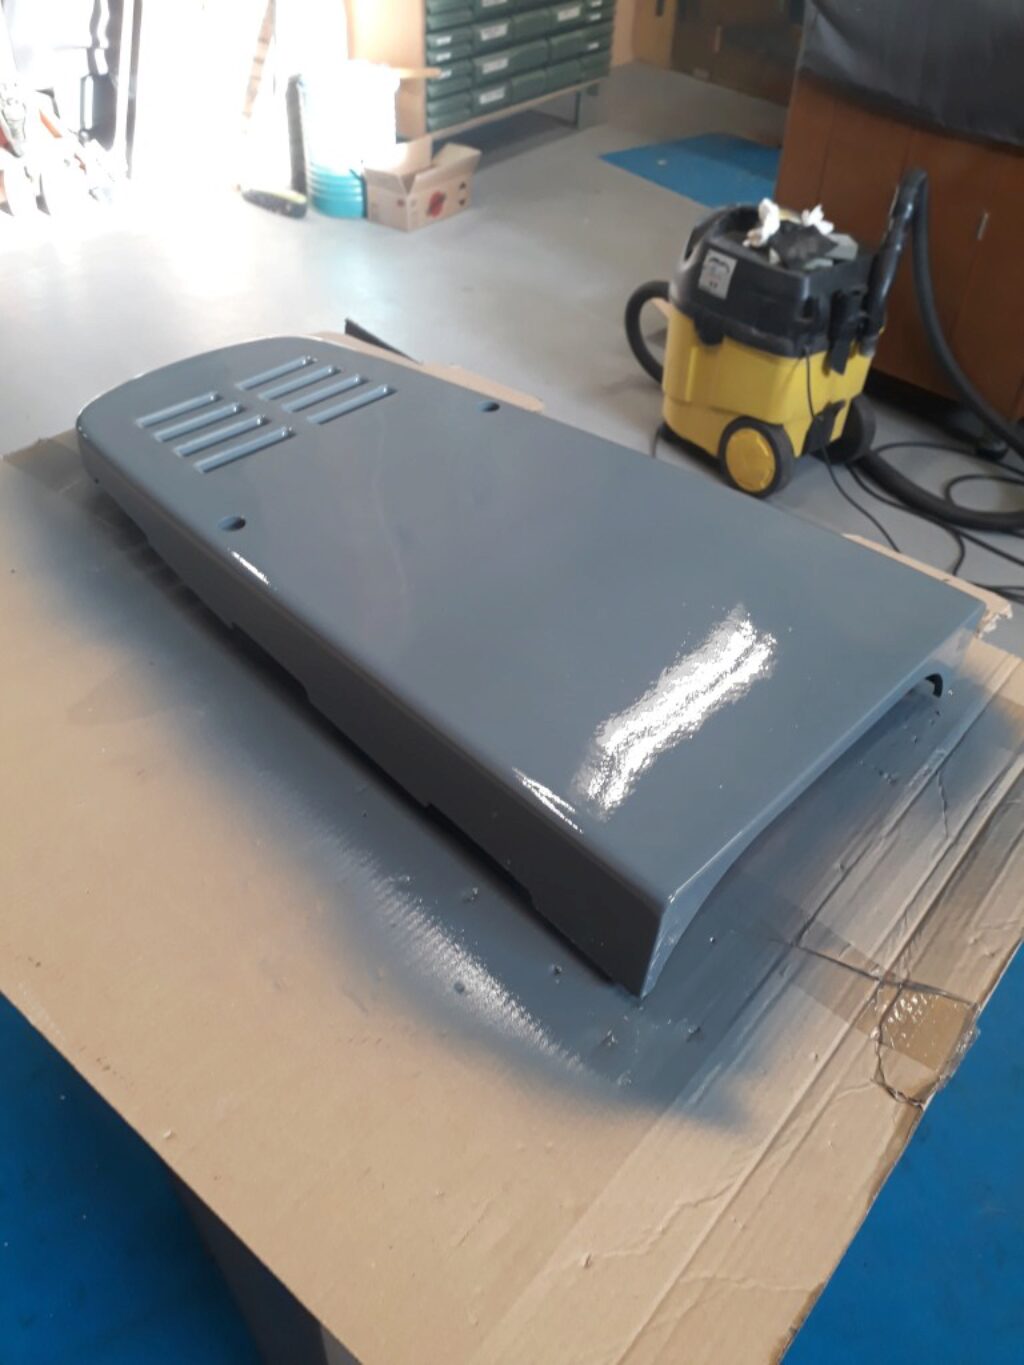
To test the gun, I have given a new layer of paint to the milling machine Waldmann lamp. I previously used it to test the on-time PUR can. The result was very satifying. It can be seen on the next pictures.
Paint the main casting
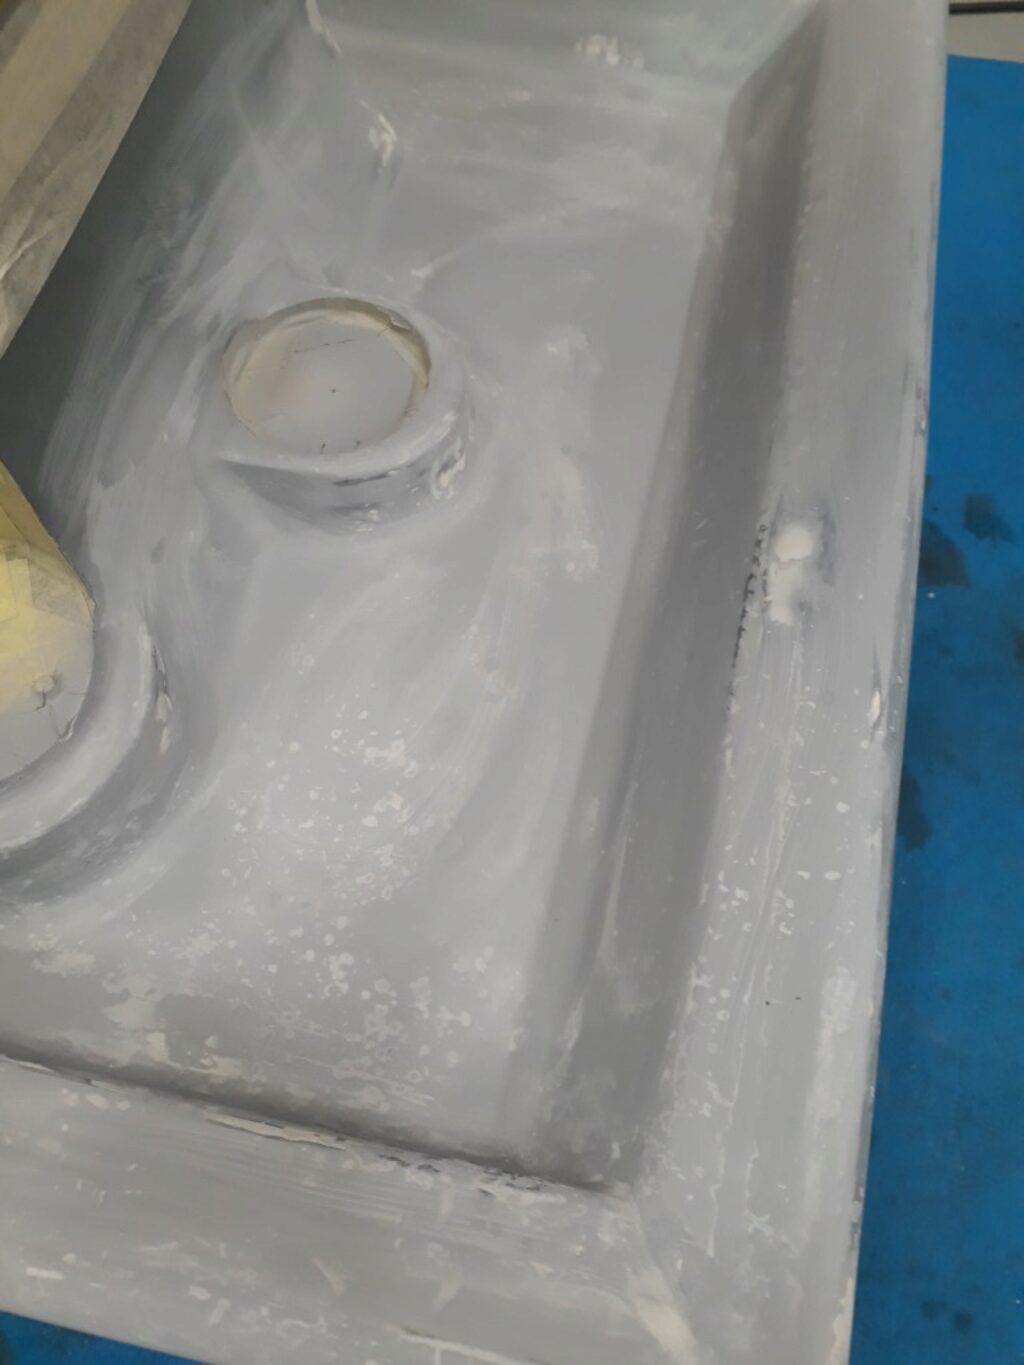
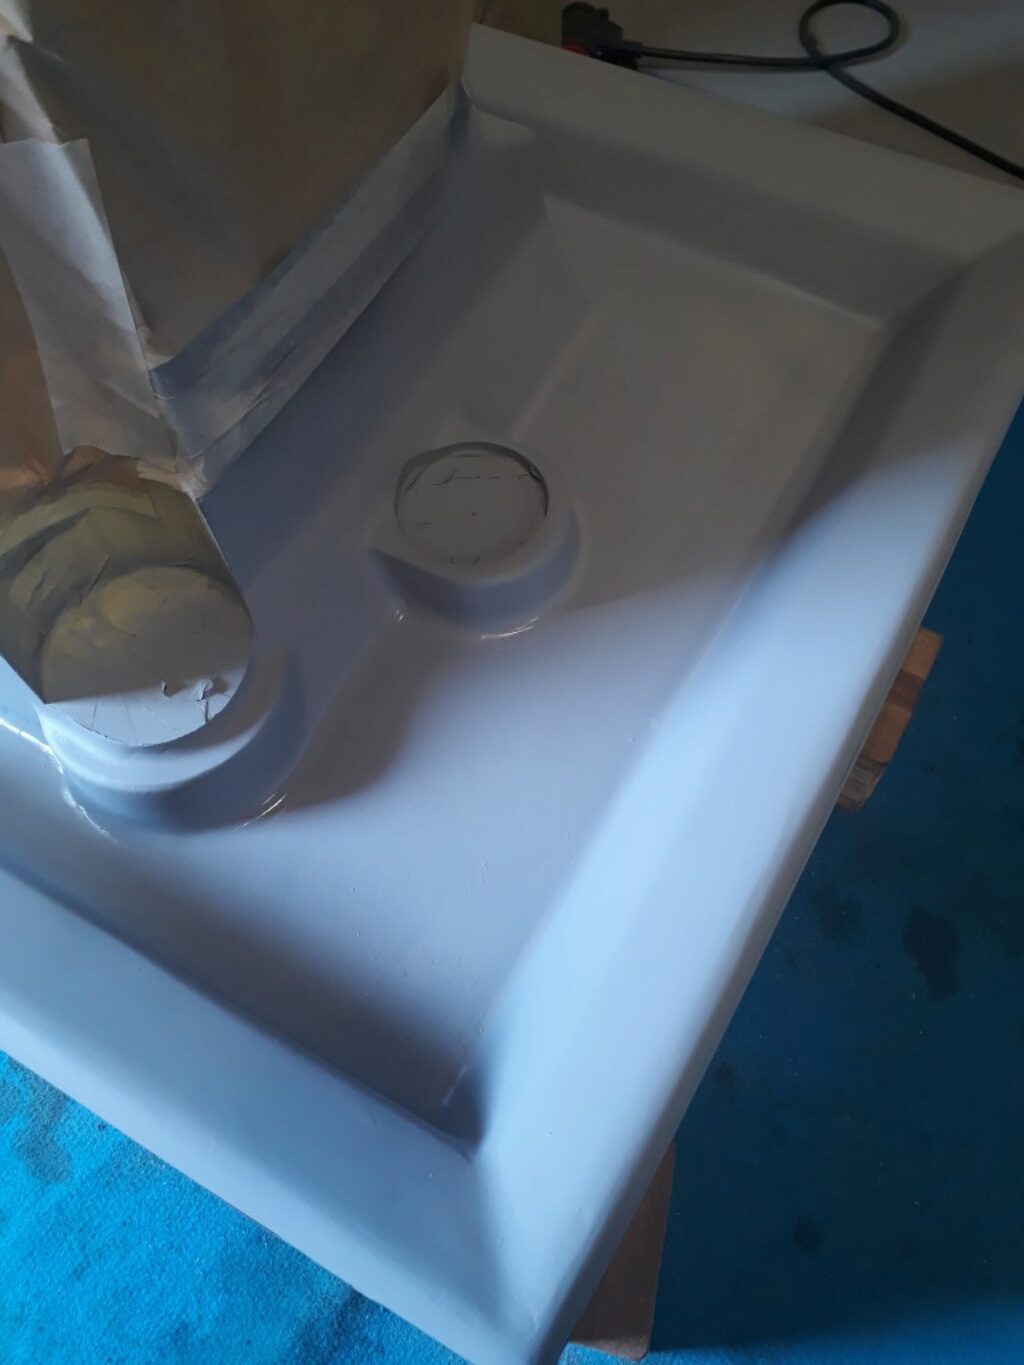
Finally, I painted all the main casting. First, the oil bassin is prepared and painted. Then, all the casting —including the bassin– is prepared and painted with two layers of 2K PU coating. Below, you can see some pictires of the overall process.
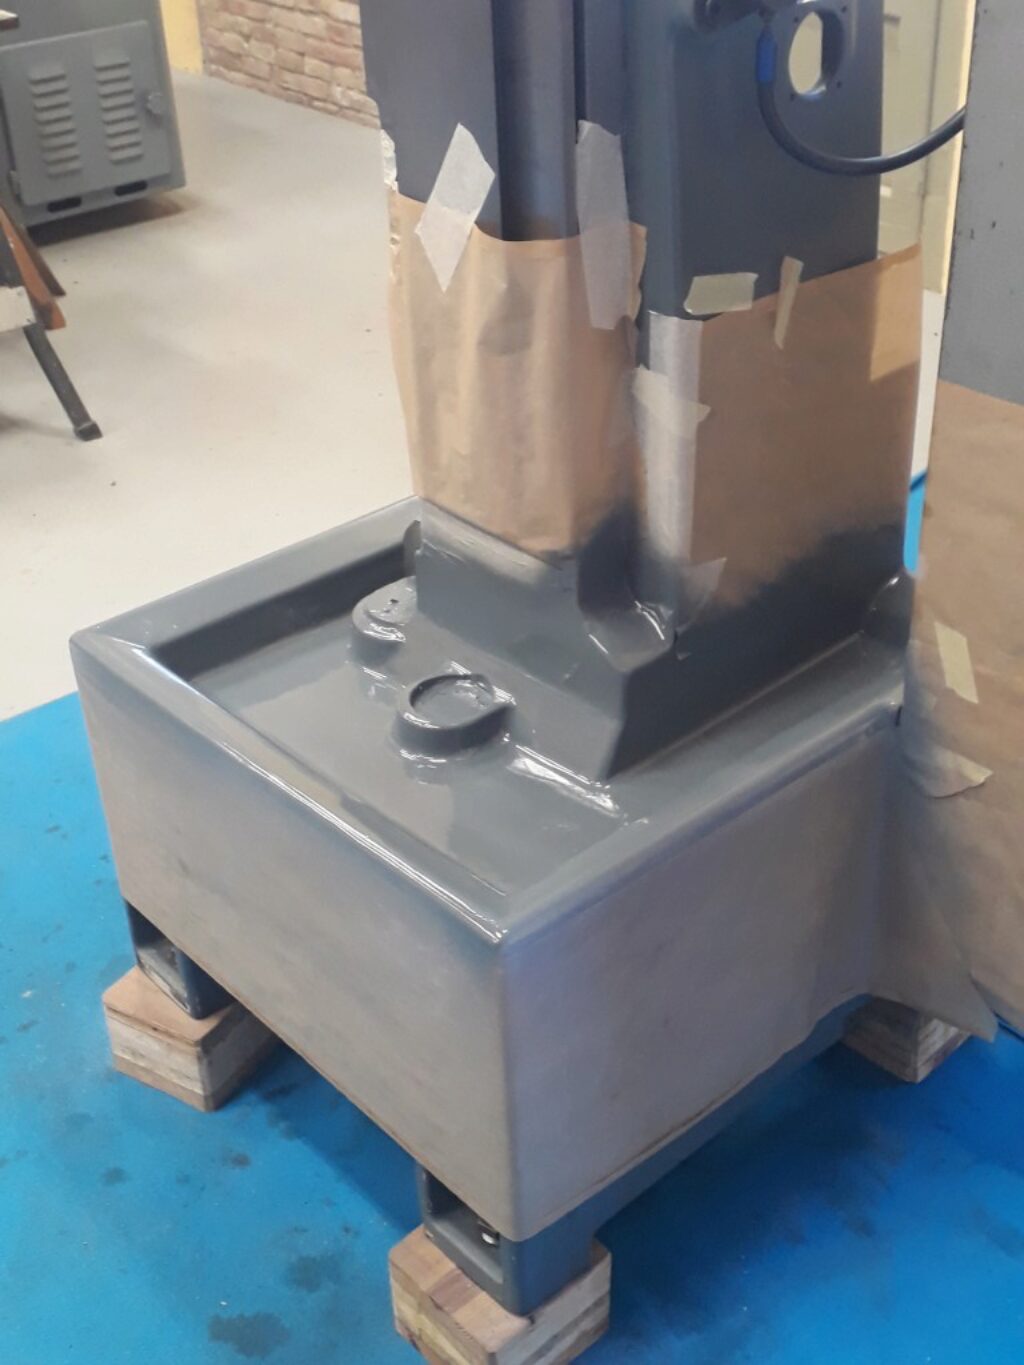
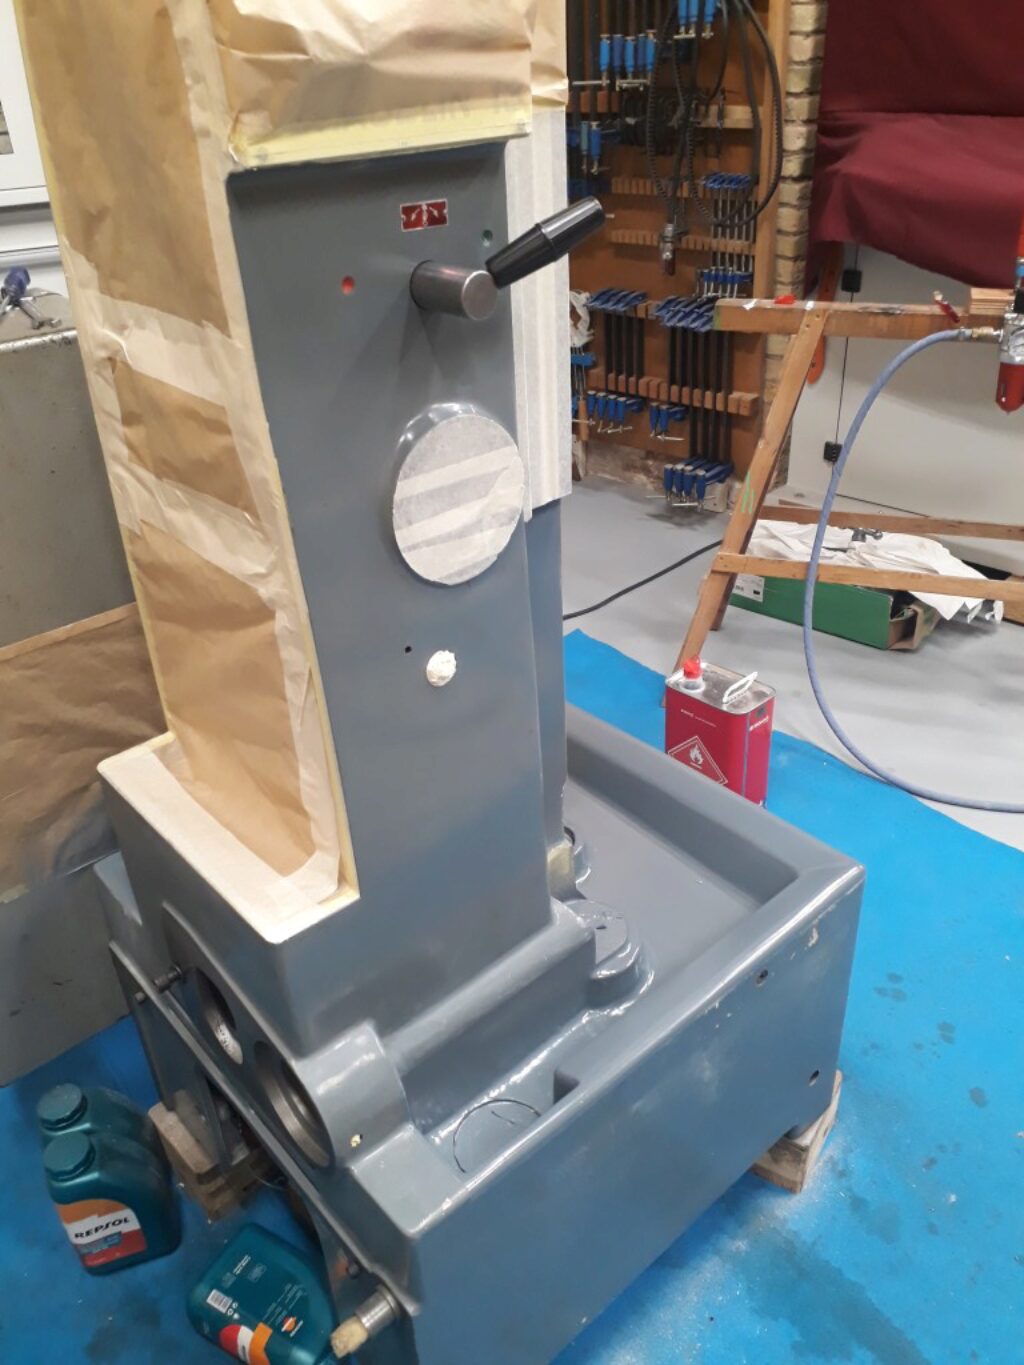
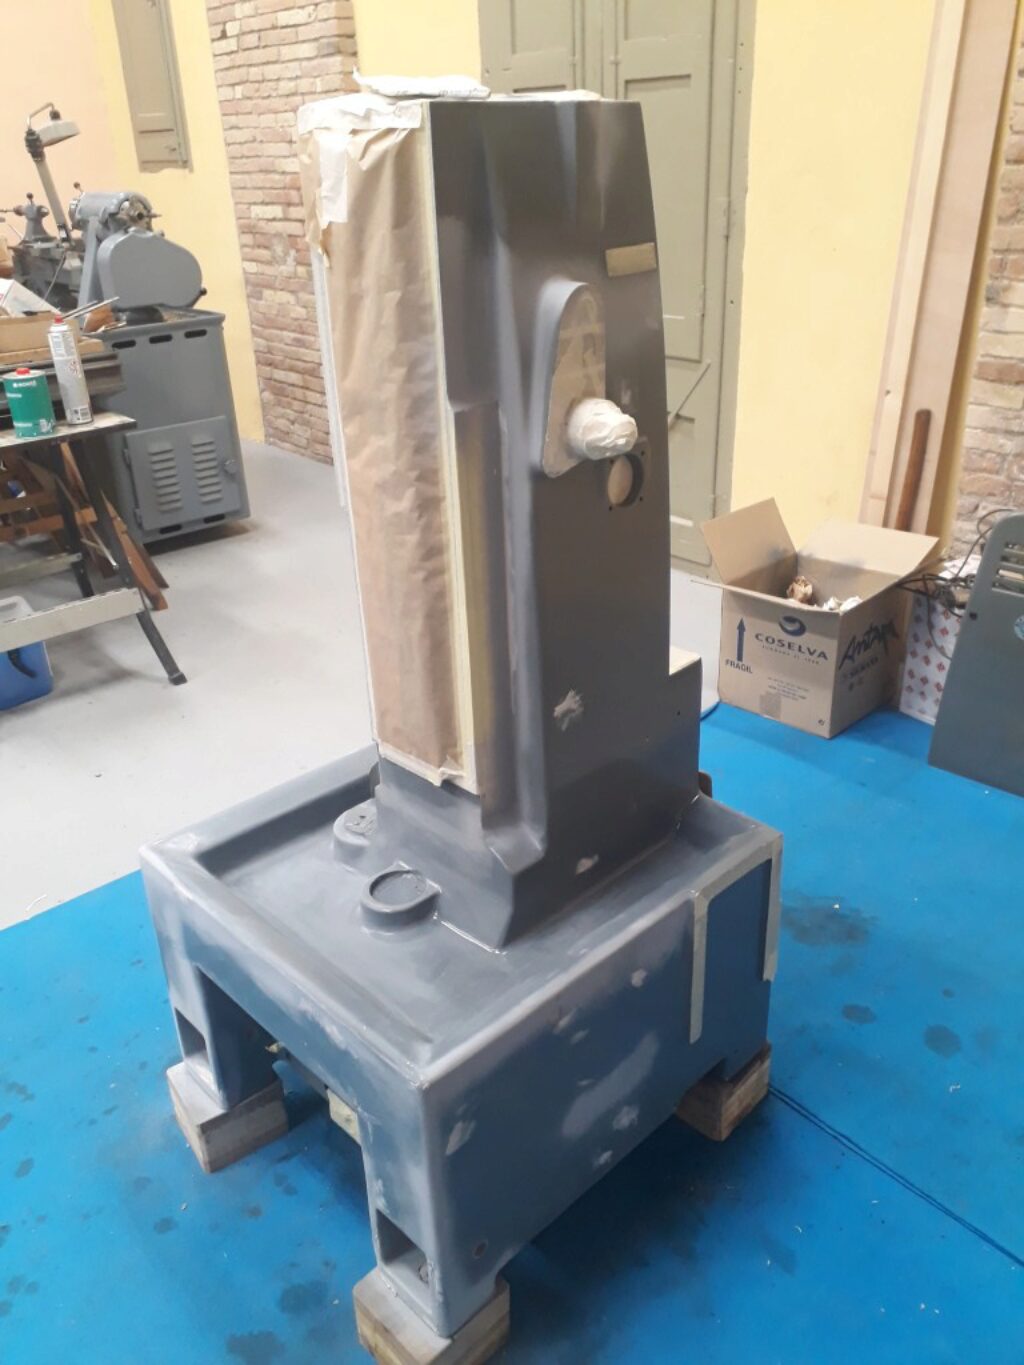
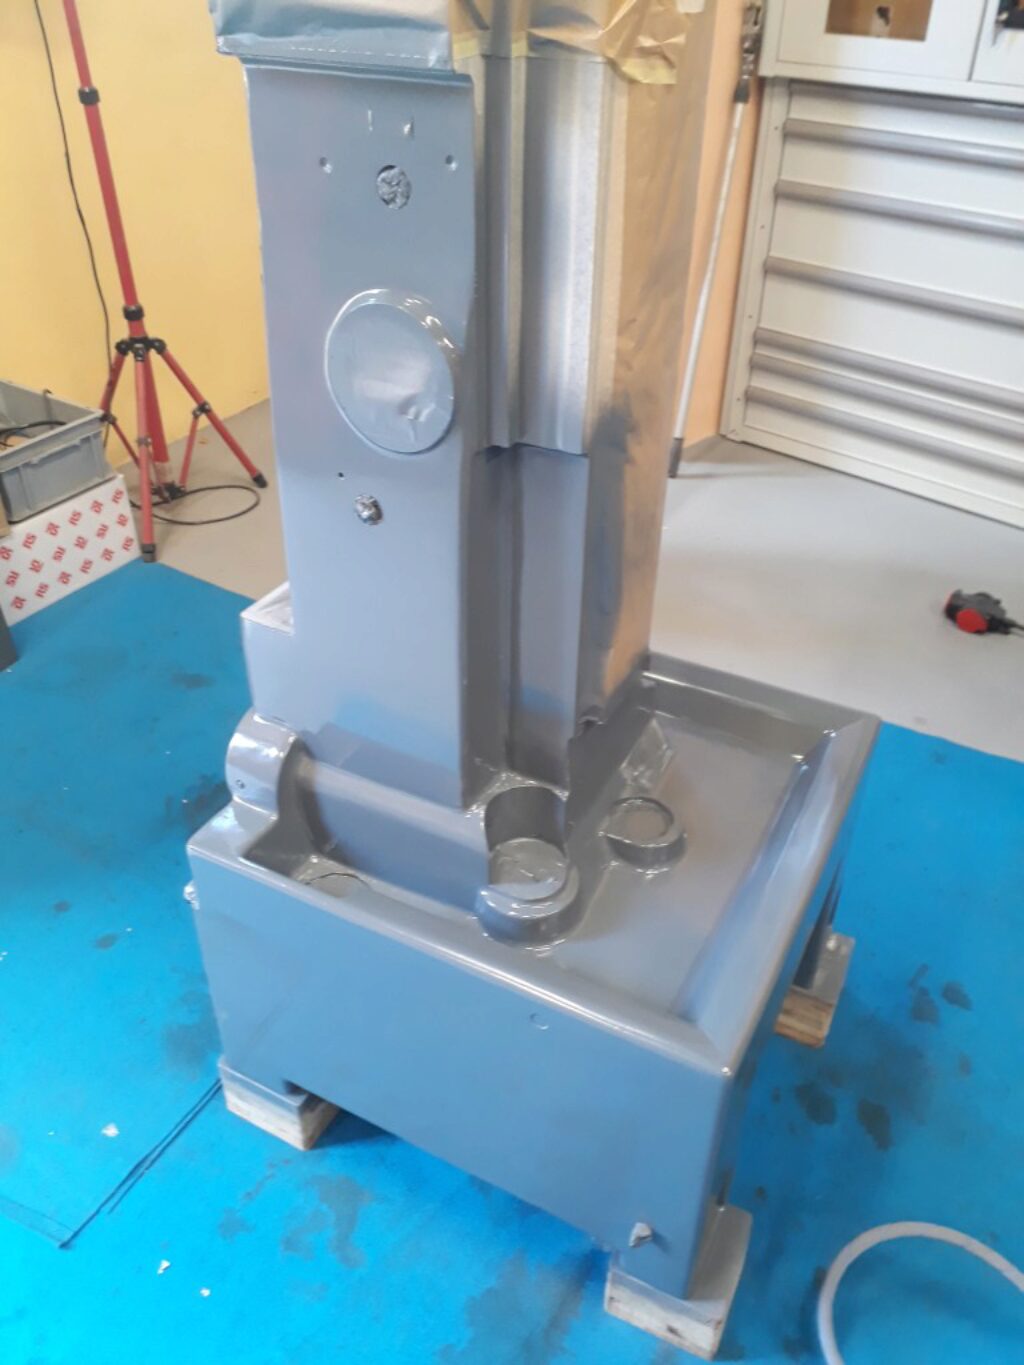

This is the result.