The last summer I spent some time to design and make some cabinets to store my material under the worktable. I had no time to report about before. In this post I will show some details.
Some time ago I decided to invest time until every tool has its place. That means to bought or to build storage solutions for every part and tool and, to some extent, to provide space for future tooling. It was a hard decision but now I’m happy with it. One of the last cabinets or maybe the last, who knows, is a rack of drawers to go under the worktable. As many of the cabinets I made for the garage, I decided to use MDF combined with plywood and then varnish it. I will use slide guides for the drawers after the really good experience with the Worner B13 cabinet.
Design and plan the cutlist
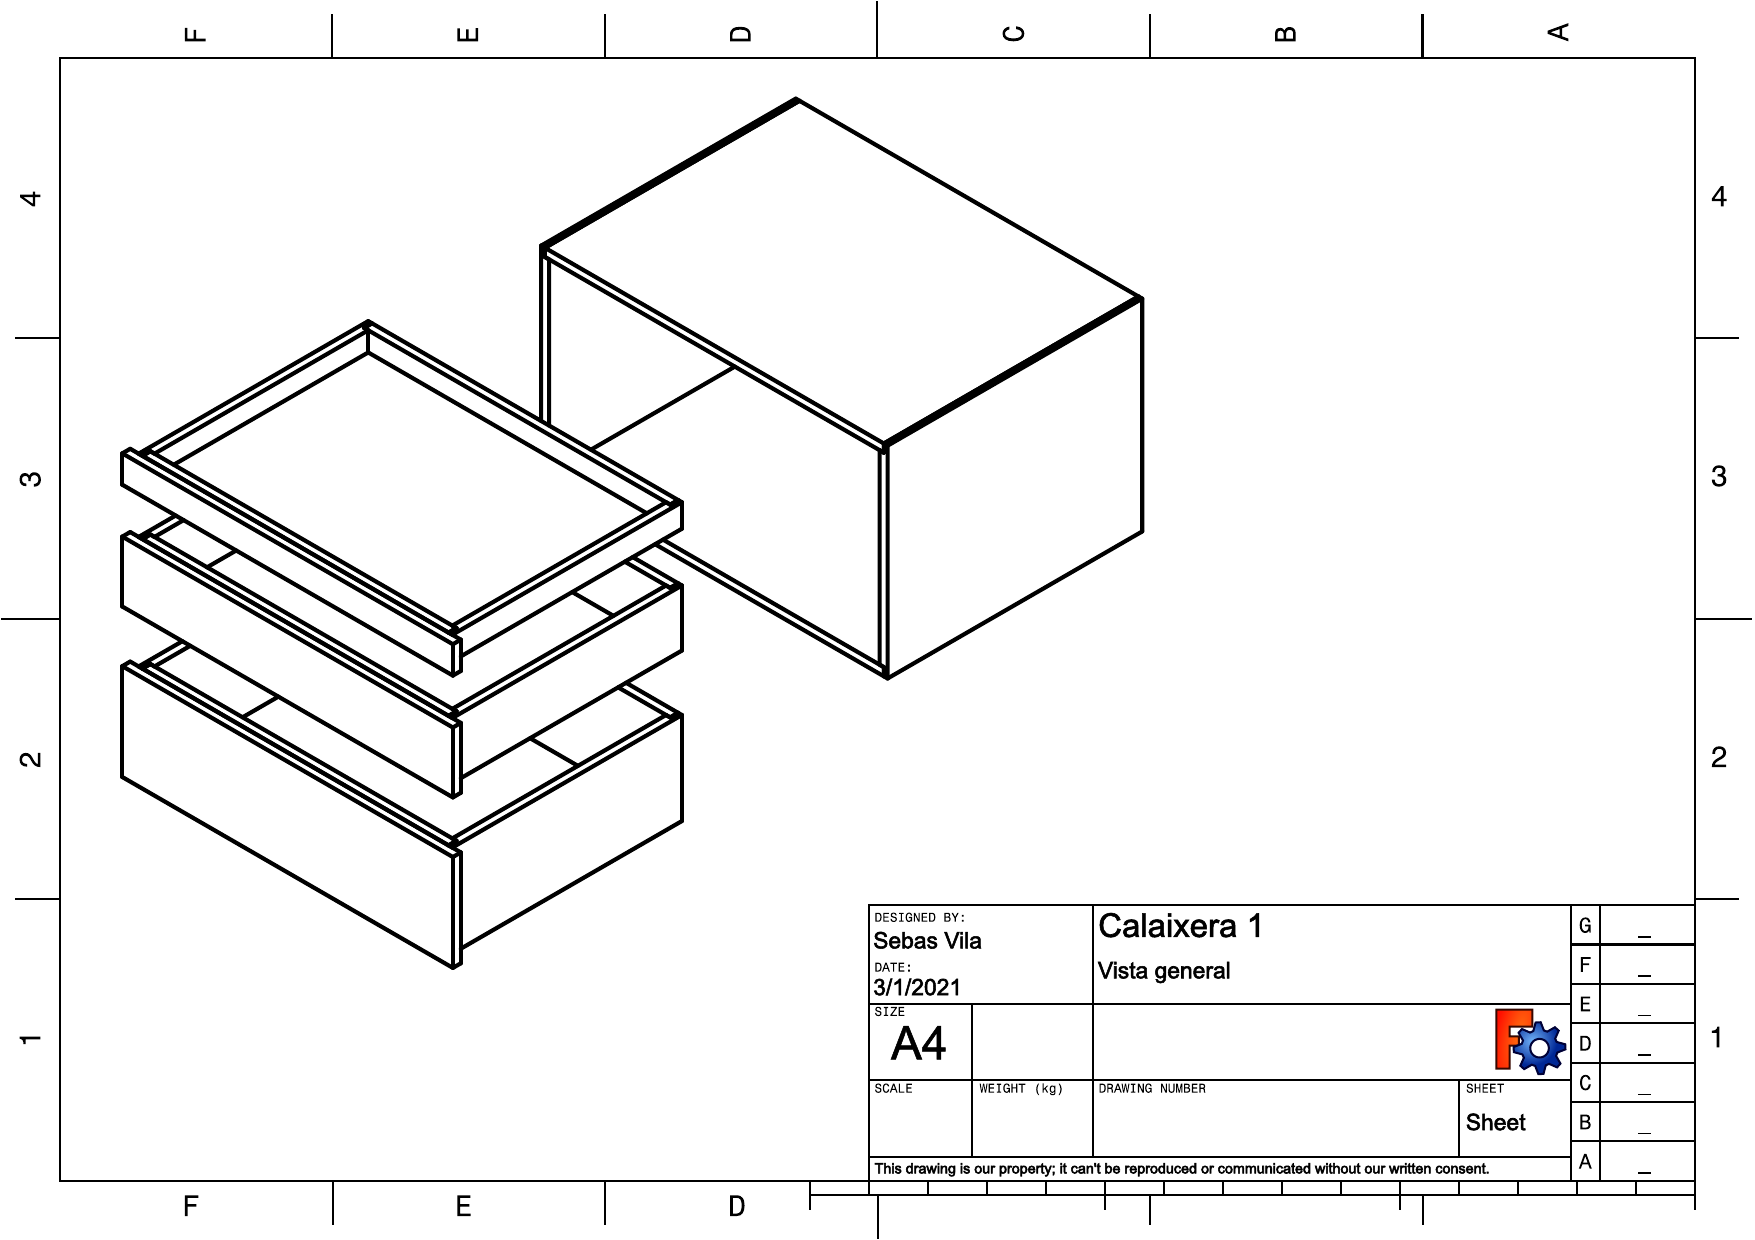
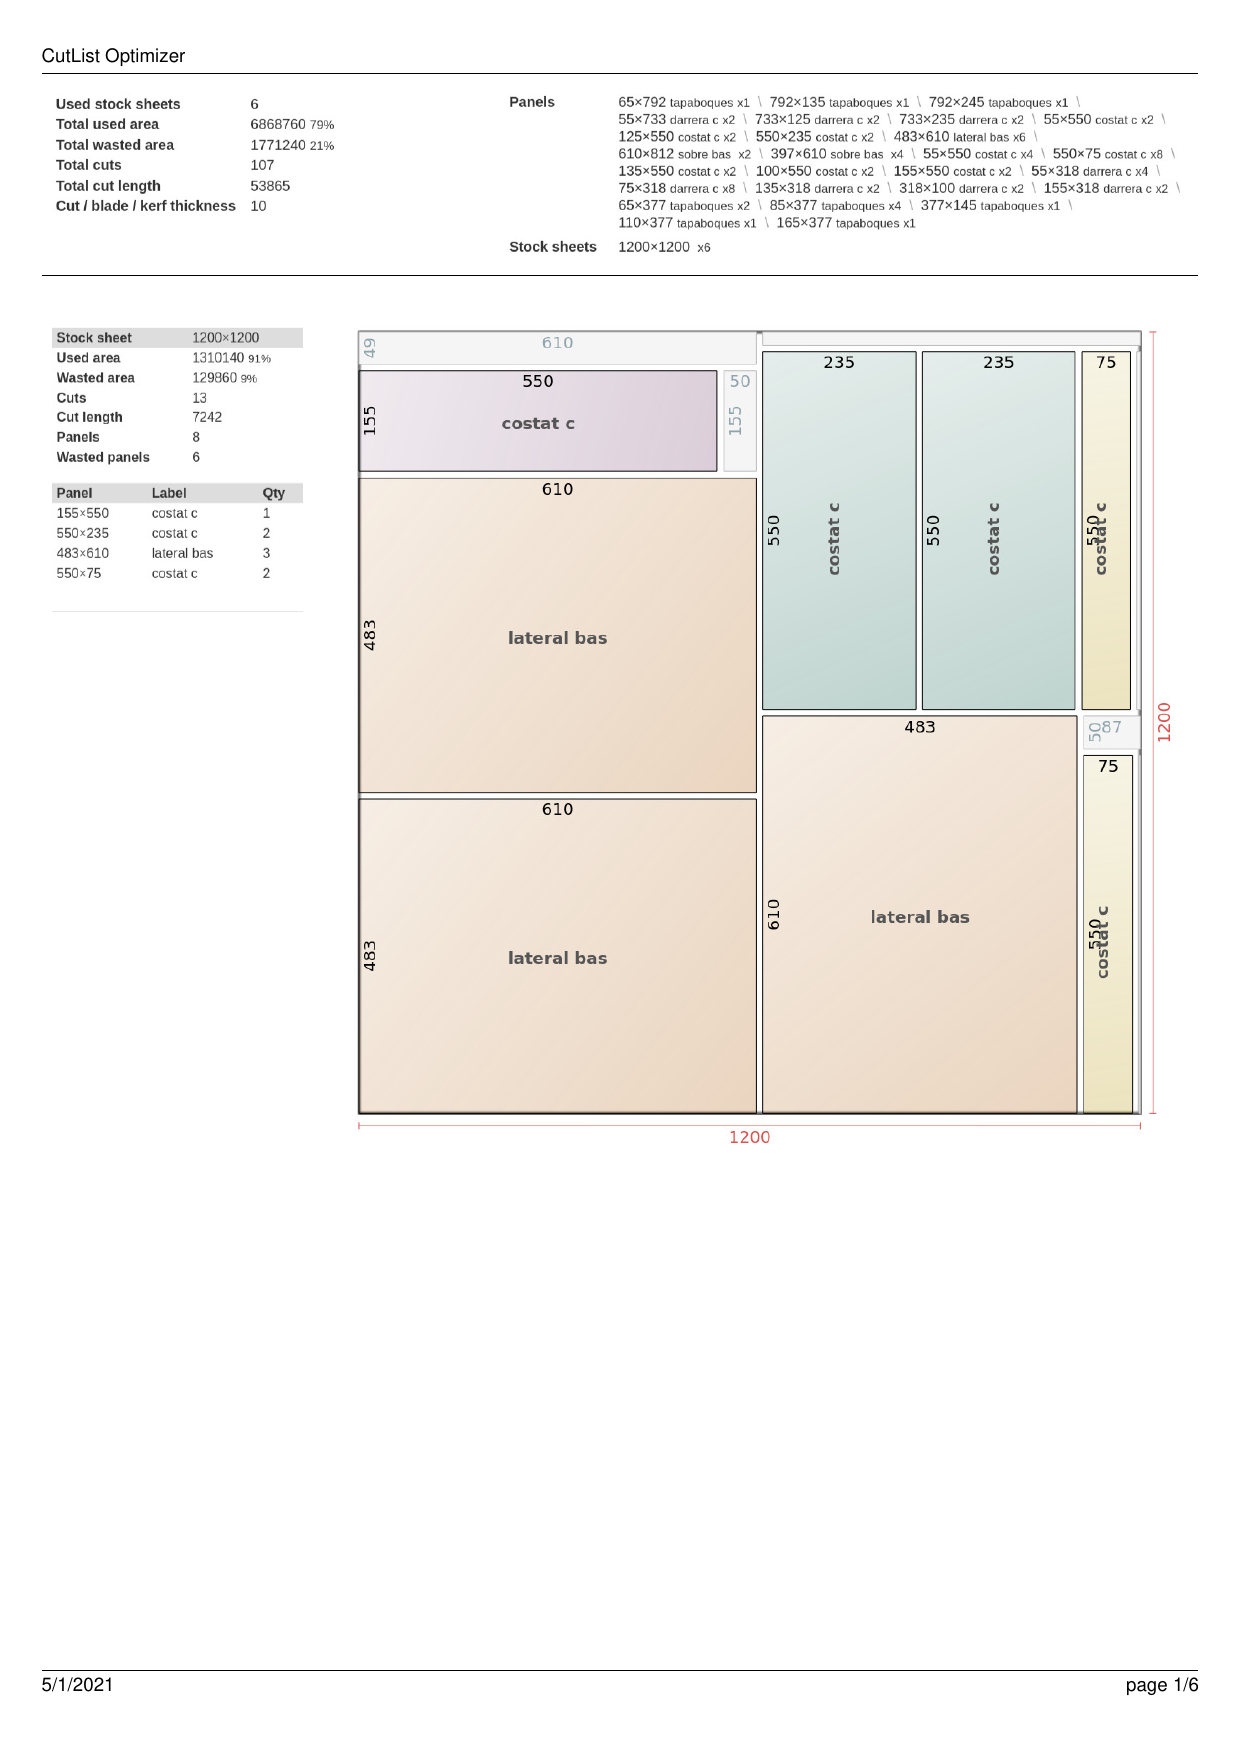
In this project we will use a new (for me) strategy. I will make confidence to a cut optimizer software and plan all the cuts first. This will require an increased care and organization but, if successfull, the wood waste will be minimized. I used Cut List Optimizer, a freely usable web software, to compute the panel cutting plan. To have a list of dimensioned panels I first designed the cabinets using FreeCAD. The result was a full model of the cabinets. The two pictures below show a general view of the drawer cabinet and an example of the (partial) cutlist.
Cut the panels
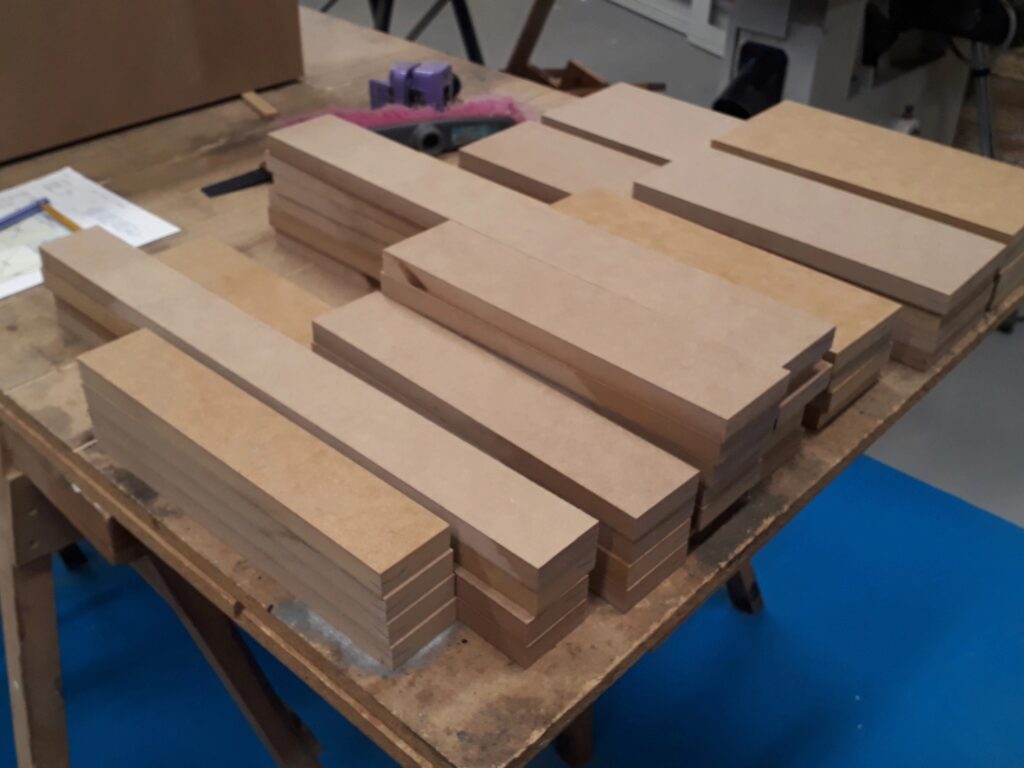
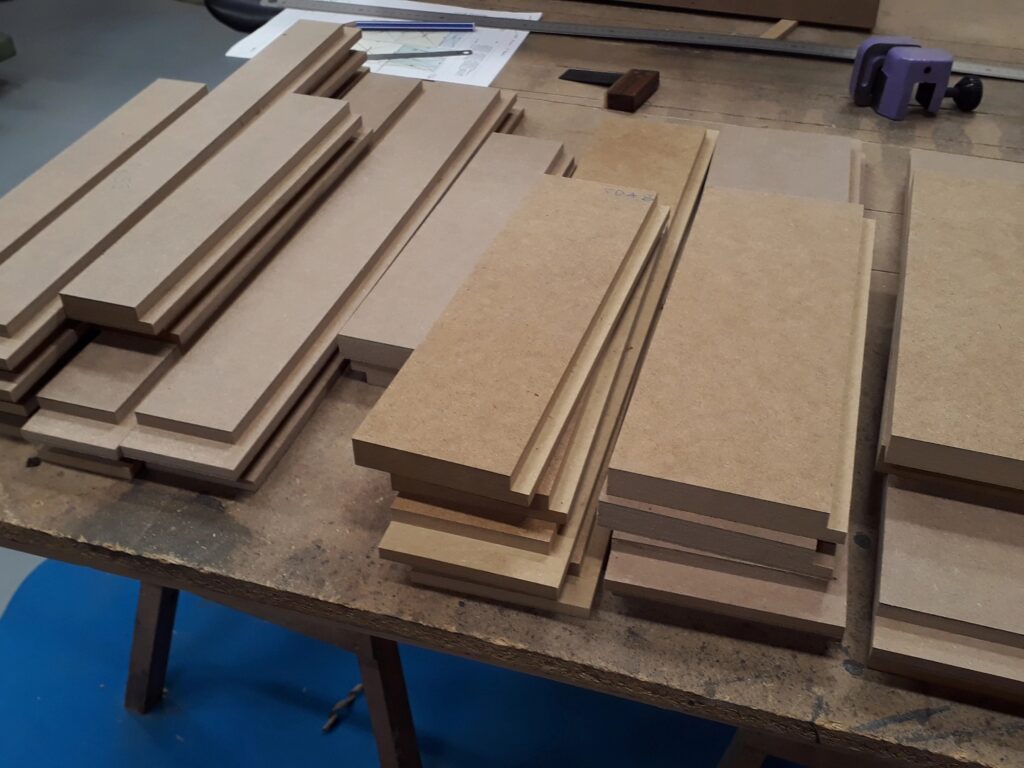
Blindly following the cutlist, I sawed the panels and ge them stacked on the table as shown in this picture:
Then, all panels are moulded to form the right panel joints. This is the partial result:
Assemble the parts
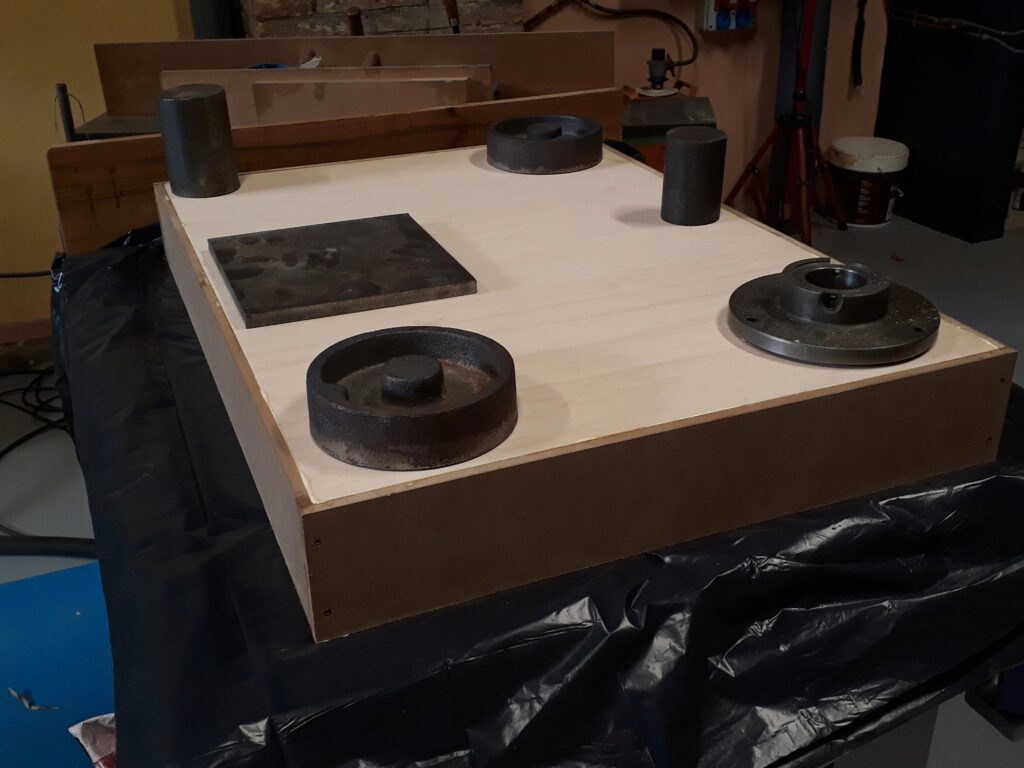
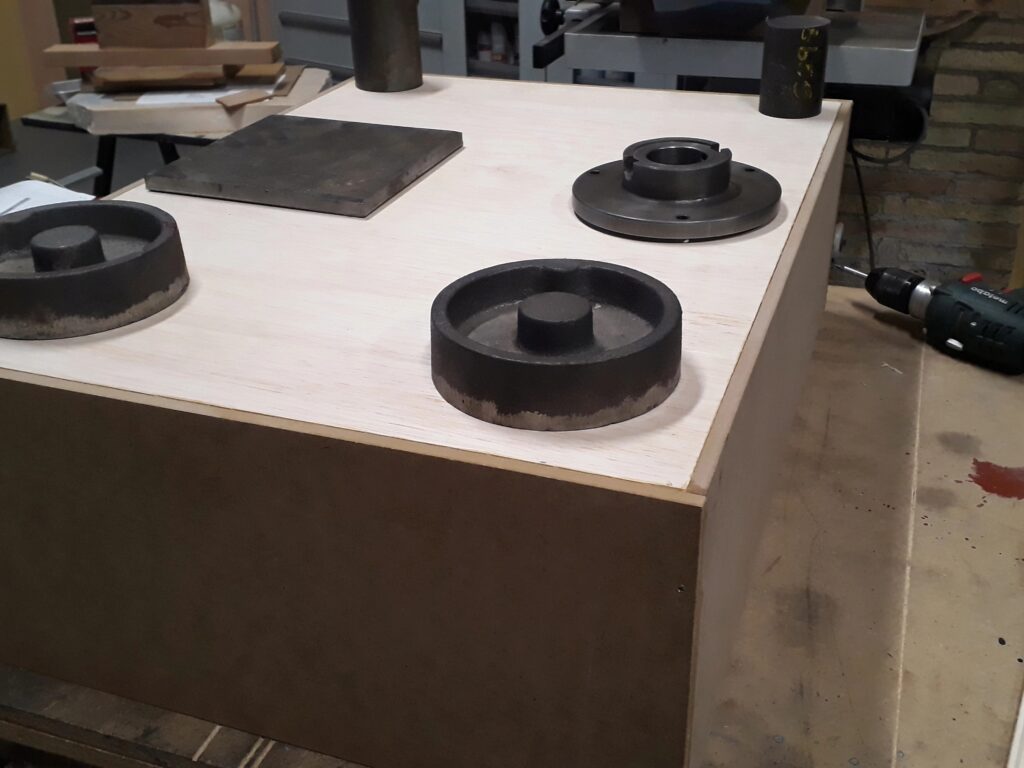
Next step was to assemble the parts to form the drawers and the cabinets. Assembling was done with glue and screws. The next pictures show some instants of the process.

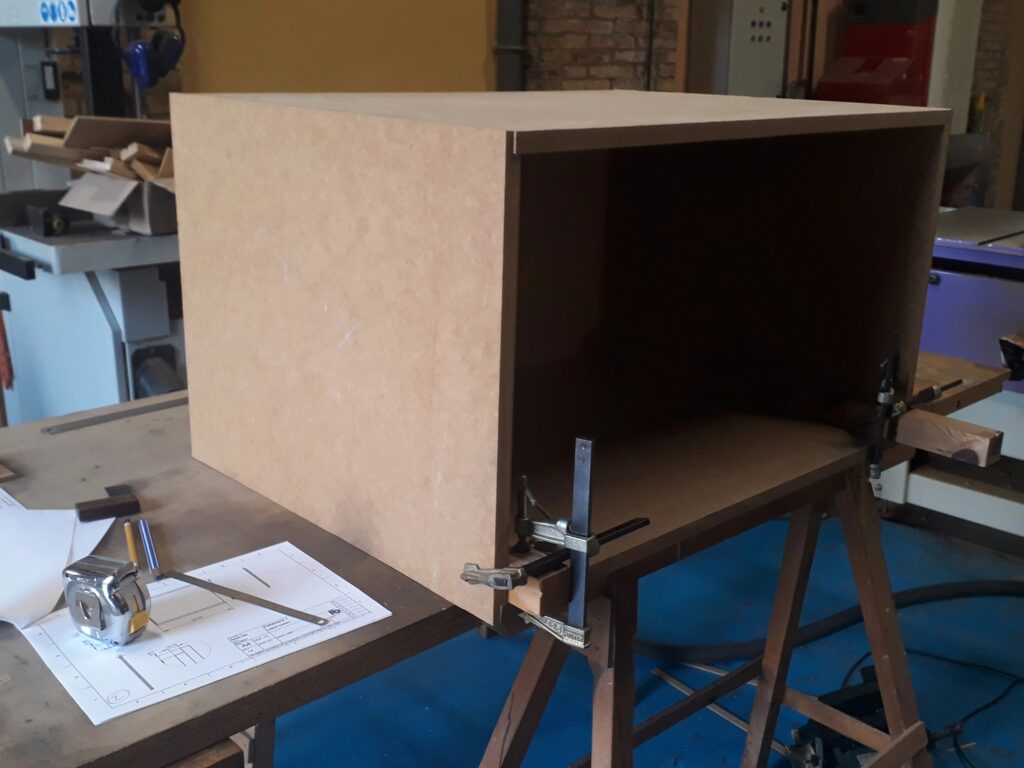
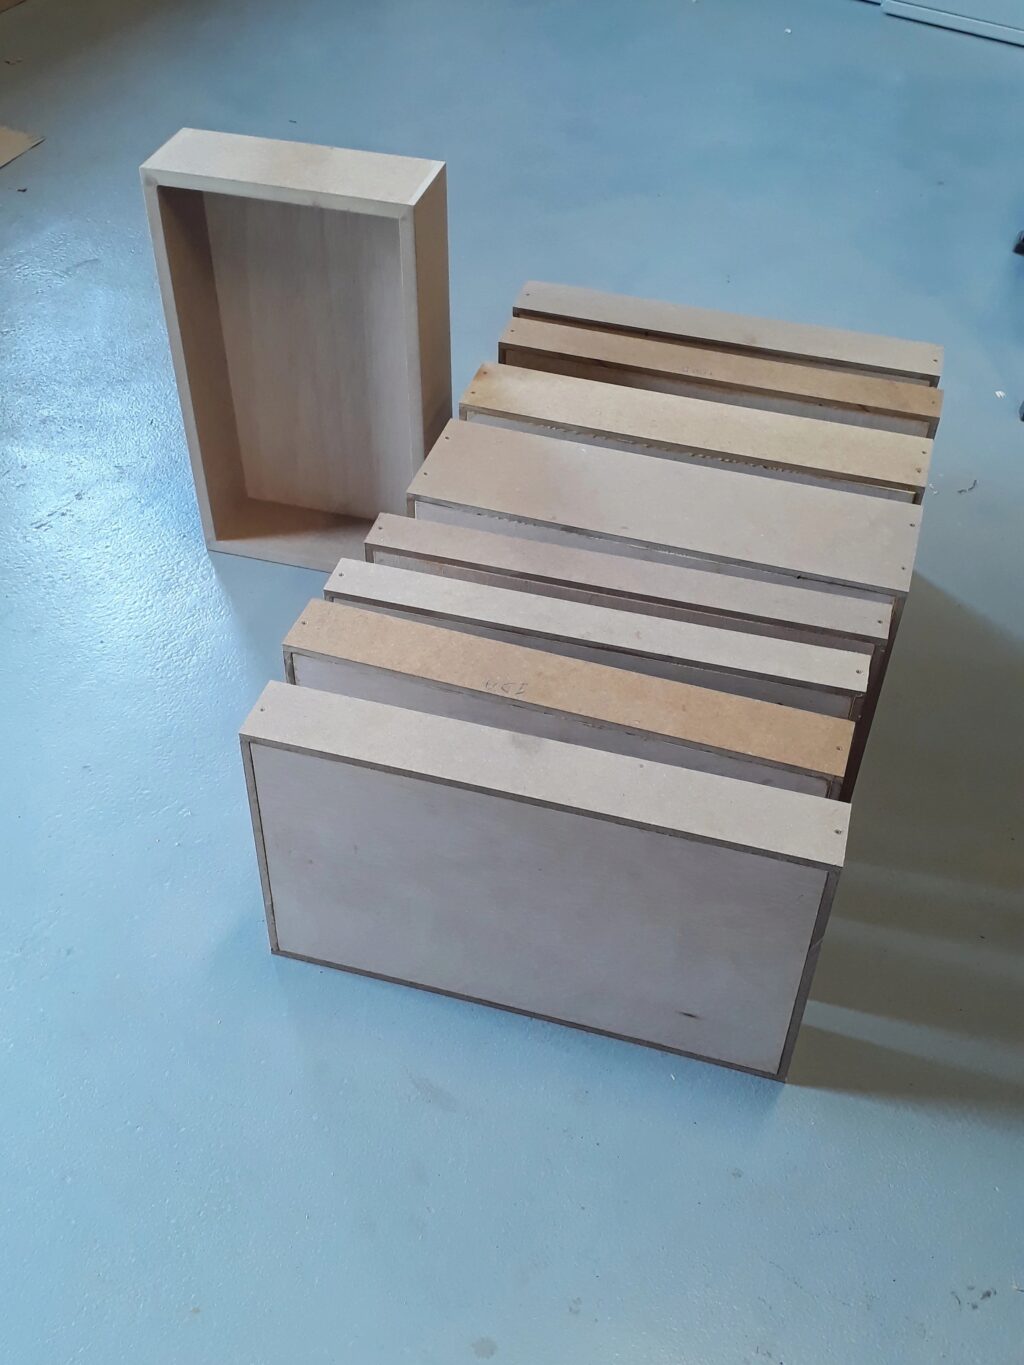
This is the set of drawers after being assembled:
Install the drawers and its slides
The drawers will use full extensions drawer slides from Thomas Regout. These slides have tight tolerances to assure a smooth feeling when opening and closing the drawers. Thus, cabinets and drawers where cut and assembled with utmost care to guarantee these tolerances. An installation manual from Thomas Regout gives some advice about the tolerances. The first check of the slides showed a nice fitting.
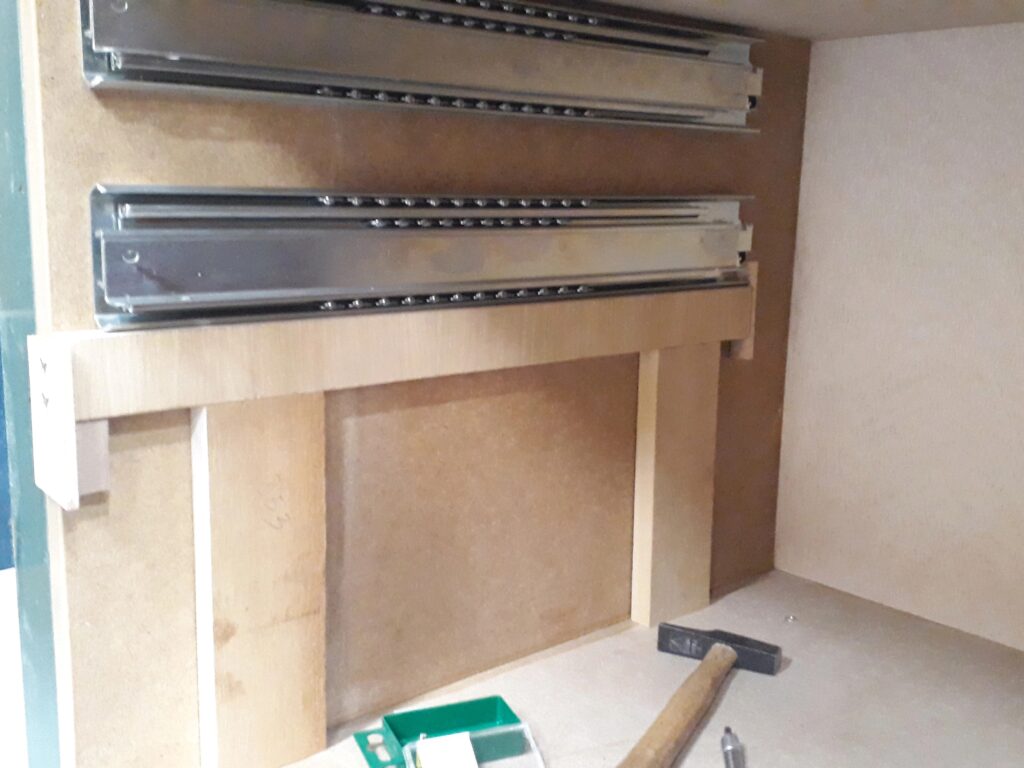
To screw the slides in its right place, I made a jig from scrap MDF like this one:
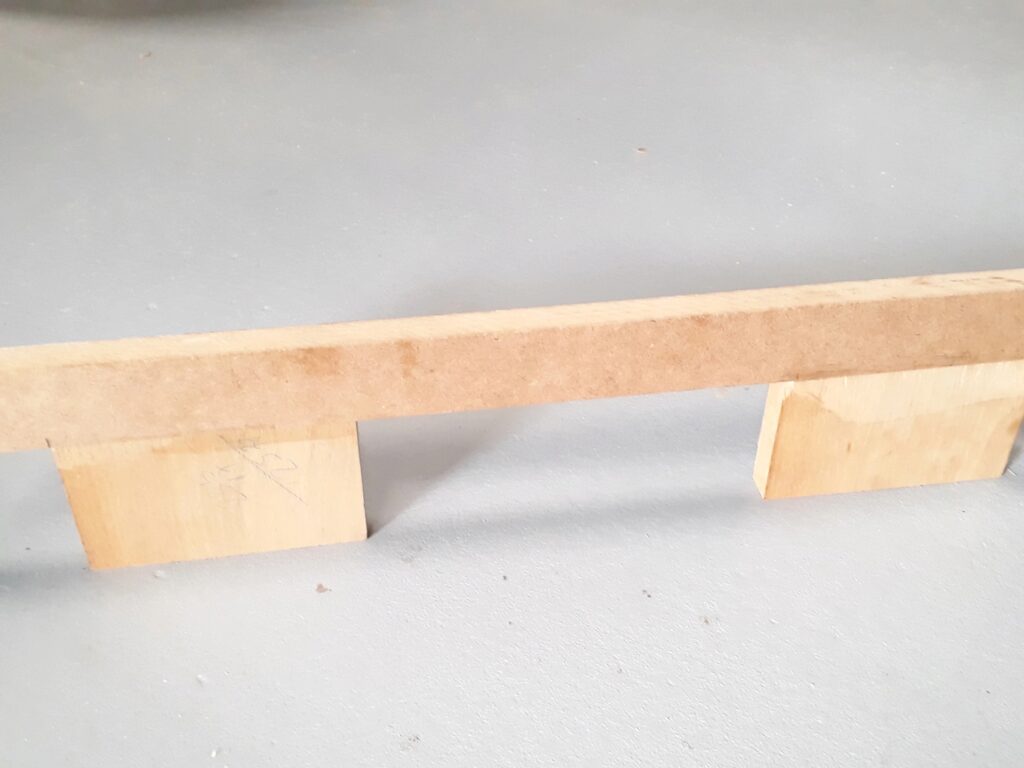
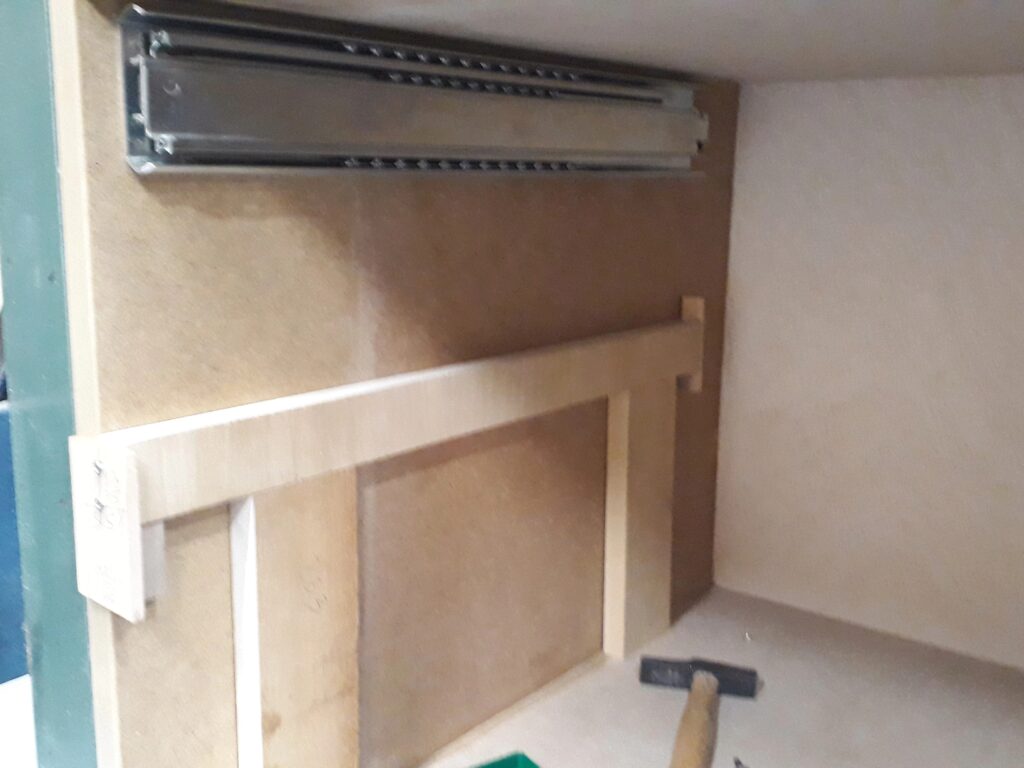
The jig suports the guide at the right height and in its precise depth to be screwed in place. The trick is to begin by the top slide and cut the jig every time you need. Of course you need to screw the slides top to bottom. The next images show the jig working.
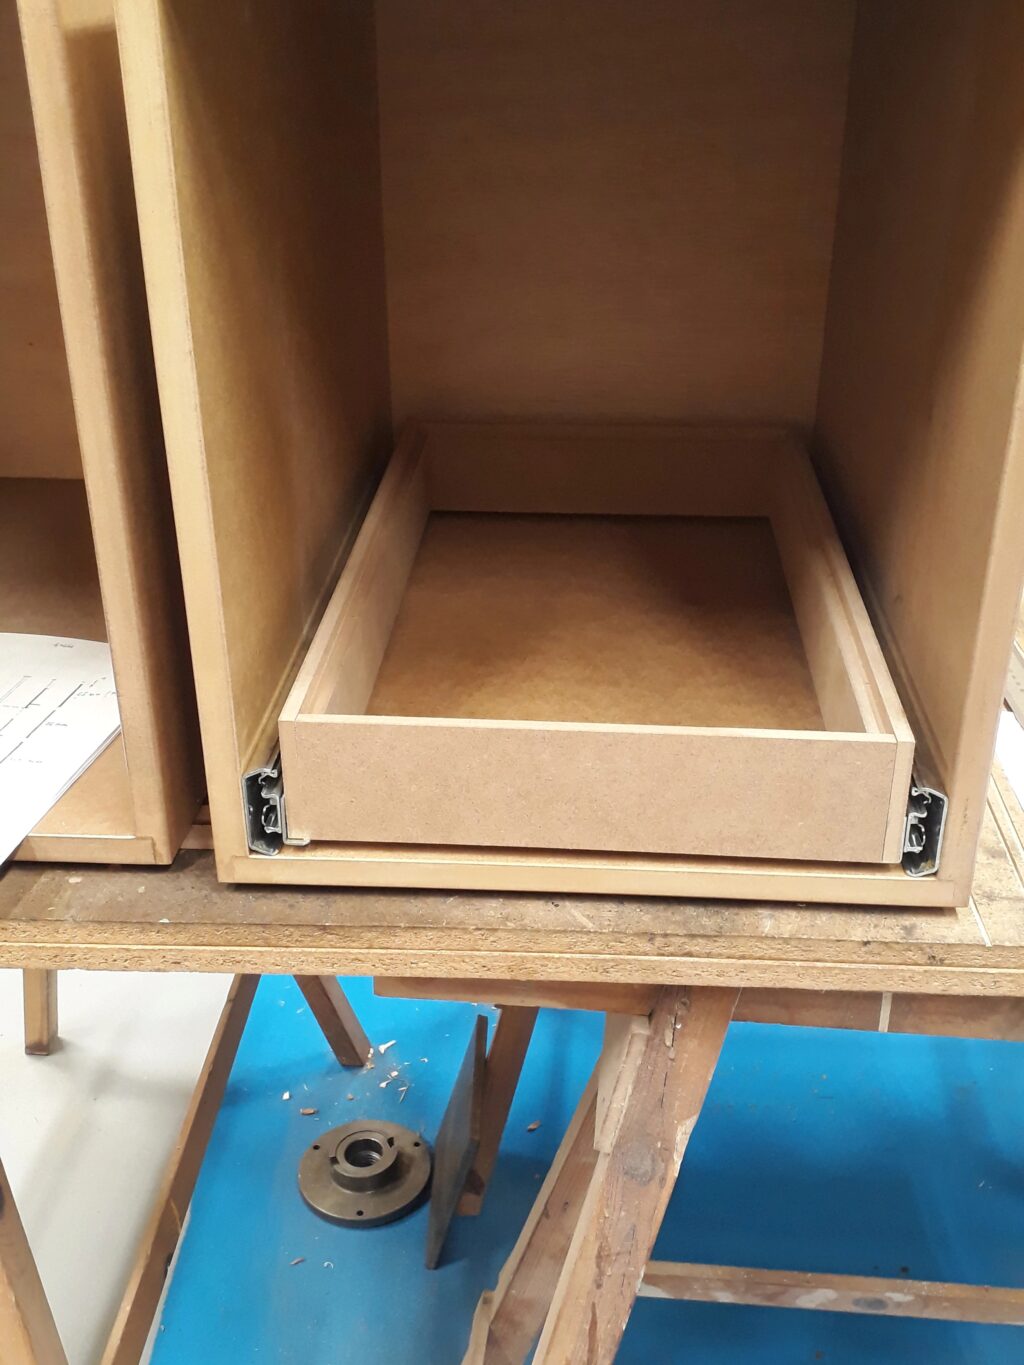
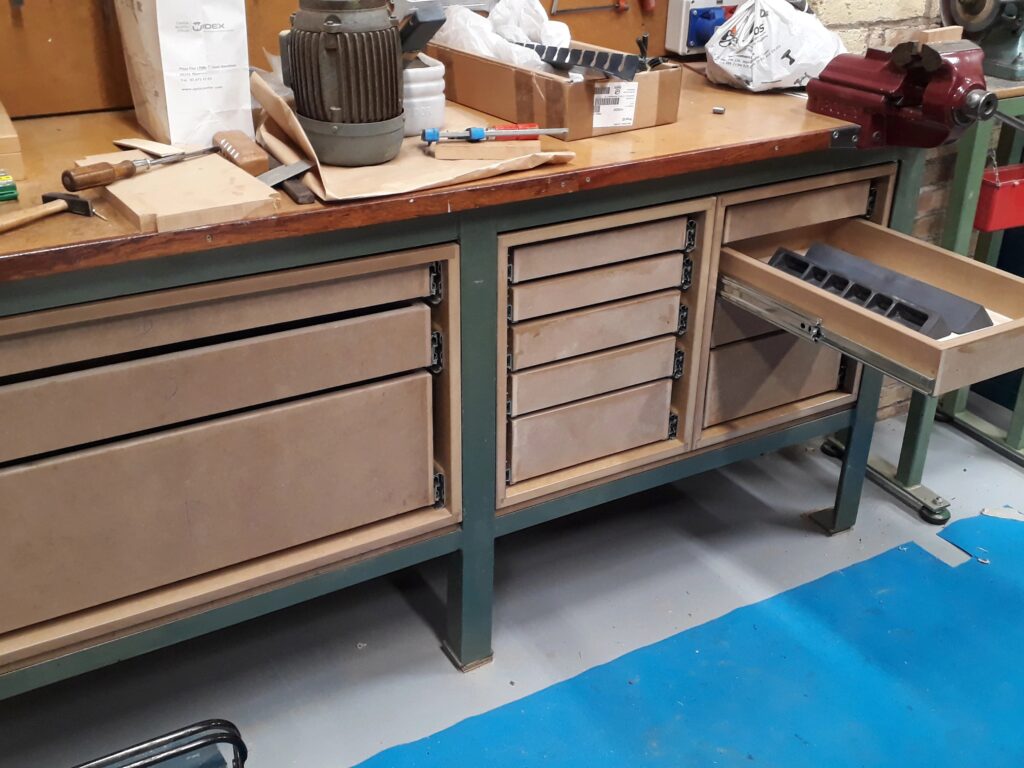
After the slides are in place, drawers are ease to attach. In this case, the slides are L-shaped and the drawers just sit on the slides.

Put the cabinets on the worktable
Once cabinets are ready, they are mounted and attached to the worktable structure. This is done by screwing each cabinet to the structure after align them.
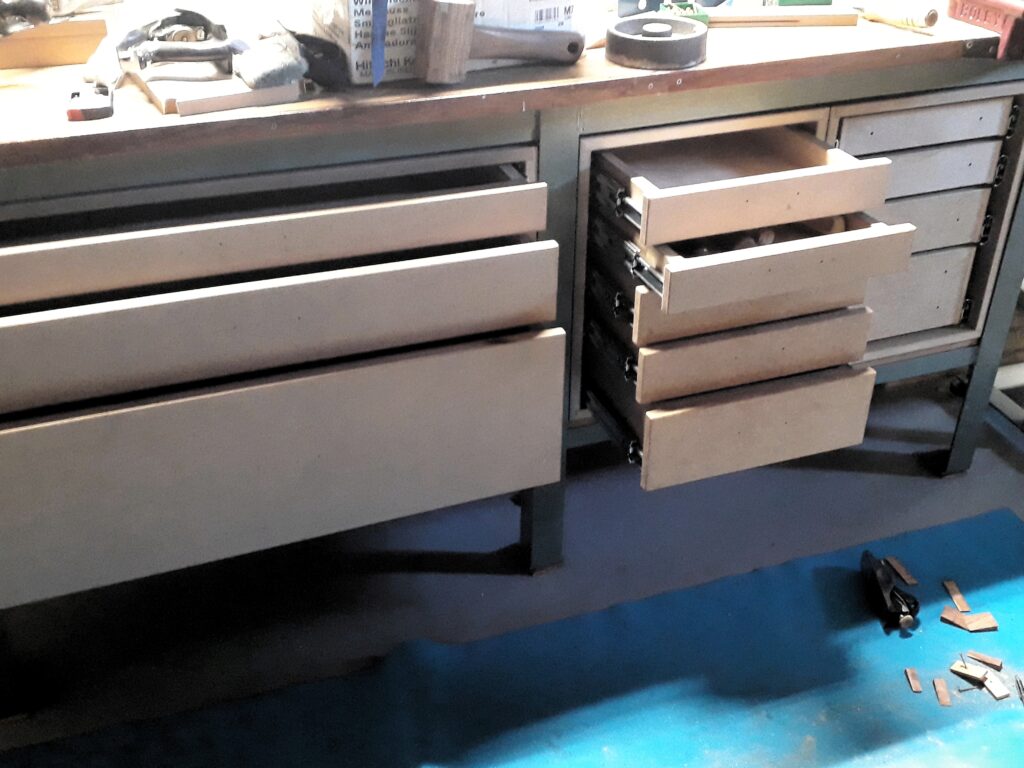
Next step is to fit the drawers faces ans attach them assuring an equal gap between all the faces and between the face and the cabinet. Faces where attached by screws. This the partial result:
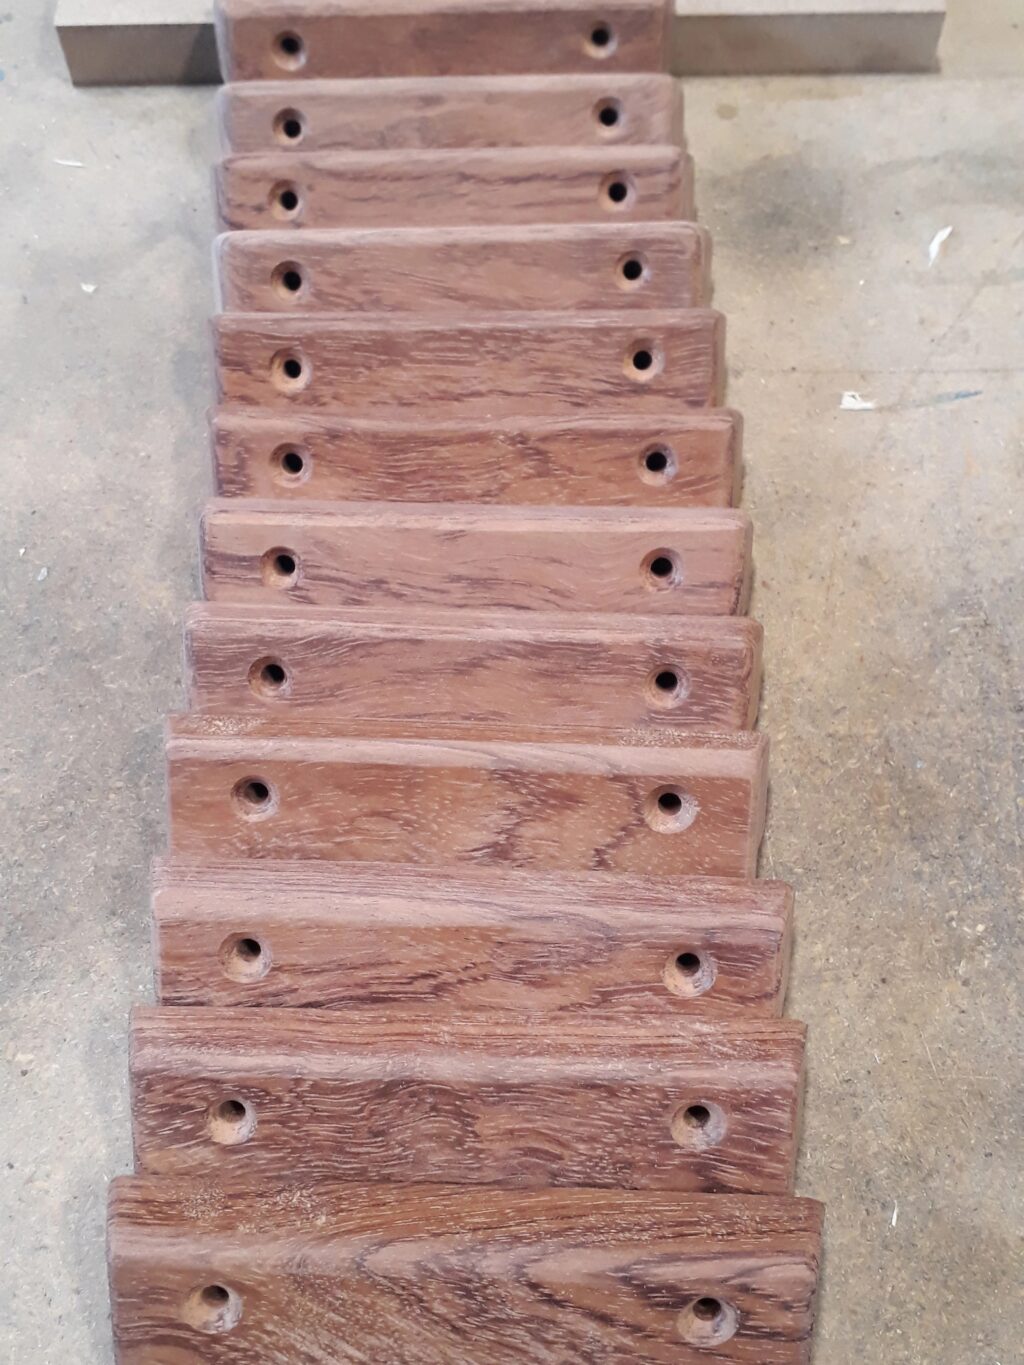
Home made handles
Drawer handles where home designed and made. I used bubinga wood for the handles: hard and very nice. Handles have been profiled on the table saw and then sanded to final shape. This is the batch of all the handles:
Handles were screwed on the drawer face.
Finish the cabinet
The cabinet has been finished with water based varnish. That’s the first time I use a water based product —after being persuaded by Leo long time ago. Result was good enough but:
- I used some layers more to obtain a similar result.
- First layers raised the grain and required deep sanding working
- Varnish do not penetrates so deep on MDF an thus the hardening effect is not so intense. I judge as important this effect when working with MDF.
Nonetheless, the result was good enough and much more frindly to apply. Overall, a positive experience. This is the final result:
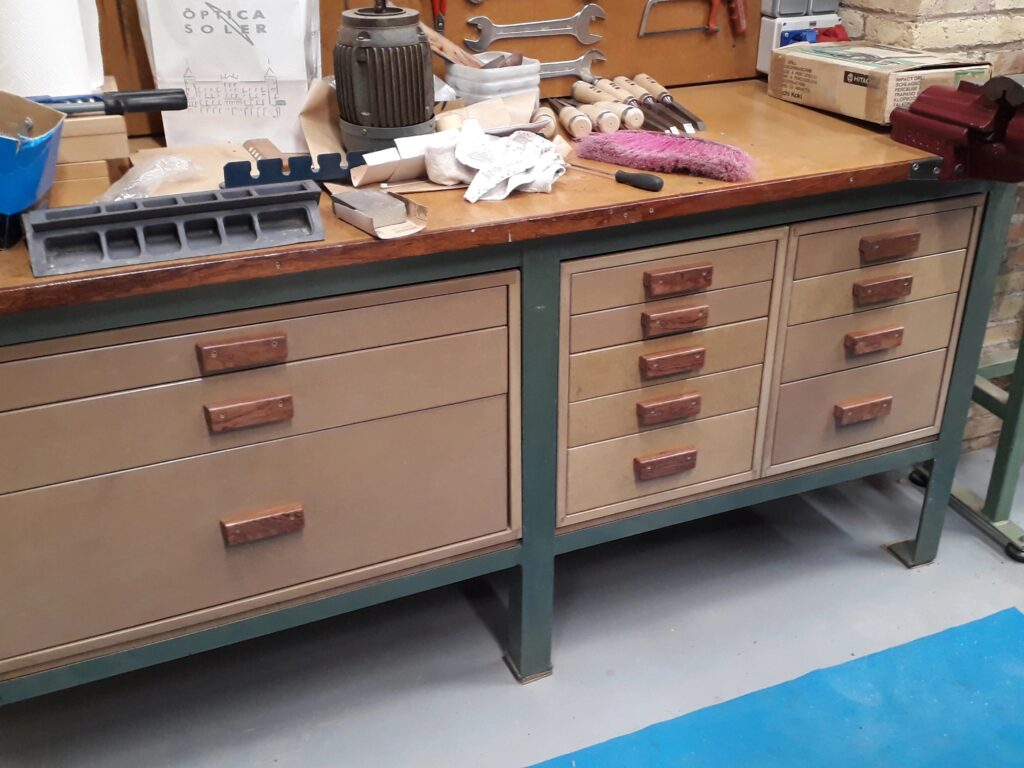
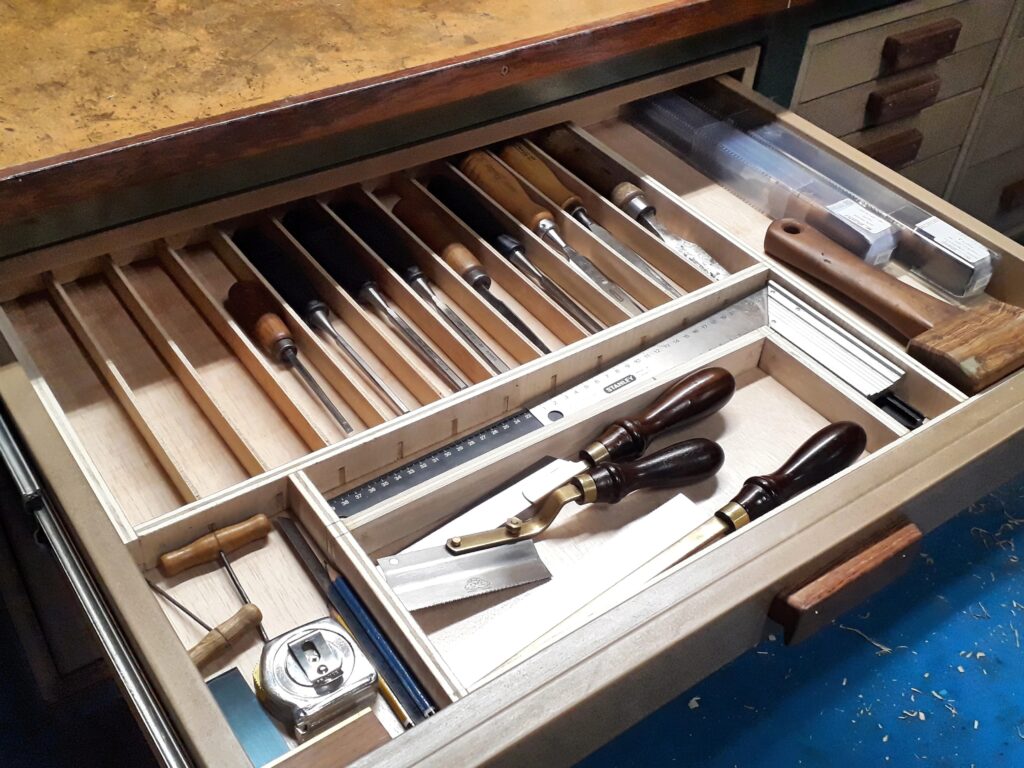
On some drawers, I also added separators. This is a laborious job but very rewarding when you store the tools: