During the last months I’ve been helping Luke Rickert —of Elisenberg Engineering— to move forward a foundry project. I had a limited experience on foundry business that comes from the rebuilding of a cabinet saw and Luke’s project became a really interesting experience.
All begins when Luke asked me about foundries in Catalonia. He currently lives in southern France and he is really close to catalan speaking lands.
Classic patterns
Luke has some ideas to cast some straight edges and also some worktable vices. After considering this possibility Luke sent me some 3D printed patterns of his designs.
I asked about to Foneria Martínez and returned with a negative answer from them. They don’t cast anymore using classical patterns! They suggested me to use pattern plates instead.
Pattern plates: first version
I brought a couple of old plates that foundry guy give us to know the plate dimensions. The plates where reworked to be reused.
The plate dimensions, in this case, are written to this blueprint.
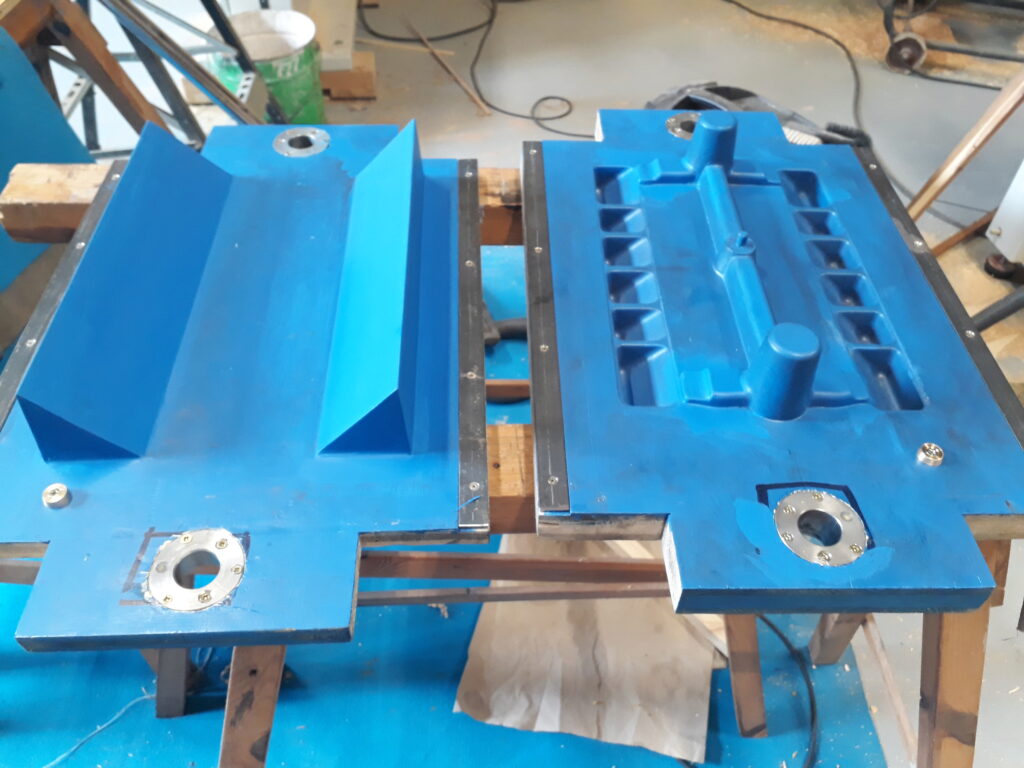
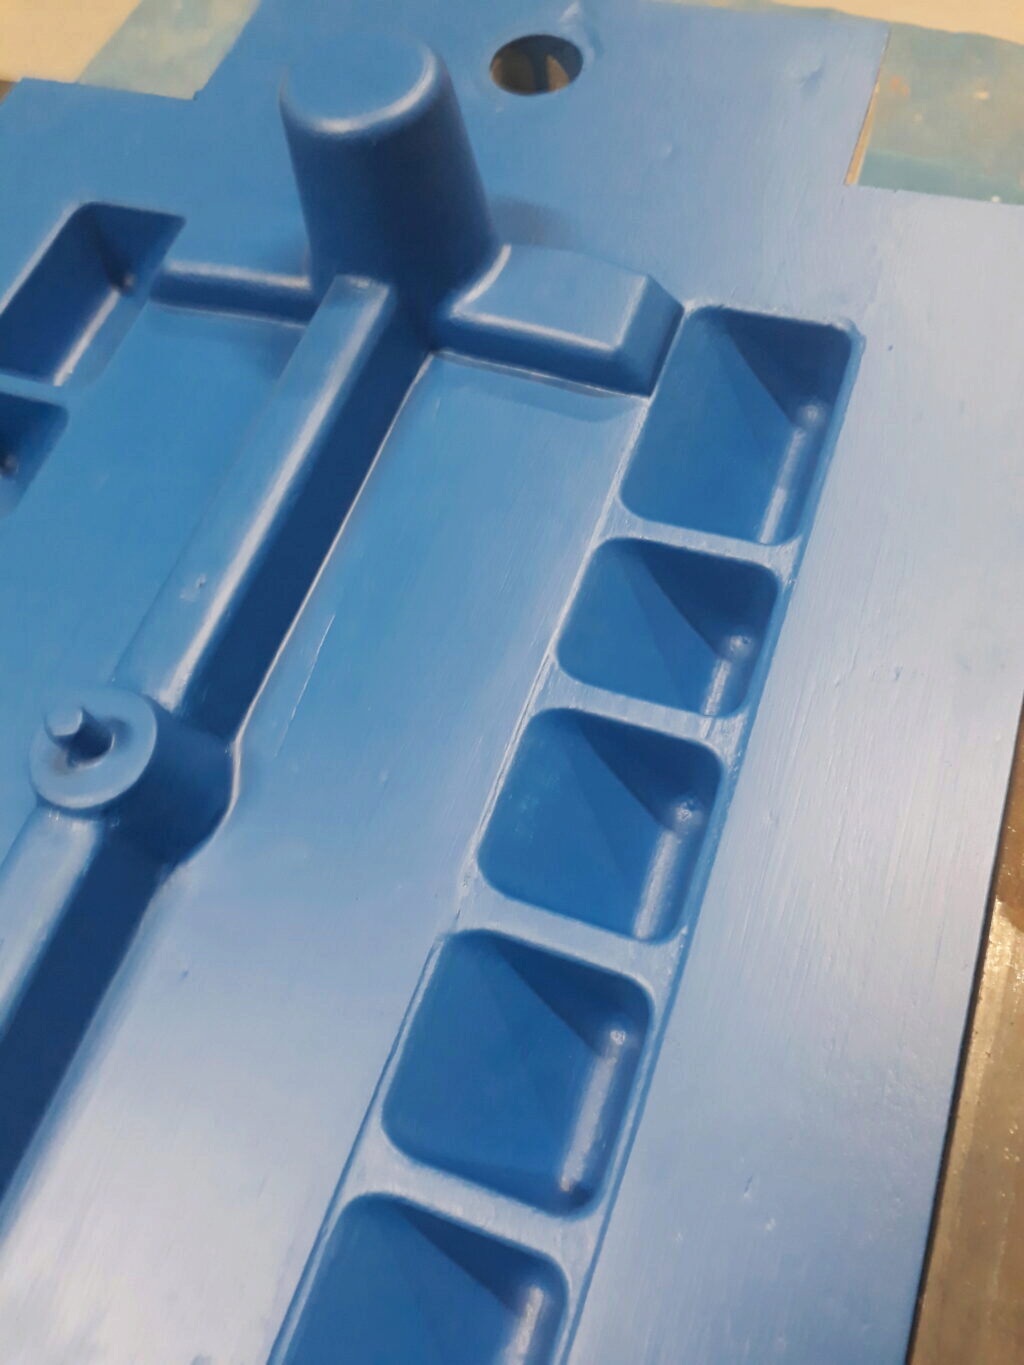
Luke designed some runners and some risers to complete the plates for the vices and also mechanized two more plates for the straight edges. After gluing all the parts and smoothing them this was the result:
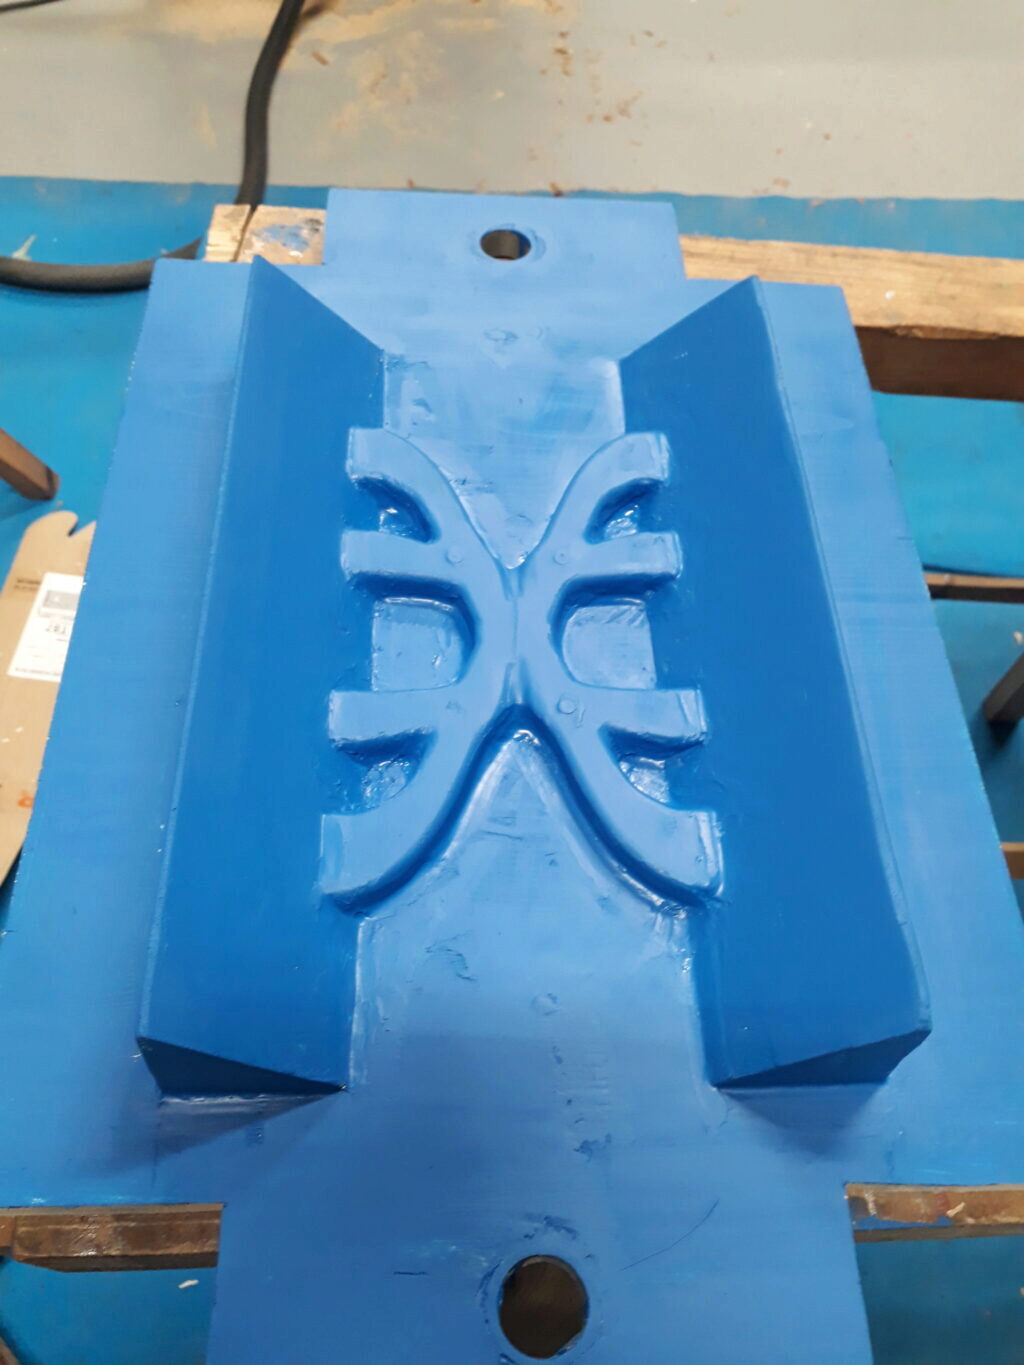
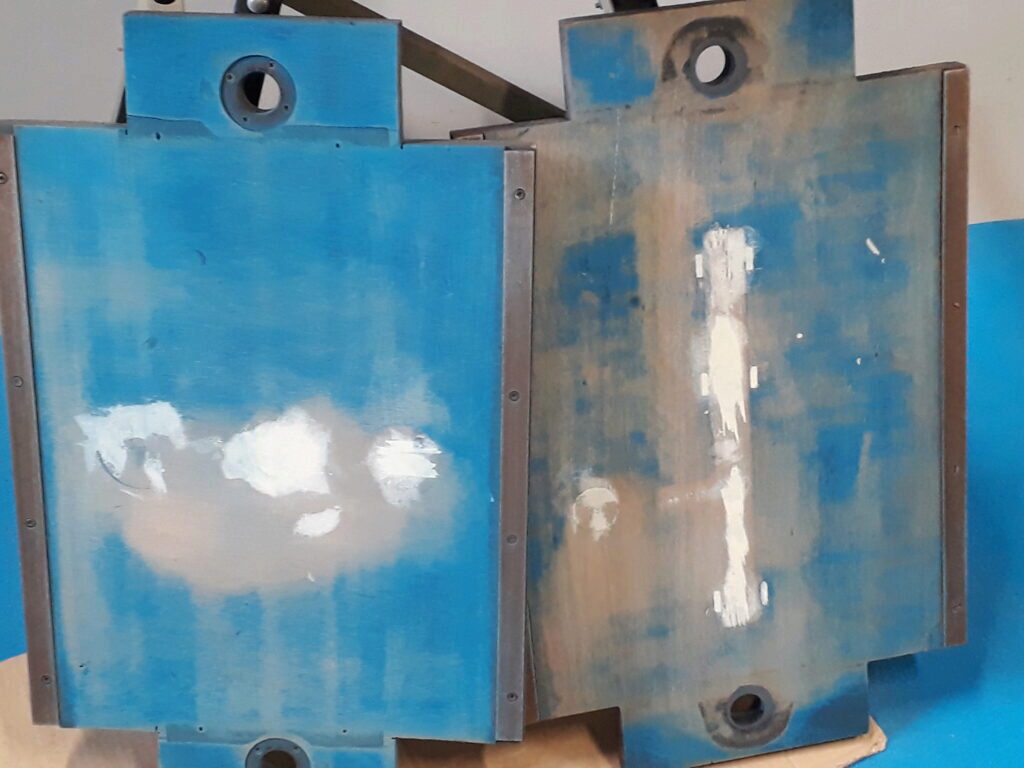
The plates were painted with “VIETOR Vitolux Modellack B33”, a specific paint for foundry patterns. The paint sovent are aggresive and unfortunately softened the filler used to smooth the corners. The result wasn’t the best as it can be seen the the following picture:

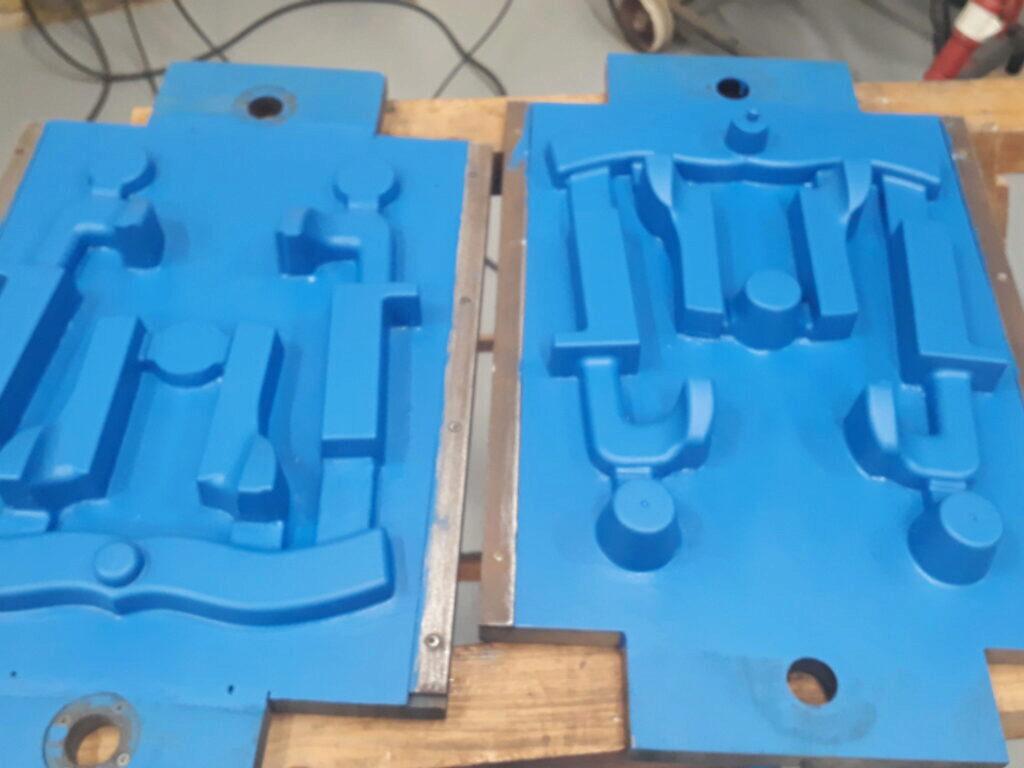
Note that the straight edges cope plate was unusually thick to allow the milling of pockets. That was agreed before with the foundry. When plates where ready I bring them to the foundry… but they refused to cast them 😳. Two main problems where detected by the foundry guy just looking at them:
- Bad surface quality (remember the painting issues)
- Too complex runners; too organic shape and excessive volume.
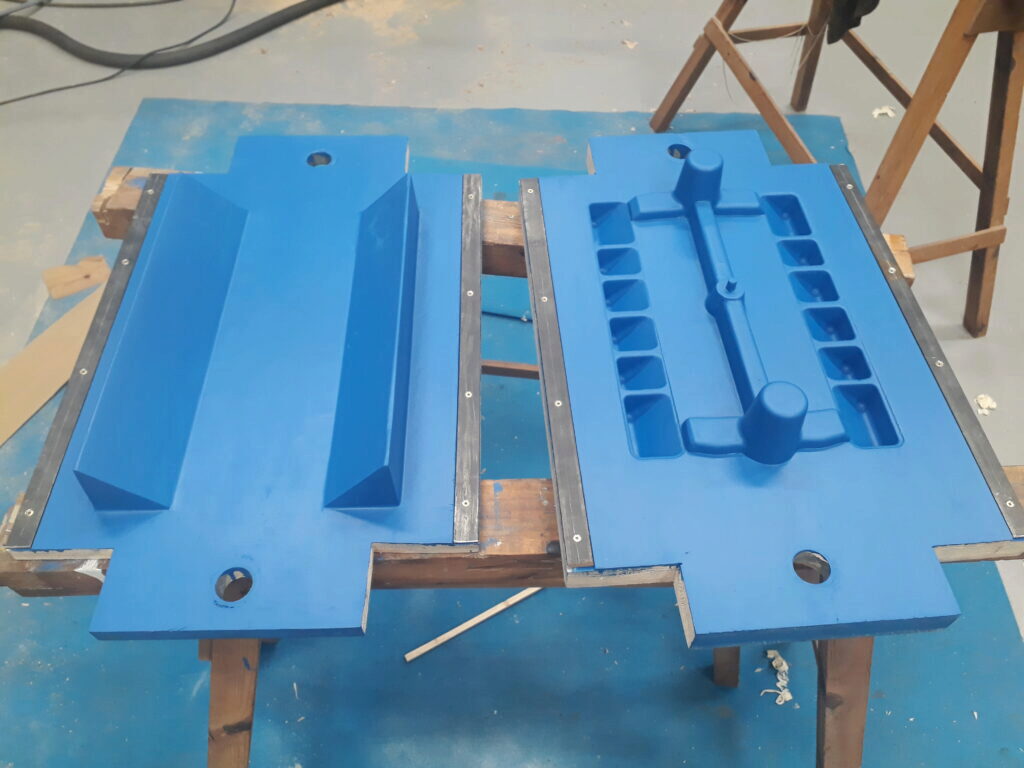
Pattern plates: second version
Plates were modified conveniently to solve the main issues. Fine woodwoking, new runners design, carefull filling and sanding and, finally, lackering them again as shown in next pictures:

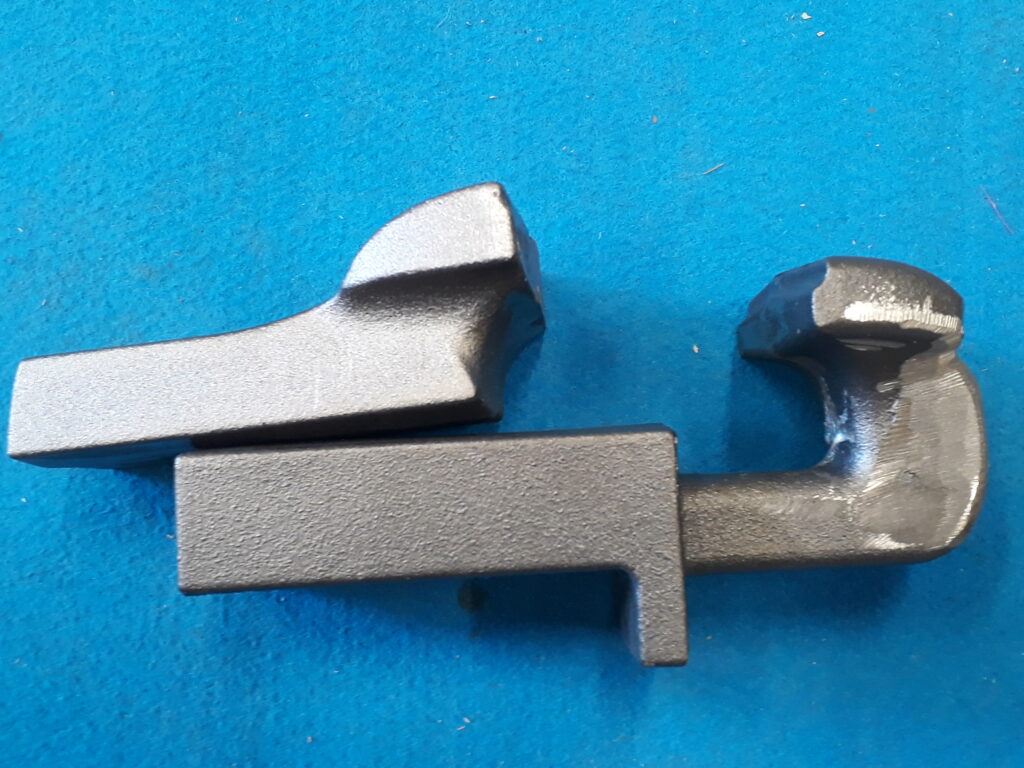
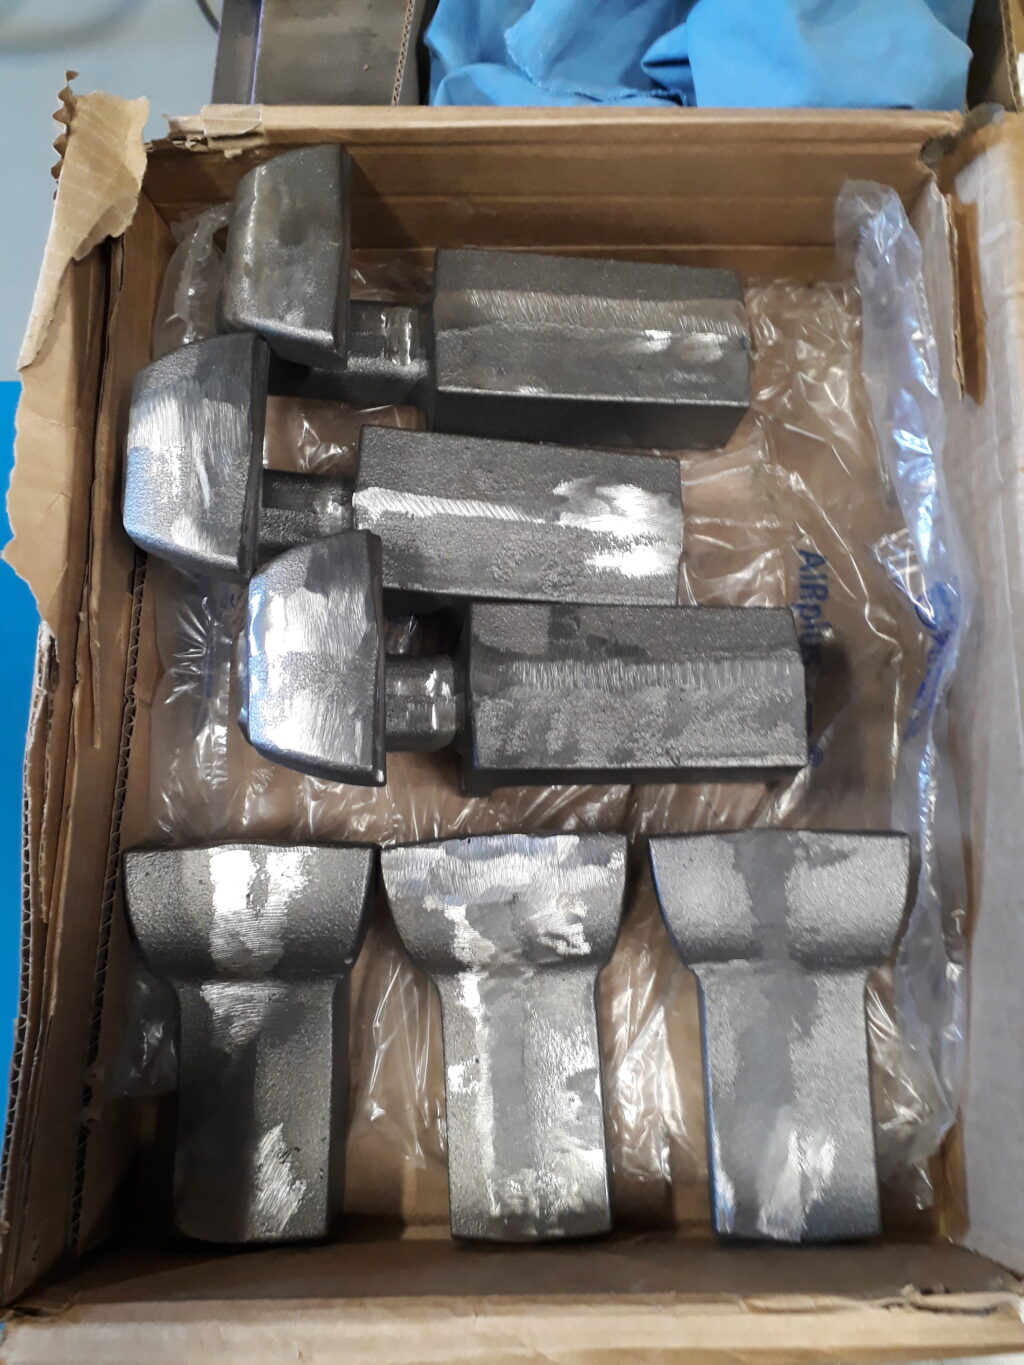
The plates were carried again to the foundry and a small set of parts to test them ordered. This time the result was better. Here are the grey iron parts cast:

Stress relieving the straight edges
Straight edges need to be as stable as possible. Thus, a stress relieving treatment is mandatory. The thermal treatment was done by Tractaments Tèrmics Carreras.
Pattern plates: third version
After the examination of the test parts and a friendly talk with the foundry guys, several improvements arouse.
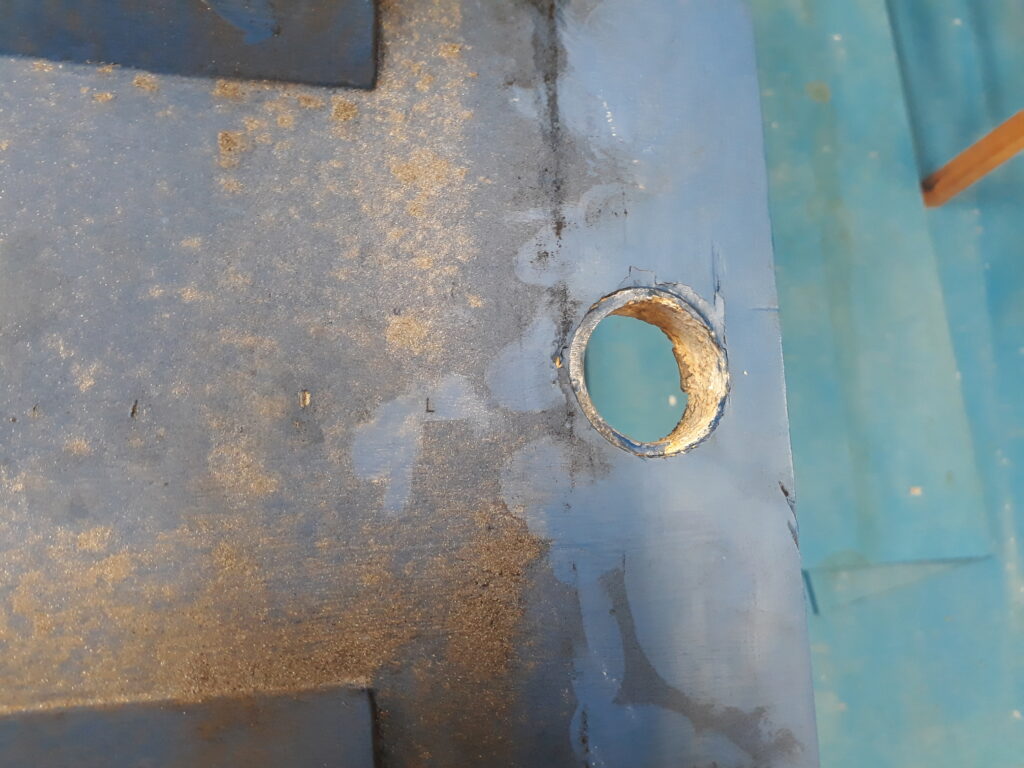
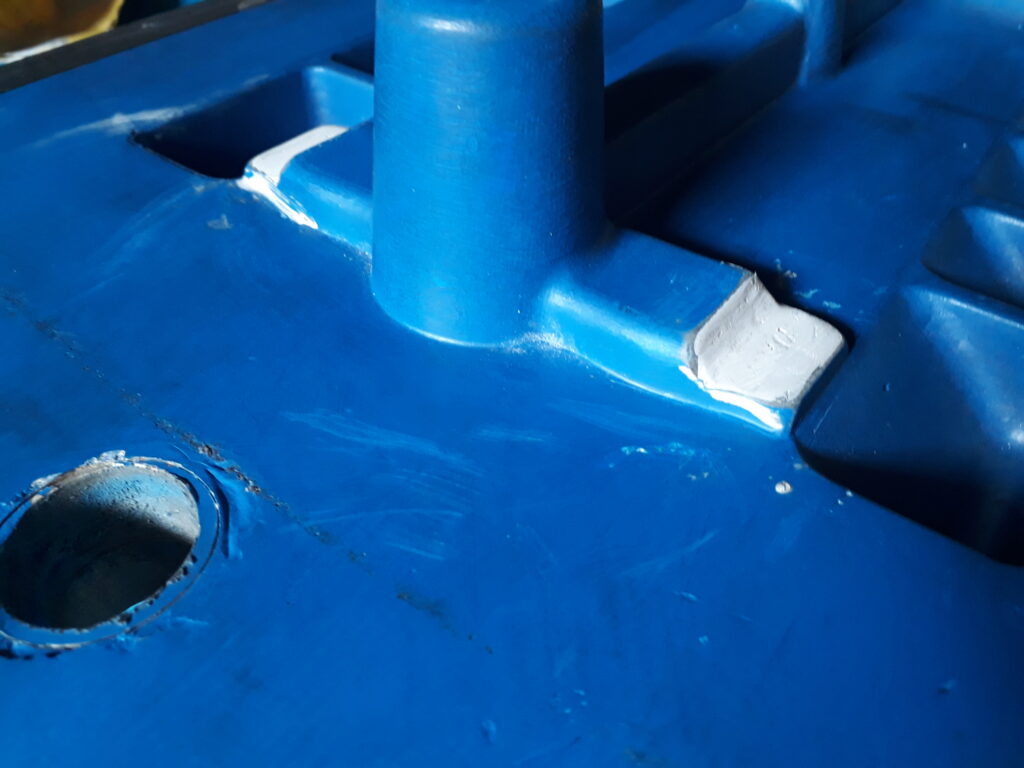
Reinforce the location holes of the plates that have been destroyed by the sand shaking machinery.
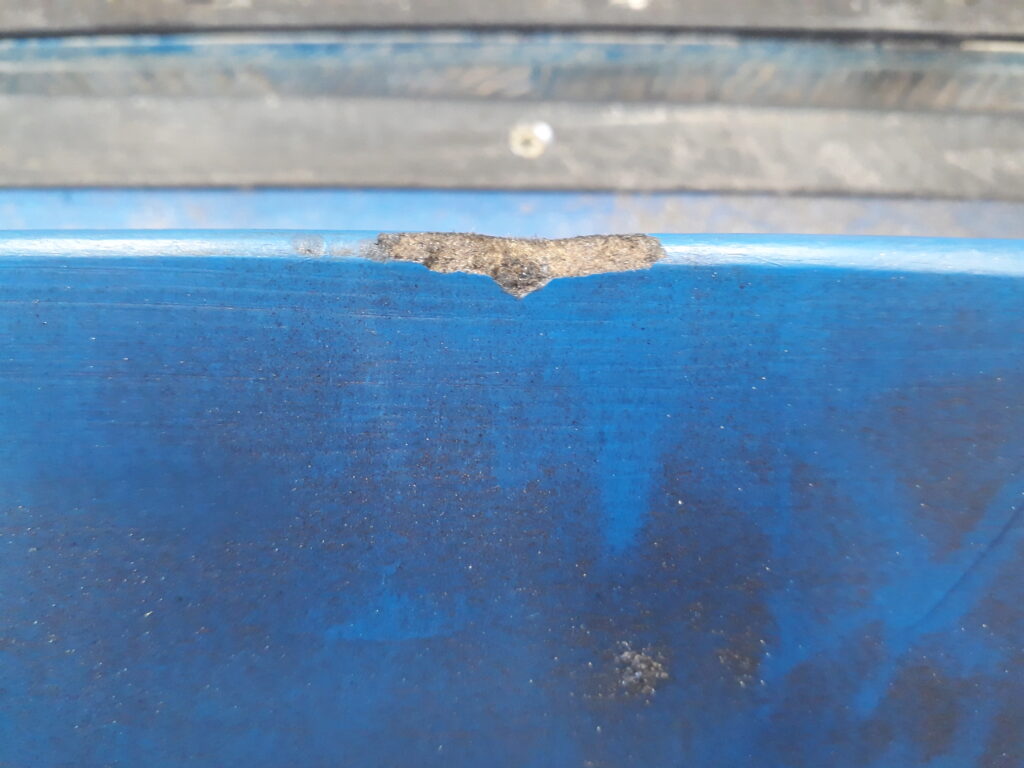
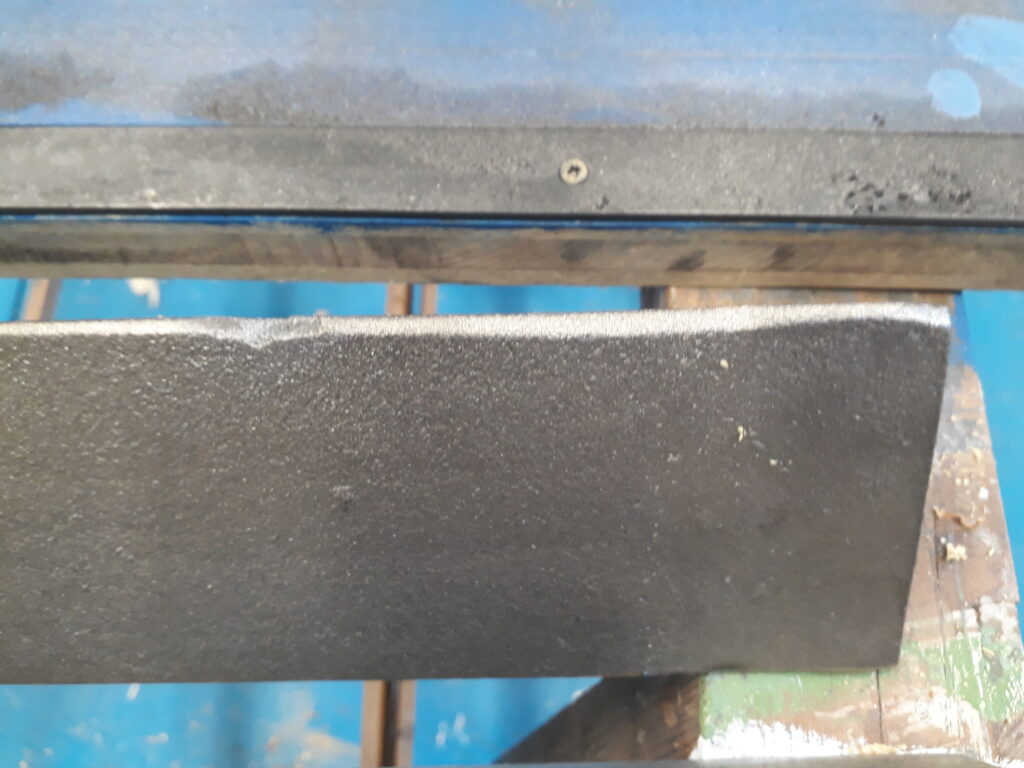
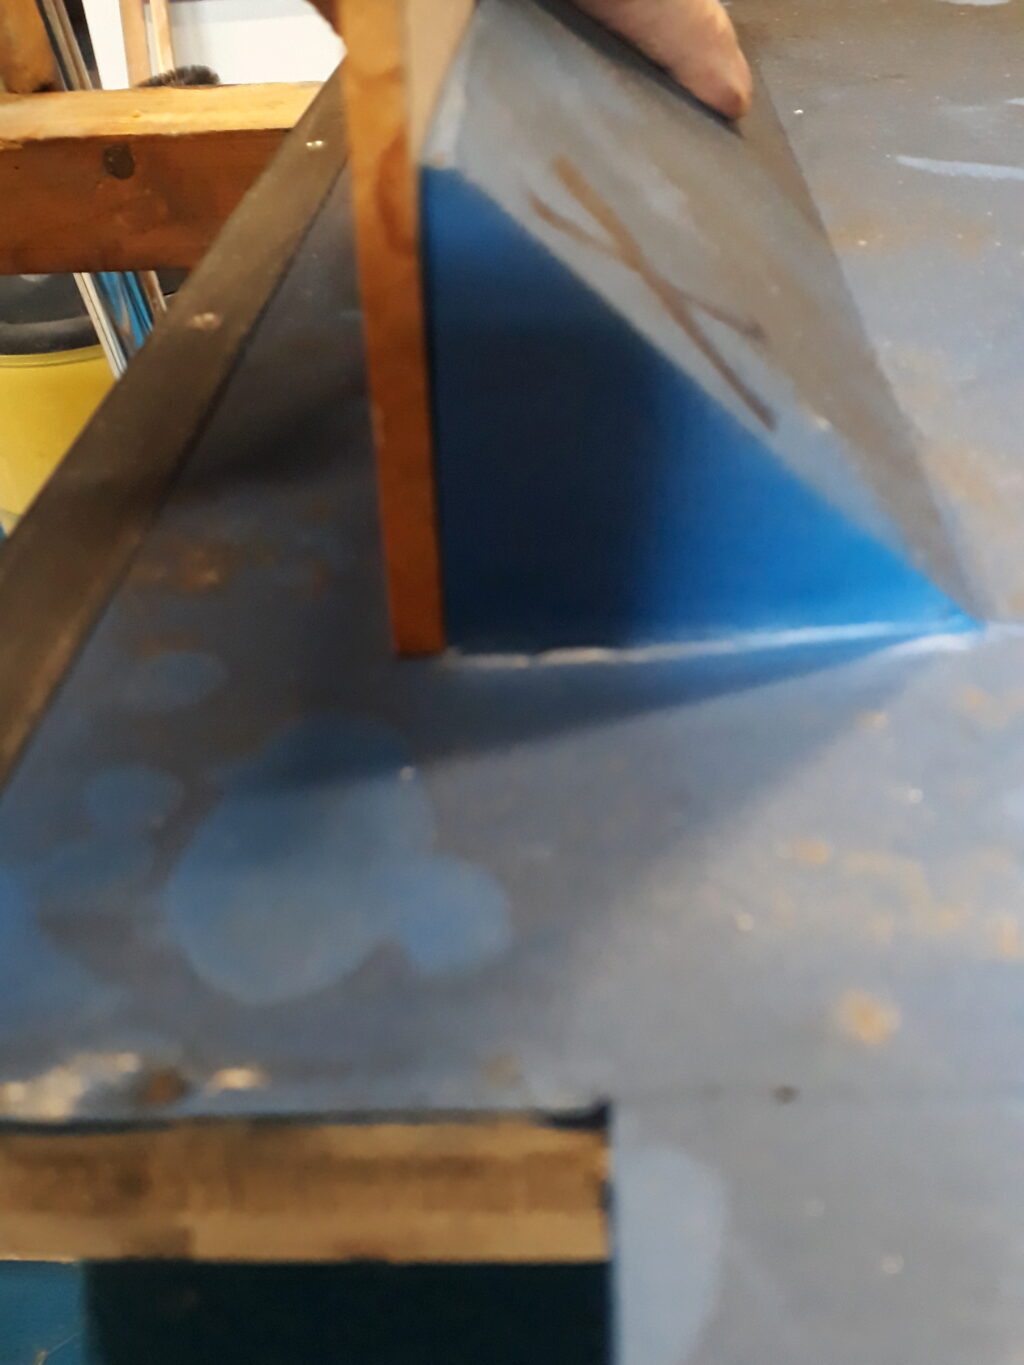
Reinforce the crest of the straight edge drag plate: the moulding stress produces small breaks there.
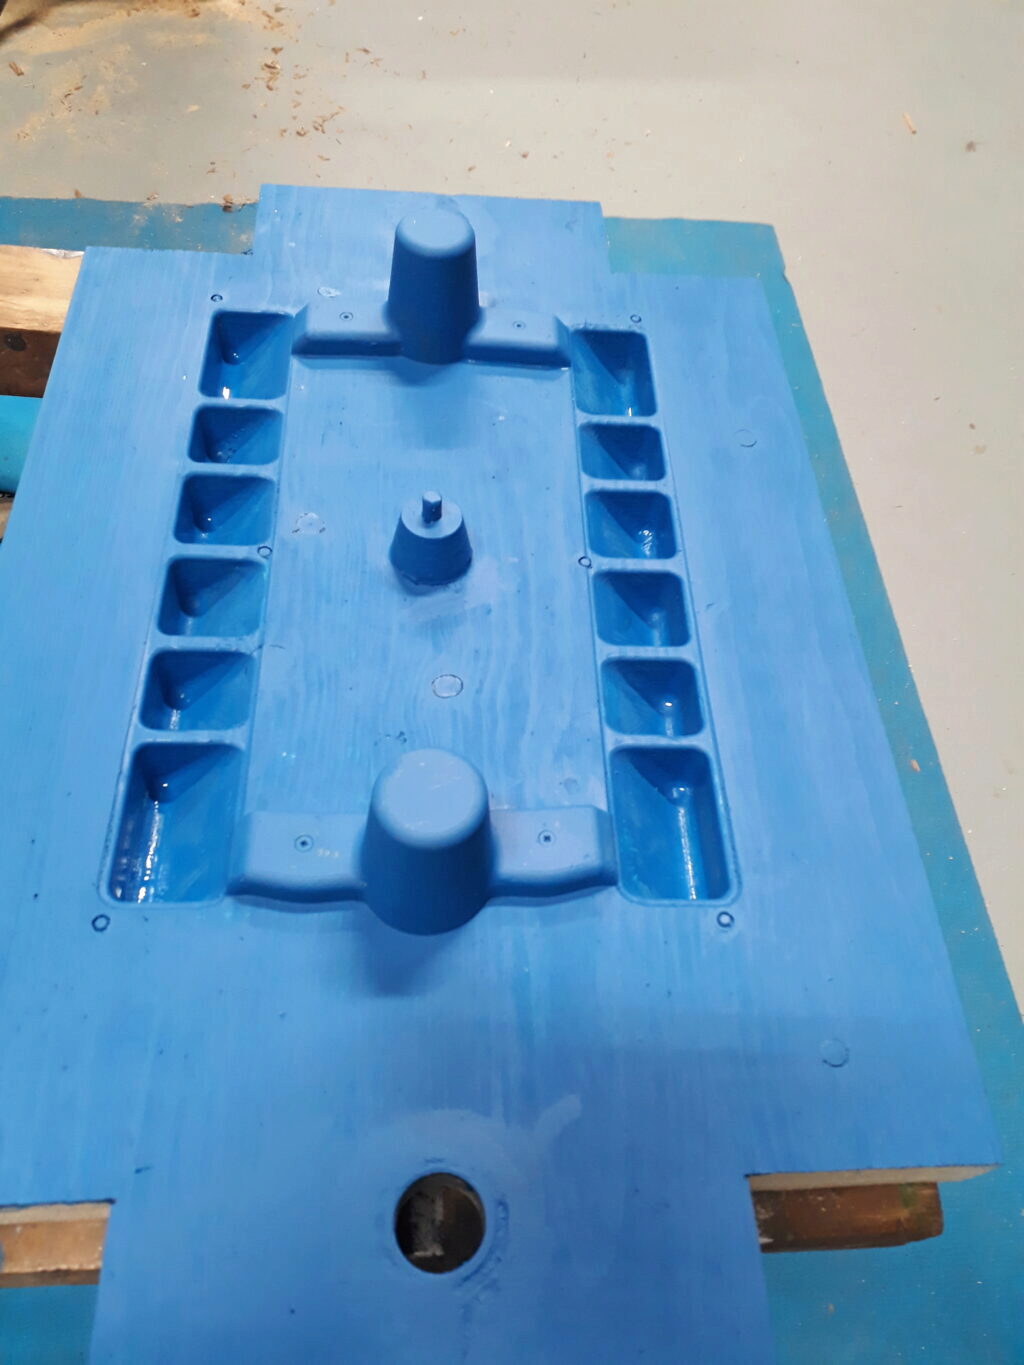
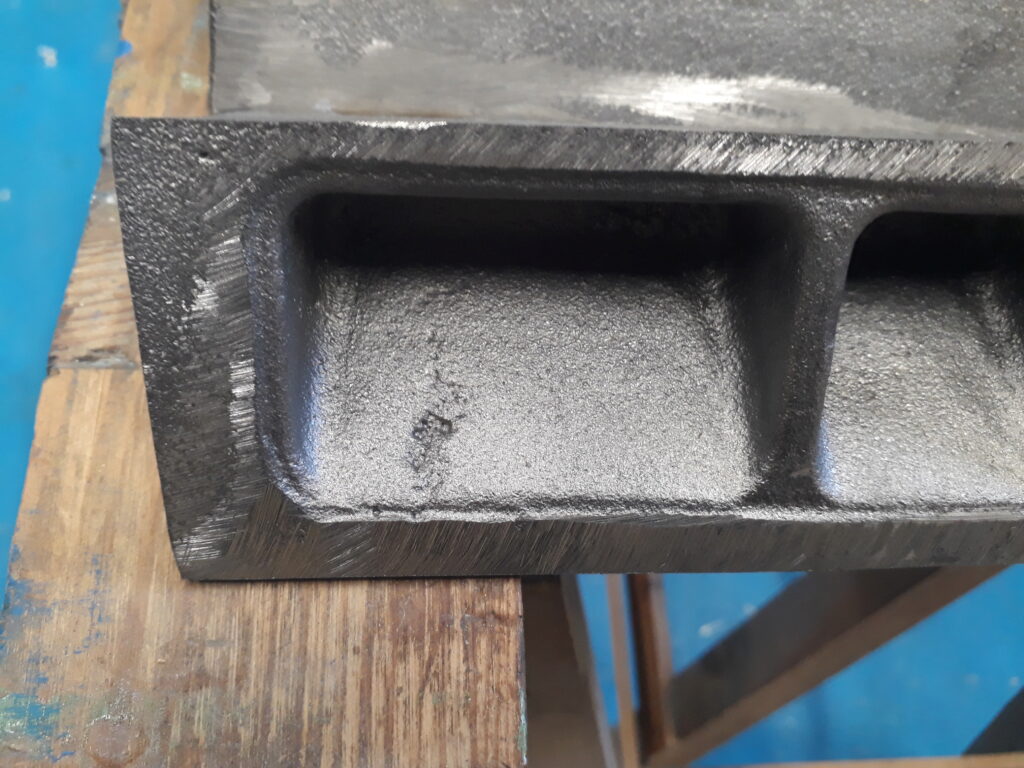
Reduce the gates section of the runners to achieve a better input stream characteristics into the mould cavity when pouring the steel. This should avoid this slight defect in the casting:
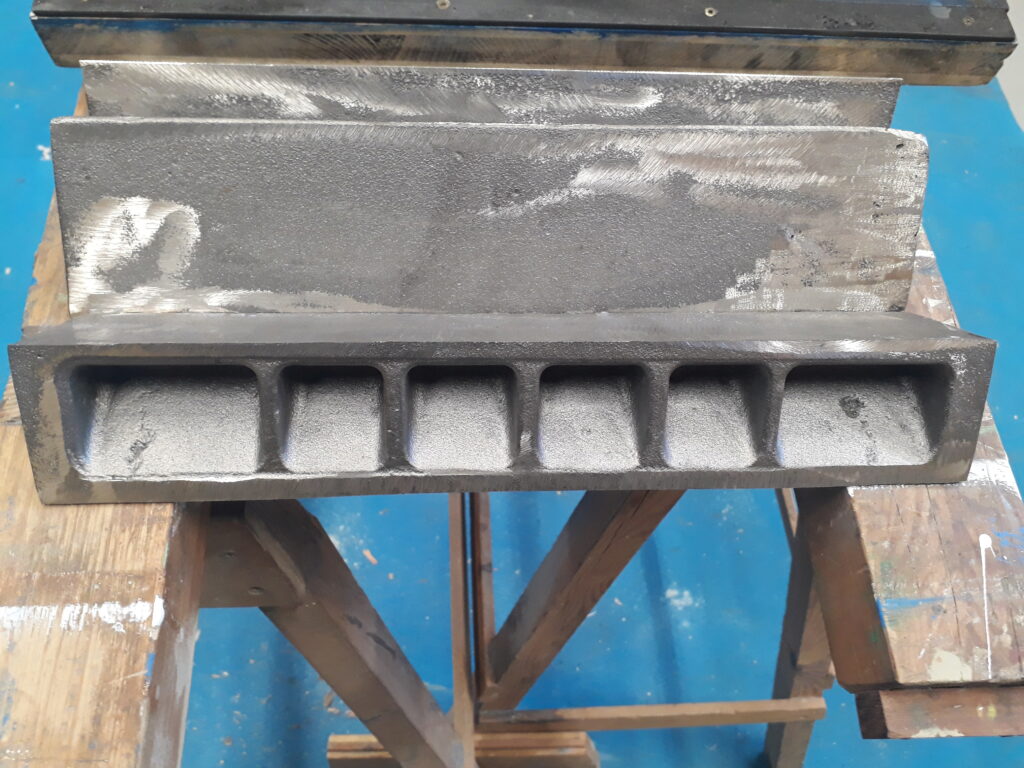
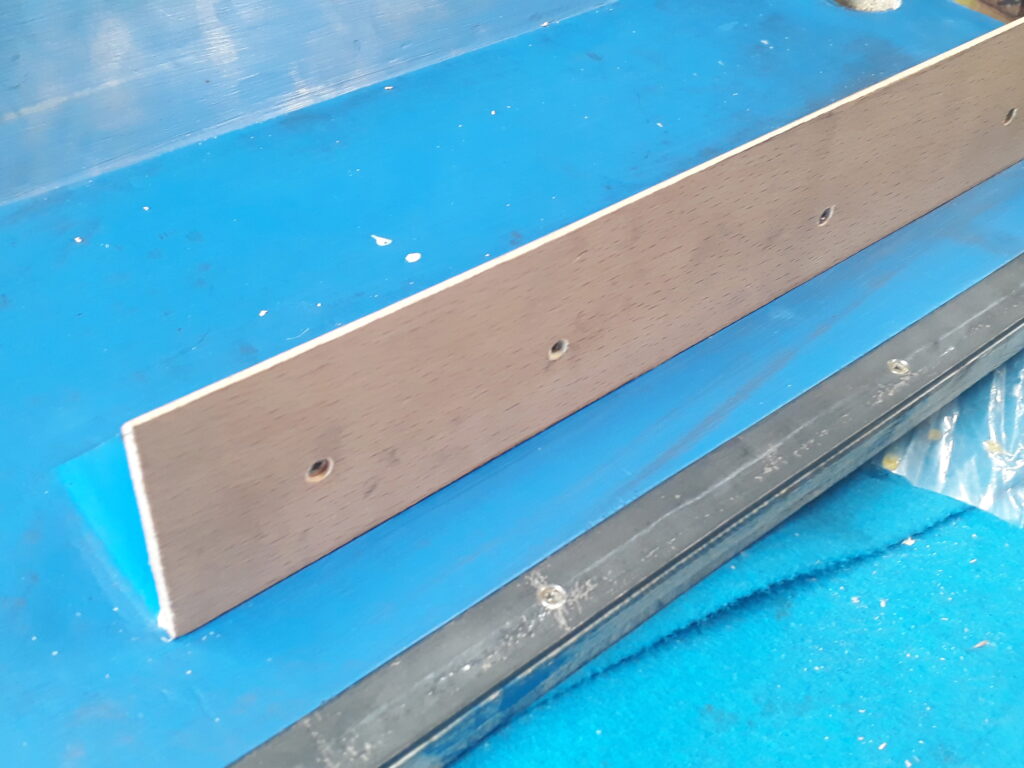
Also, from milling a test straight edge, it was clear that some more material will be needed and thus wall thickness should be increased.
To reinforce location holes, Luke turned a set of bushes to be screwed in place. I made a jig to precisely place the bushes on the plates. And using this jig bushes were screwed on.
To compensate weared wood on the used plates and to further strenght the locating bushes, I filled the gaps with epoxi:

We also attached lateral reinforcement steel strips to the plates. These strips protect the plate against the sandbox walls.
The straight edge drag was enlarged by attaching a piece of beech that also solved the crest strongness issue:
Next, the gates were reworked on the straight edge cope:
Finally, plates were lackered again and pin nailed (see the picture) to mark how cope and draw should be matched each other. This was teh result: