
One of this summer works have been to finish the cabinet of the the Wörner B13 drilling press. It was mainly a work of covering the steel frame support with MDF. The final desire is to get it prepared to fit the electrical wiring and a set of drawers to organize the tooling of the machine.
Panelling the steel frame
After cutting the main panels, adjusting, and fasten them with interior screws the frame seems mostly covered:
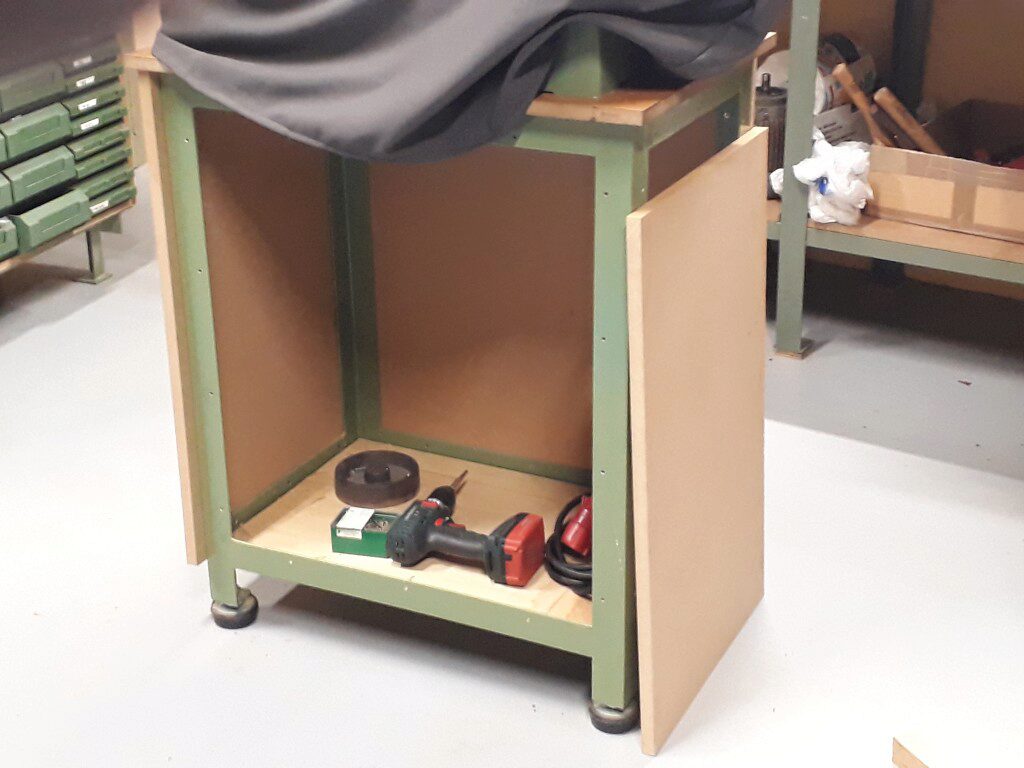
The next step is to provide an internal support to receive the drawers and also separate:
- The control switches space (in the front) and,
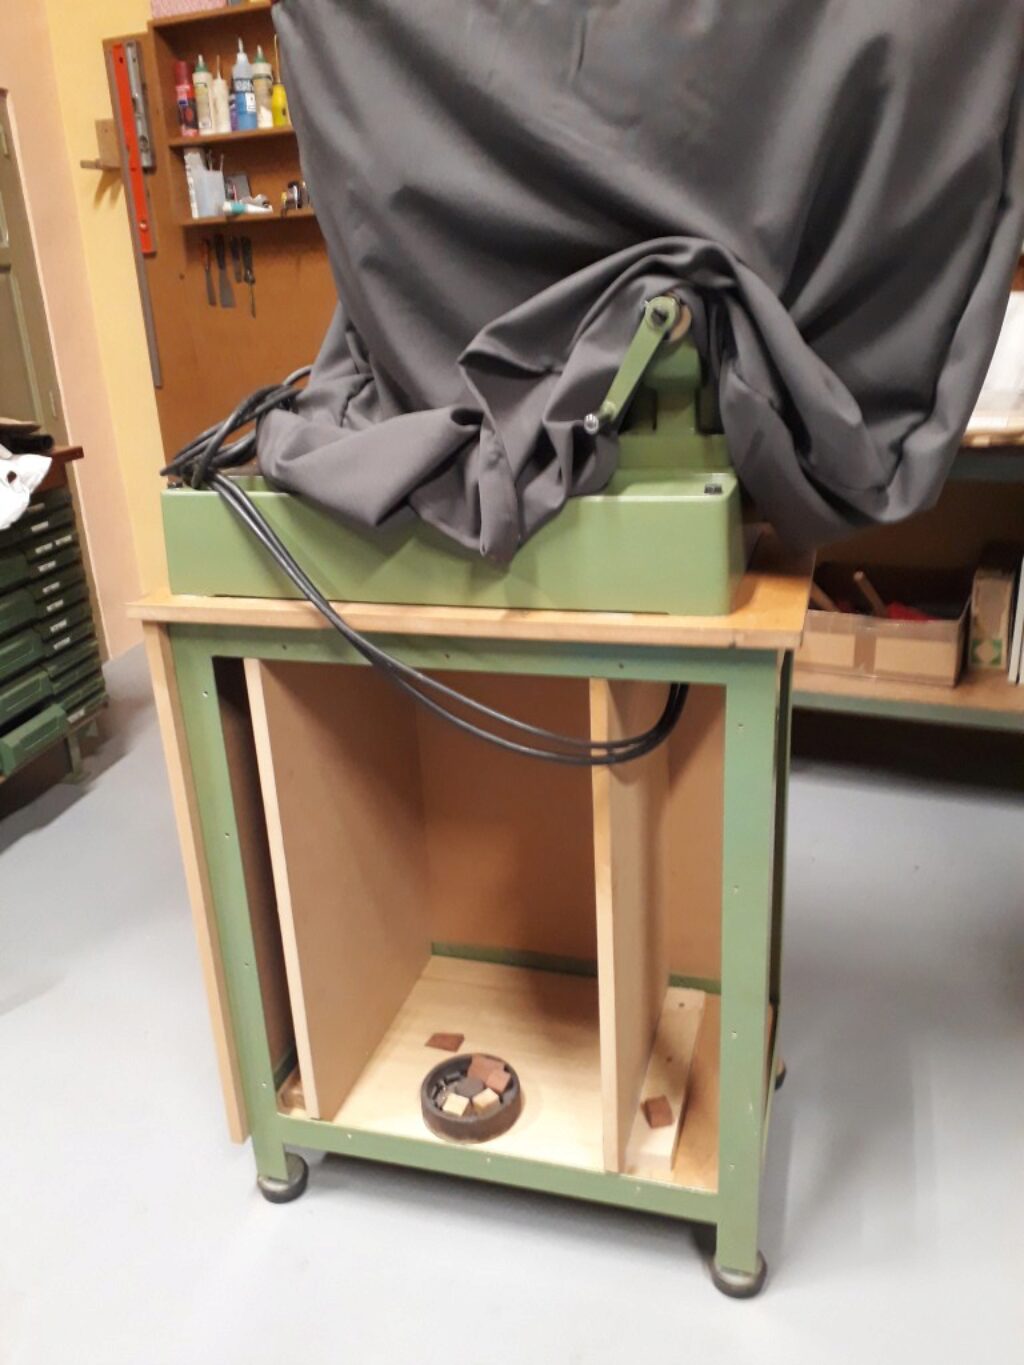
- The VFD and drilling machine pillar space (in the back). It should be noted that the drilling machine column protrudes under the table when it was at the lowest position.
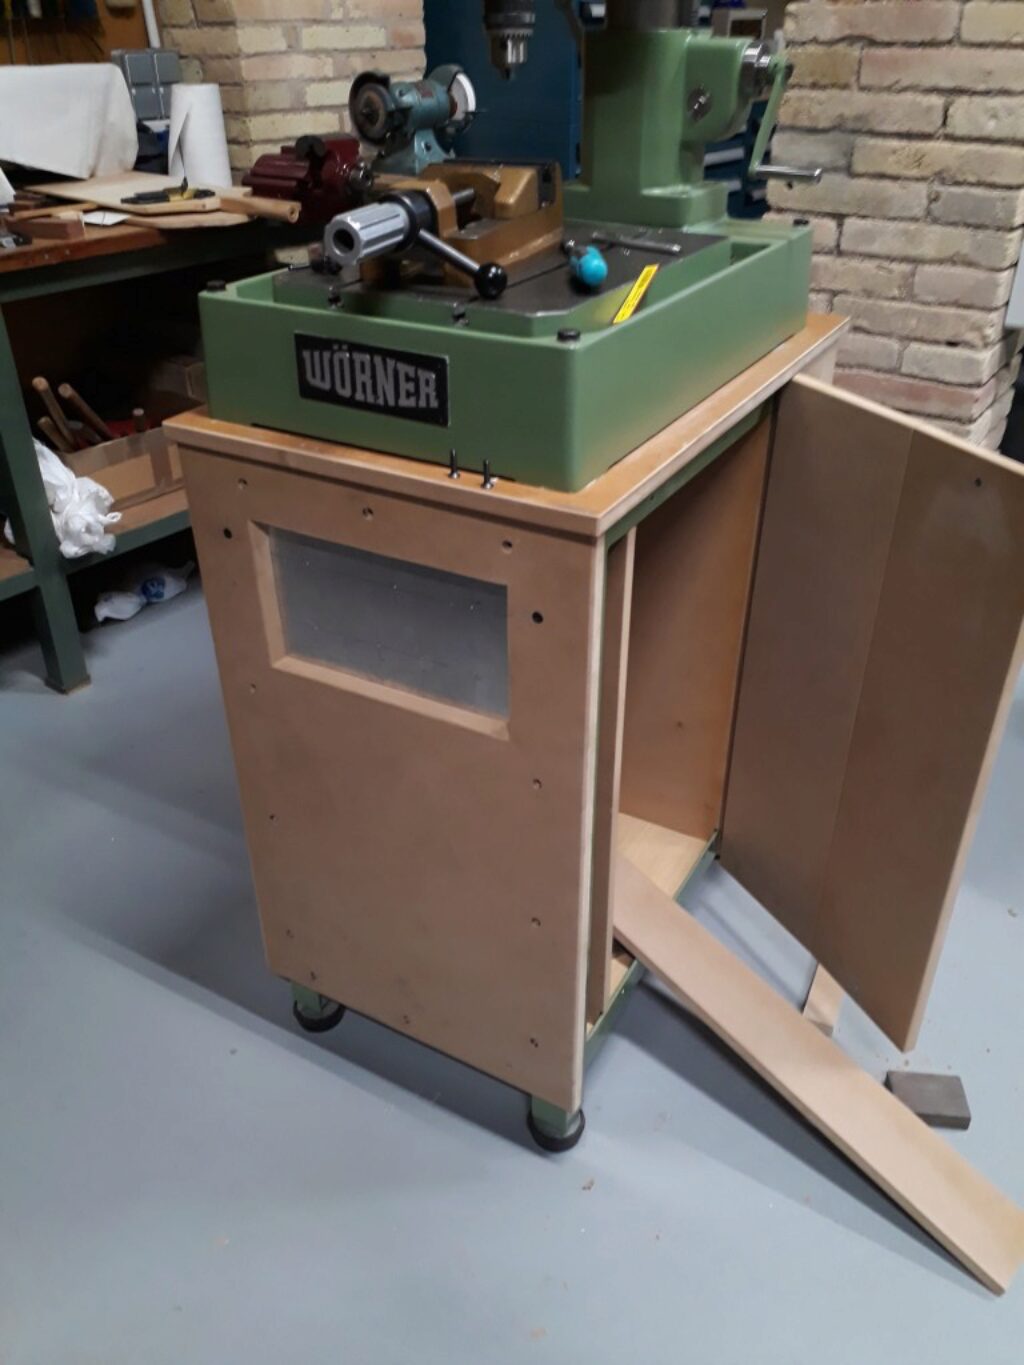
After adding these elements this is how the cabinet looks:
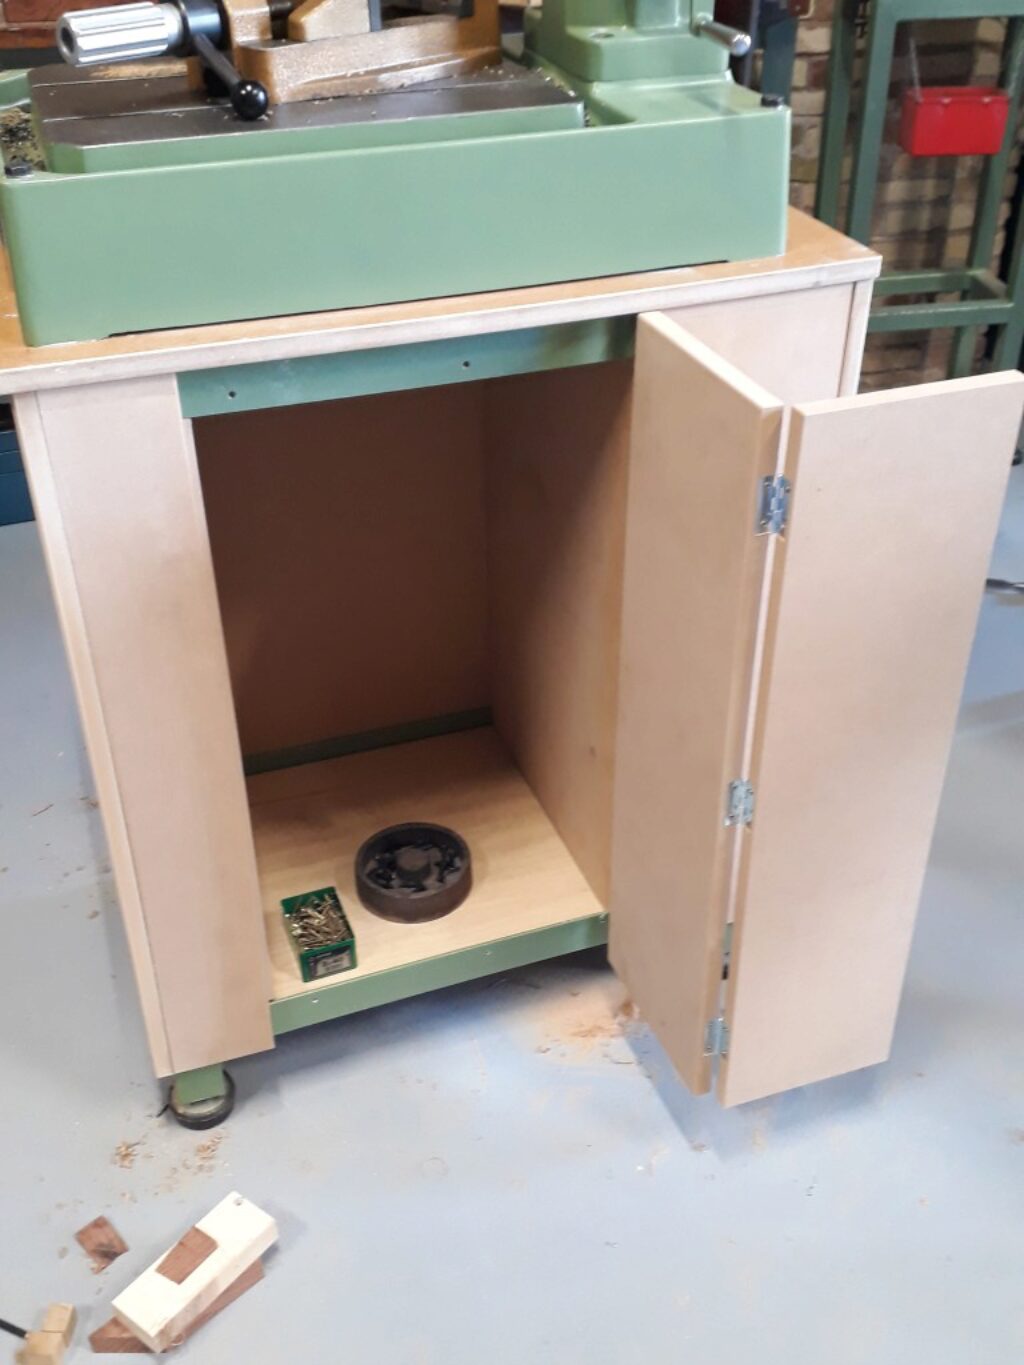
Some panels and a double hinged door than can be folded over the back of the cabinet make the final touches:
Wiring the machine
The machine needs an appropriate set of control switches and the power control. From the beginning, I decided to run it by using and VFD to get a better control of the speed without requiring too much belt changing. The motor and light cables go through the column of the machine and thus are available in the back part of the cabinet. Of course, switches should be on the front…
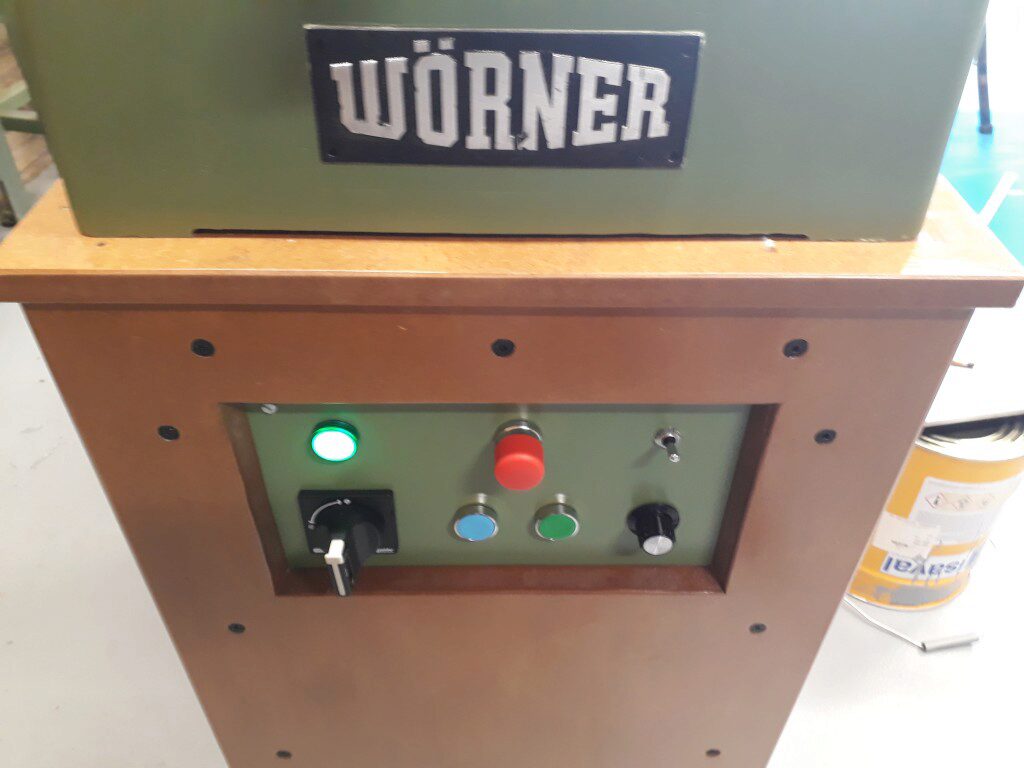
The design of the control panel includes:
- A general switch for the mains supply.
- A pilot light.
- A forward pushbutton and a reverse pushbutton.
- A stop pushbutton.
- A switch for the machine light.
- A 10 positions rotary switch to select speed. I use a binary coded switch: this reduces the number of control wires and is compatible with the VDF control.
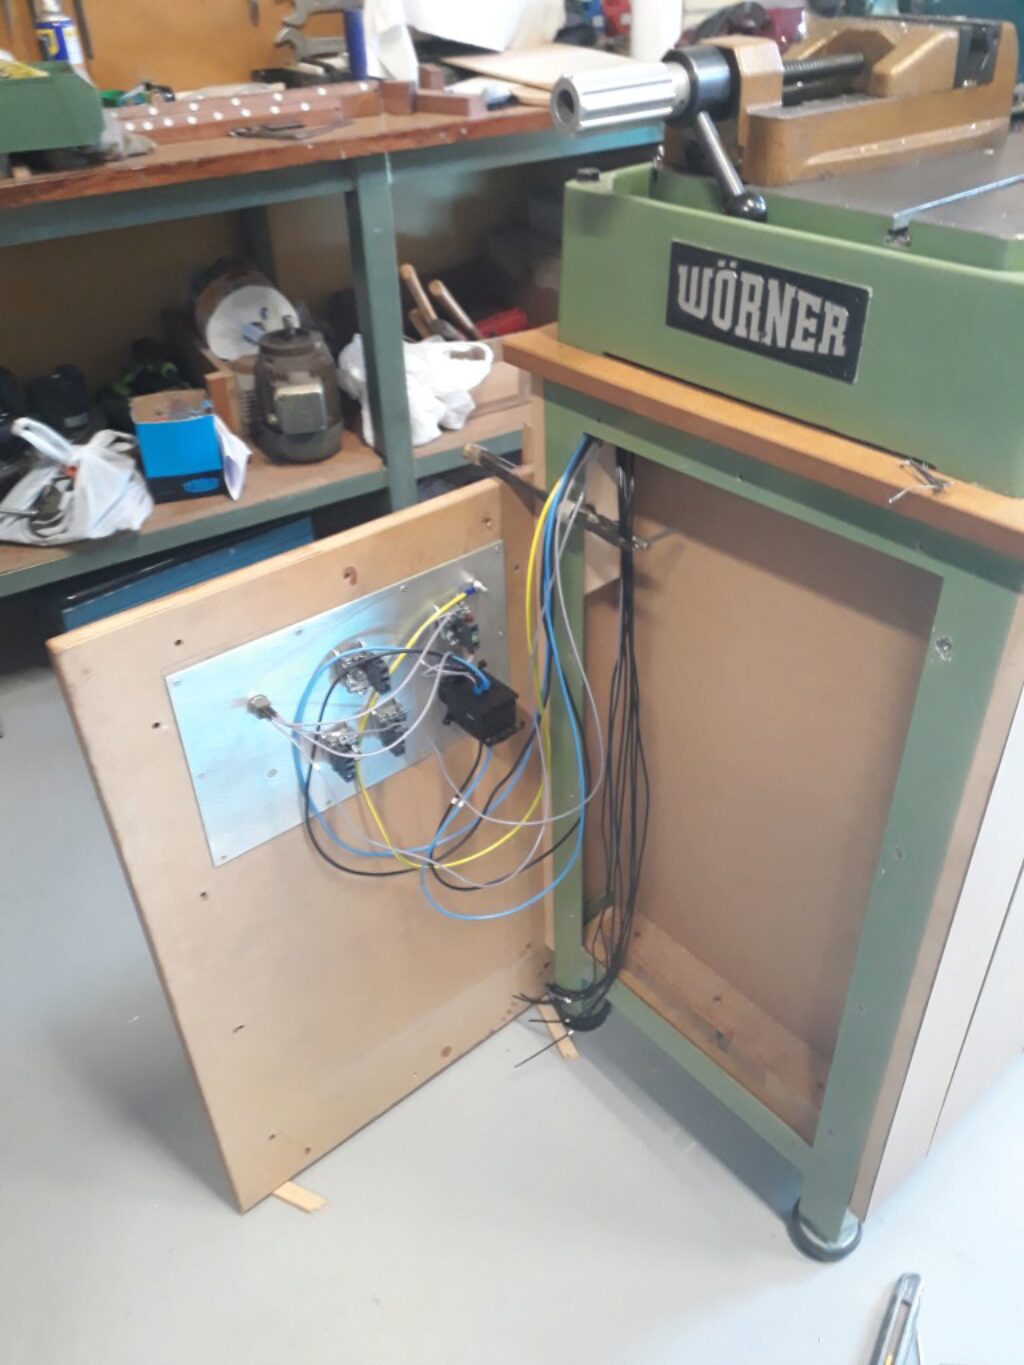
The control panel was an aluminium plate that I conveniently drilled and painted to RAL Reseda Green to match the machine hue. The panel was attached to the cabinet front and made accessible through a window cut in the MDF:
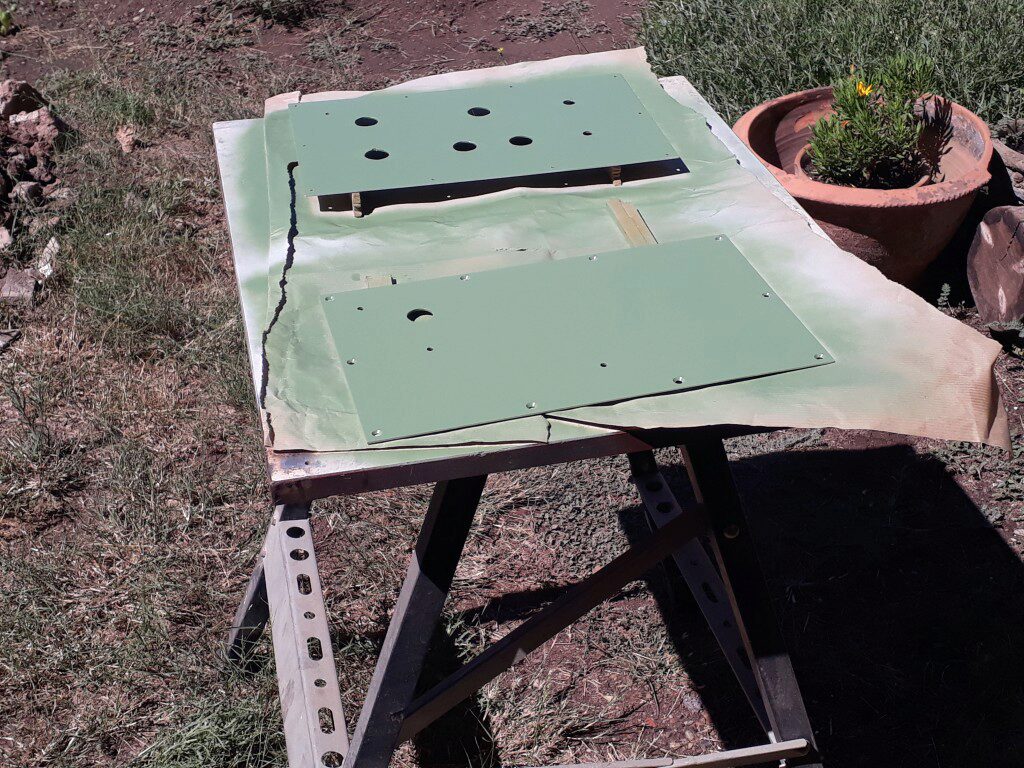
As seen in the last pictures, another aluminium panel was used as a support and as a cooling element of the VDF. This other panel was attached in a similar way to the back of the cabinet. The following pictures show the front and back with the wiring finished:
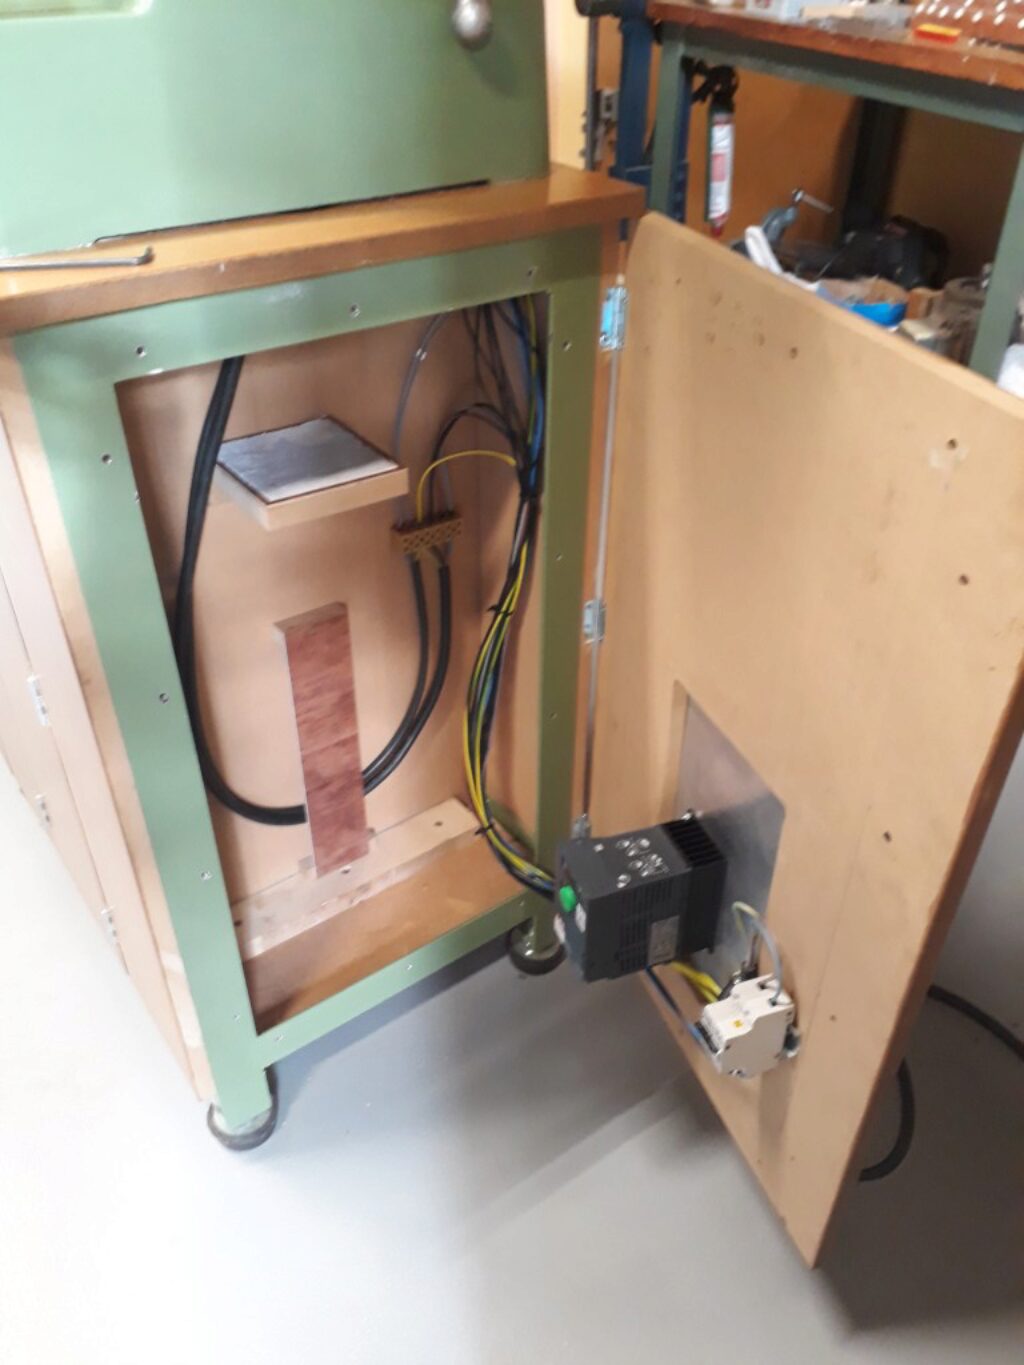
Note that the cabinet back was supported also by hinges. This allows for an easier work when adjusting or programming the VFD. Additionally, I added an absorber to avoid oil coming from the column to go over the VFD.
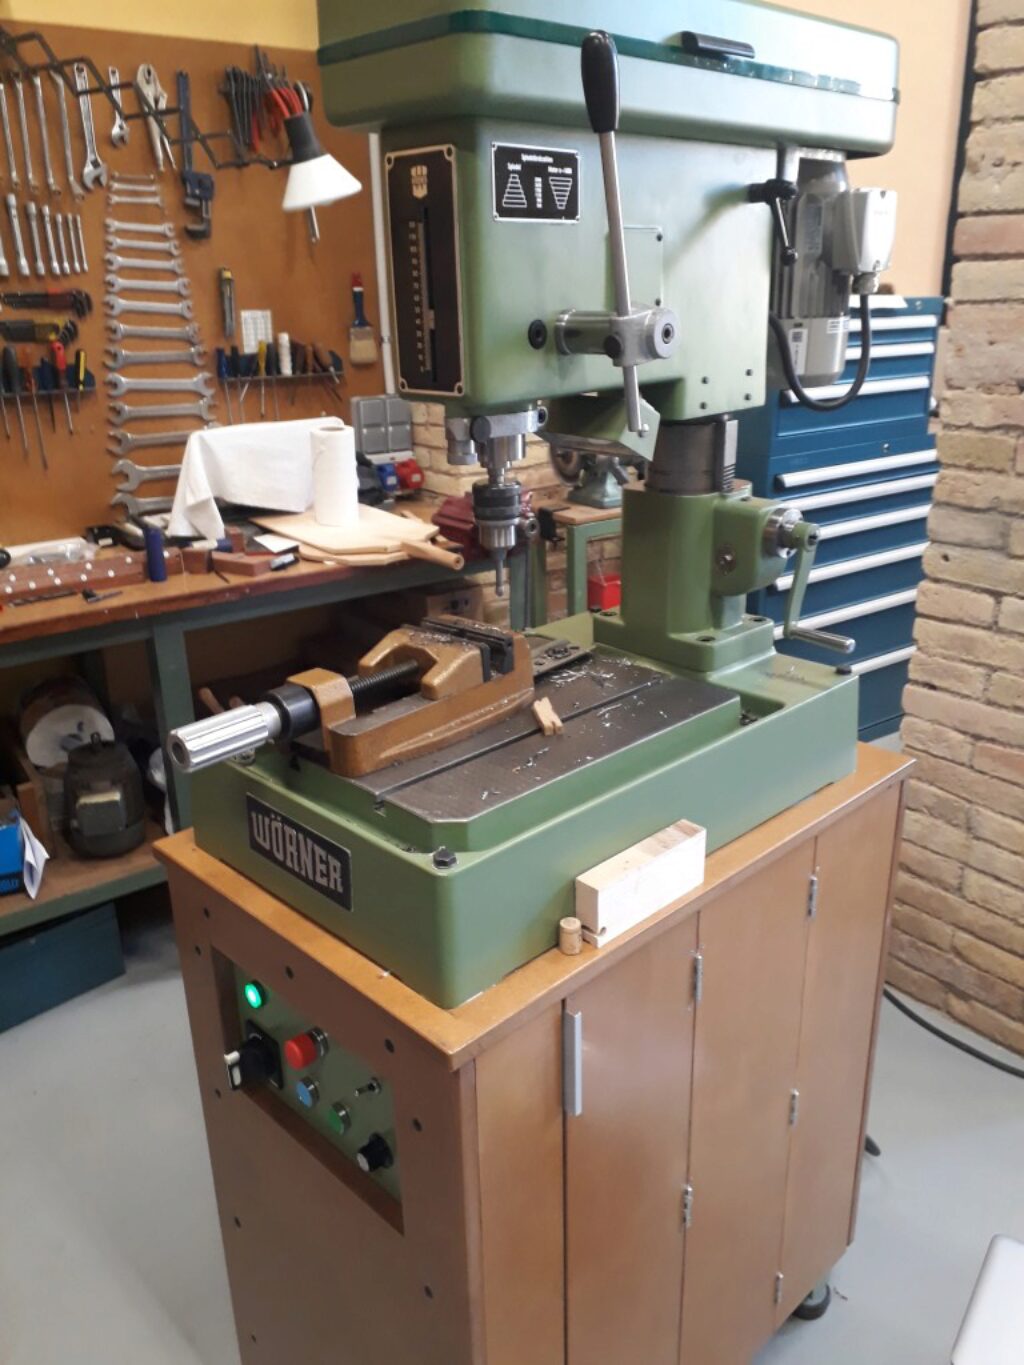
This is how the machine looks with all the MDF varnished and the electrical panels mounted:
Adding a set of drawers
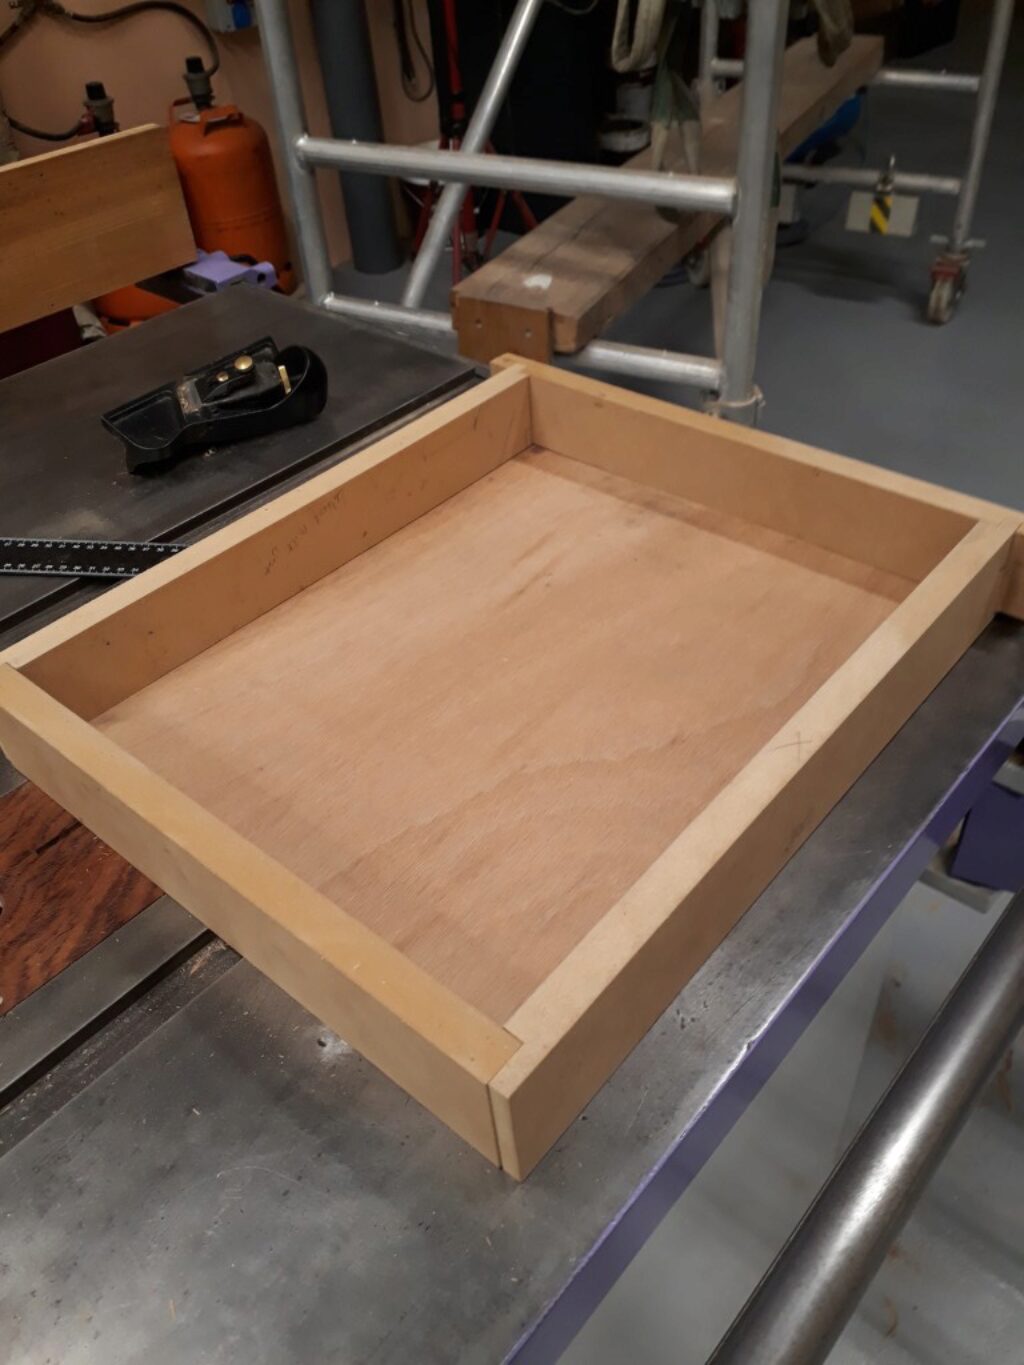
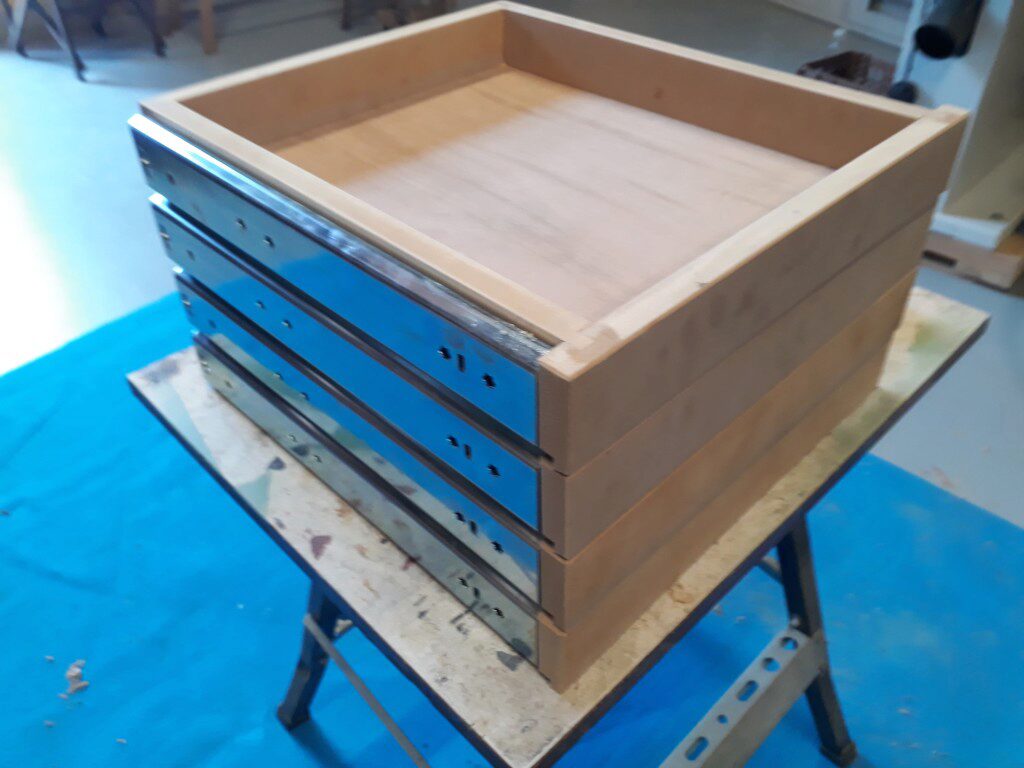
Next step was to add a set of drawers running on over extended slides. I choose medium duty Thomas Regout ball bearing slides that were bought in guiastelescopicas.com
Drawers were built with MDF and plywood at very precise dimensions to fulfill the narrow requirements of ball bearing guides. Guides were aligned by using a scrap wood made jig that was cut to match the next guides level. A self made centering punch for counterbored holes was also used to precisely center the screws.
Overall, the result was really satisfactory as you can see in these
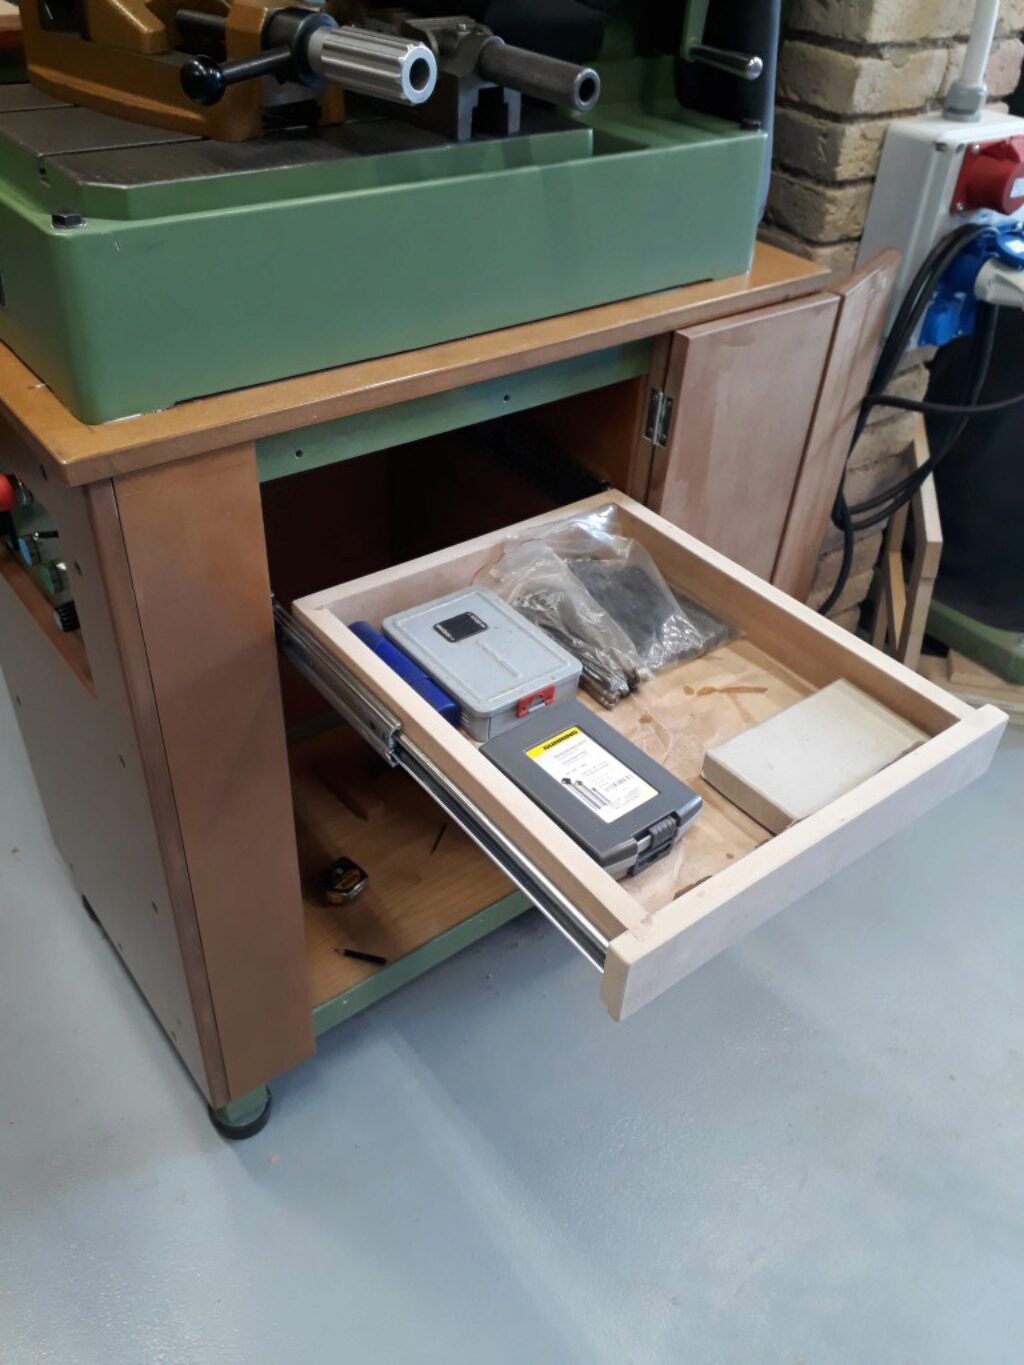
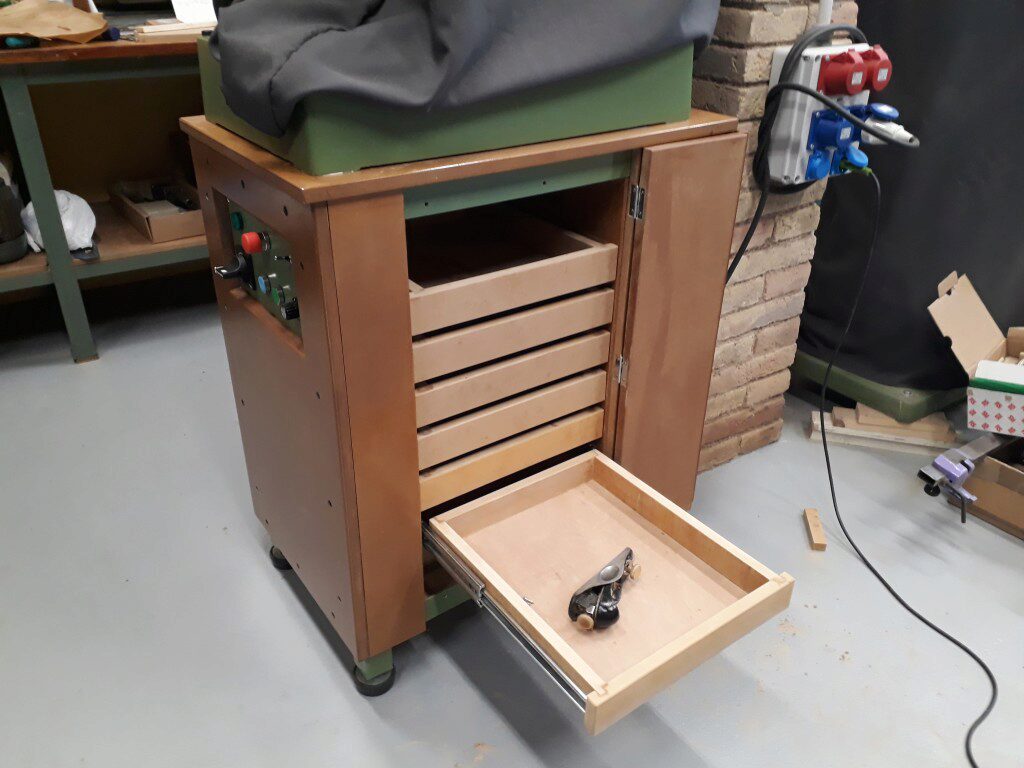
Note that the first drawer has a bigger space to allow the storage of vertically positioned drilling bits… but this will be the subject of a new post!!