
Joan’s advices
Final steps on paint works. I last post I wrote about the problems with the table lack: final layers suffered of cracking. After a talk with a Joan, who has a large experience as professional car painter and always has time to help a friend, he diagnosed the problem: layers incompatibility. He gave me a kinda of principles to follow when painting machines. I want to share then here:
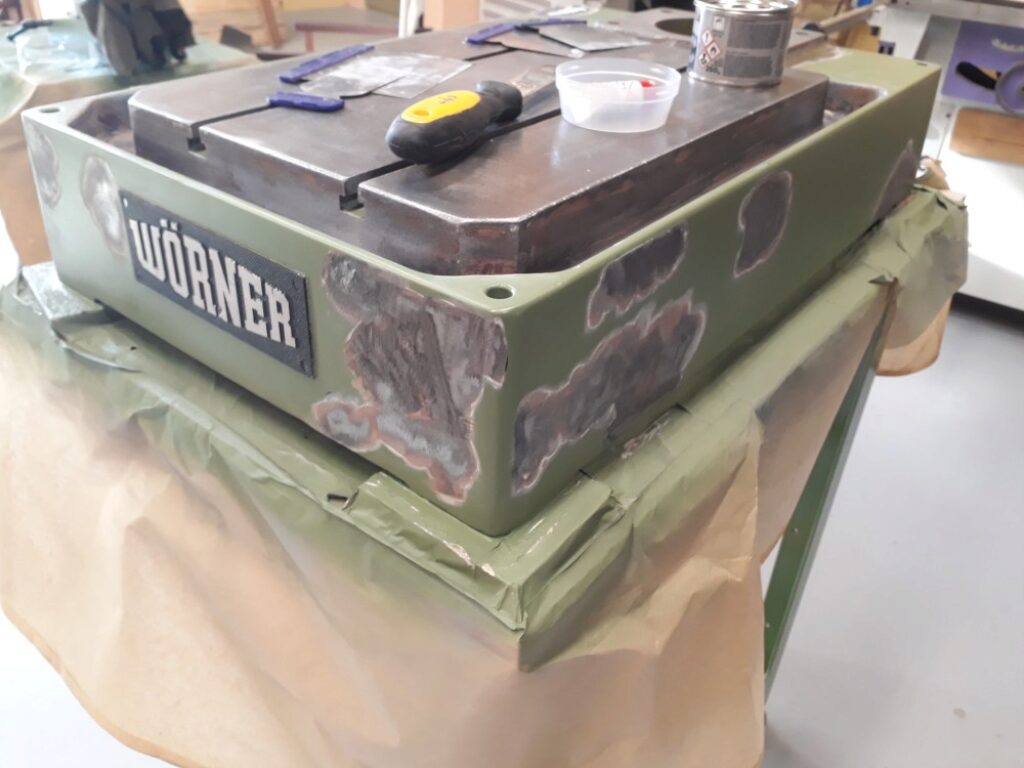
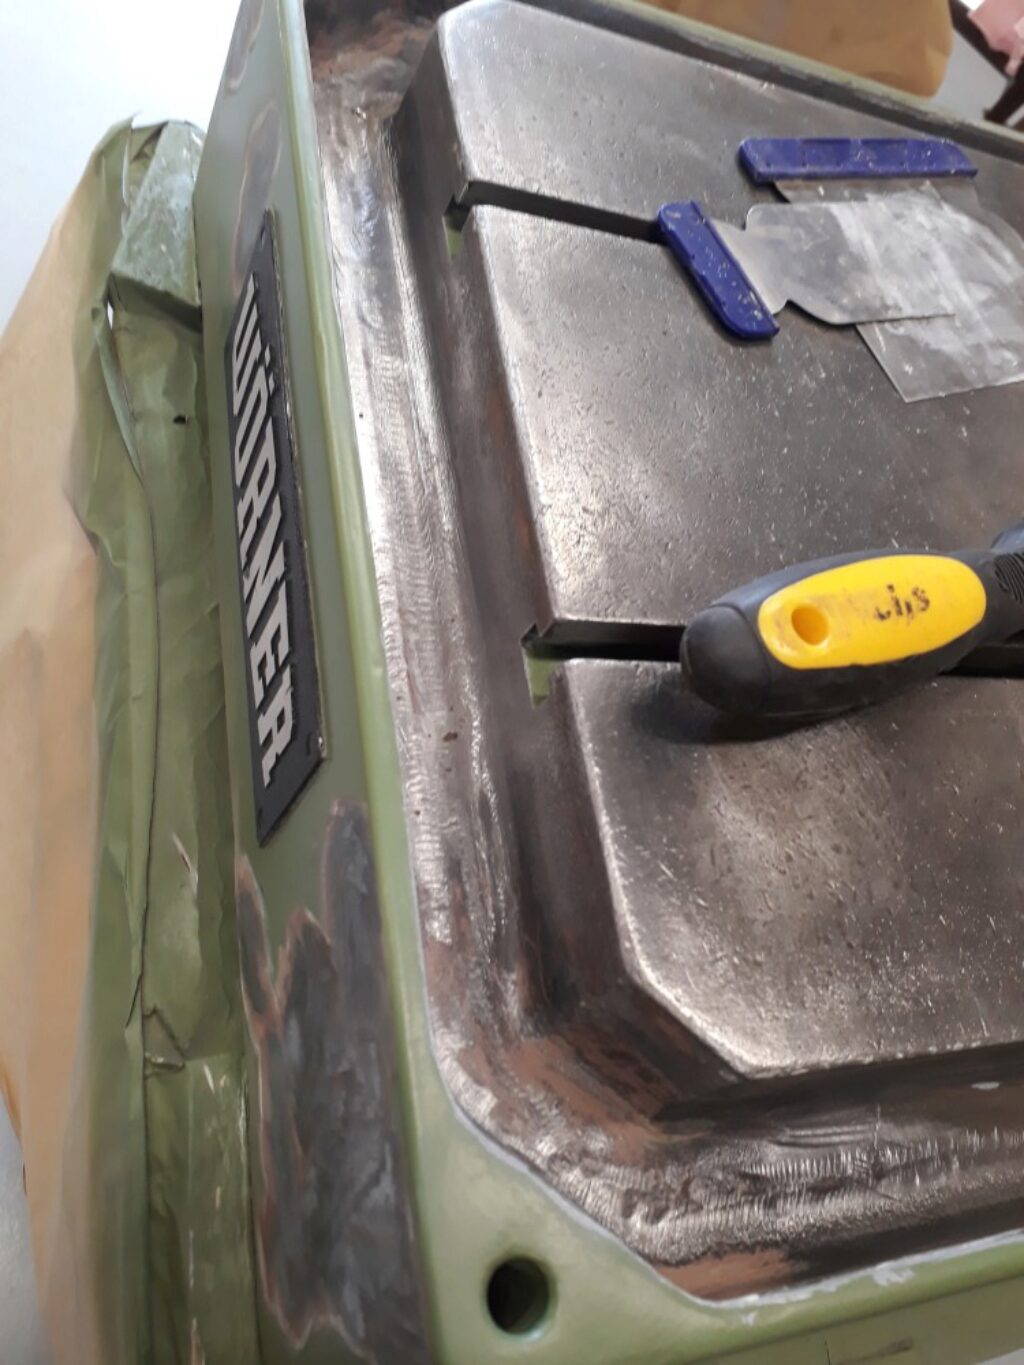
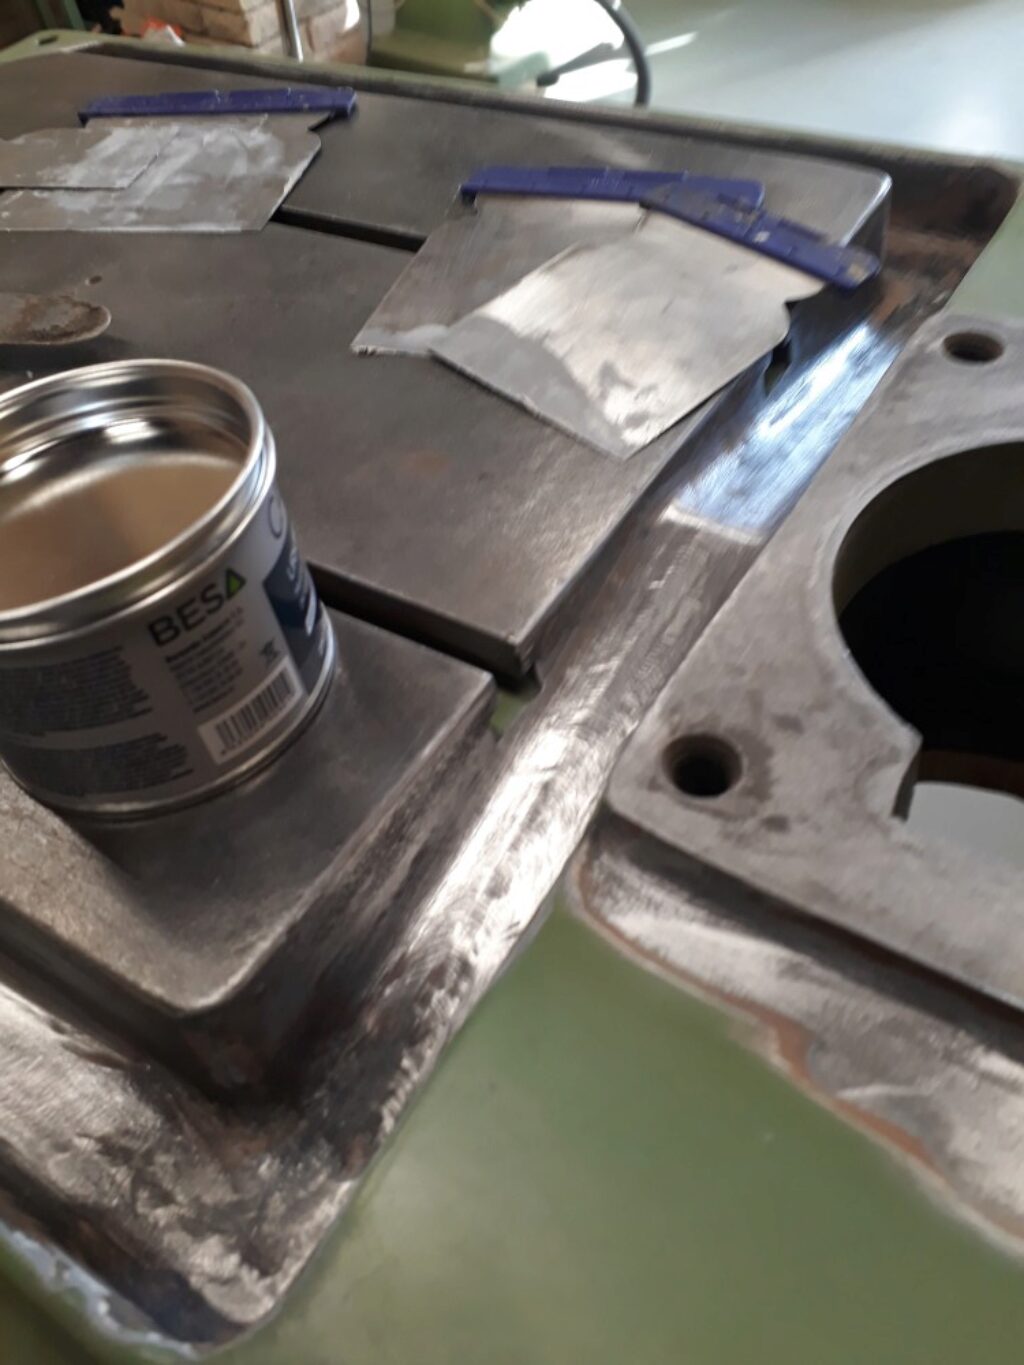
- Scrap all old lacks until you achieve clean steel. Do not try to take advantage of the old layers of paint nor putty.
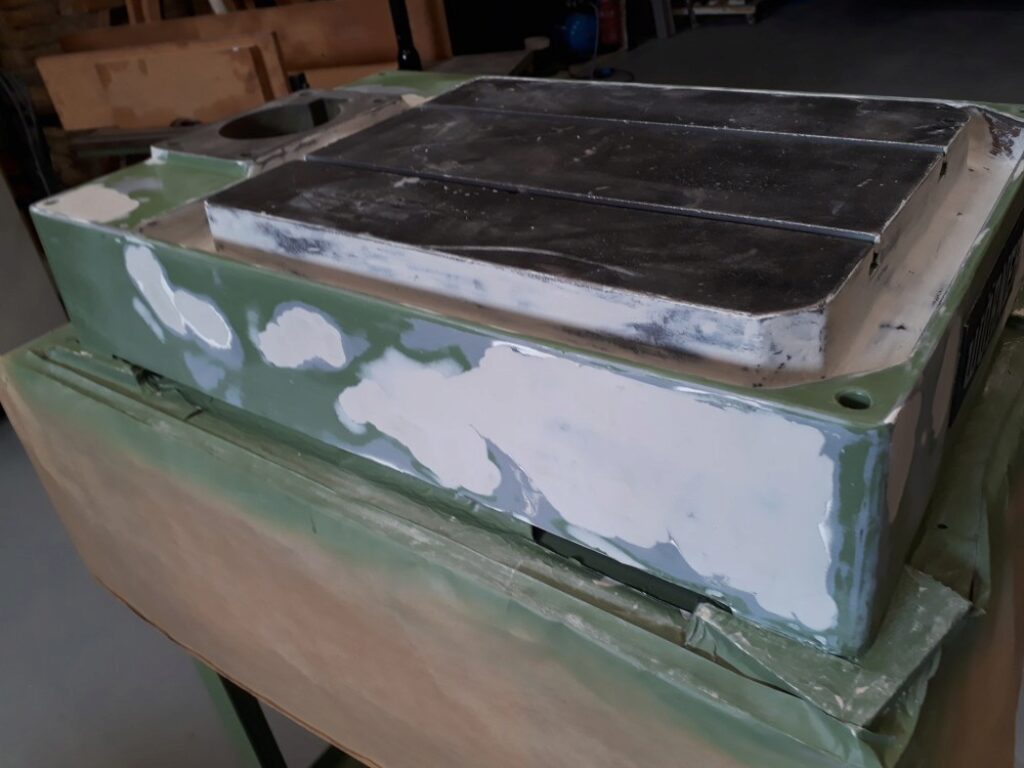
- Apply polyester putty over the bare steel. Sand it and correct until the desired profiles are achieved.
- Apply a layer of high solids filler. Smooth lightly with high number water sand paper to obtain a regular and smooth finish.
- Spray the final coats of coloured paint.
- Use always the same reference for all the products used. Do not mix products from distinct providers.
- Never put 2K layers over 1K layers.
- Spraying is more aggressive with base layers that hand painting (because of solvents used).
Following, you will find some pictures of the drilling press table second painting round:

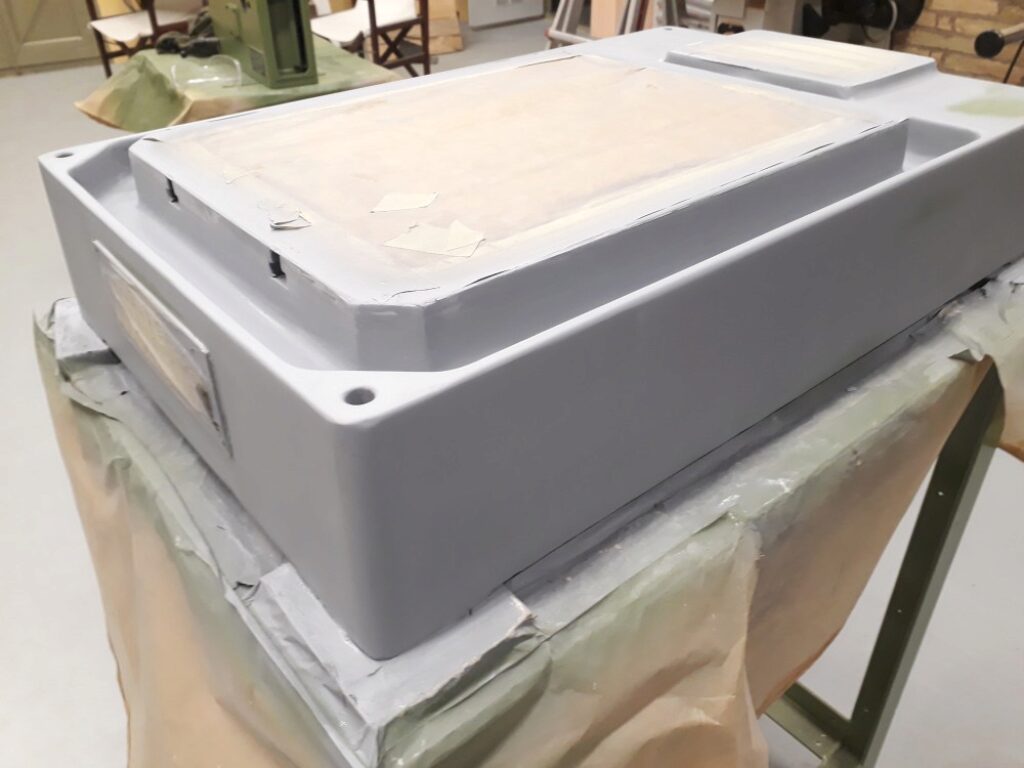
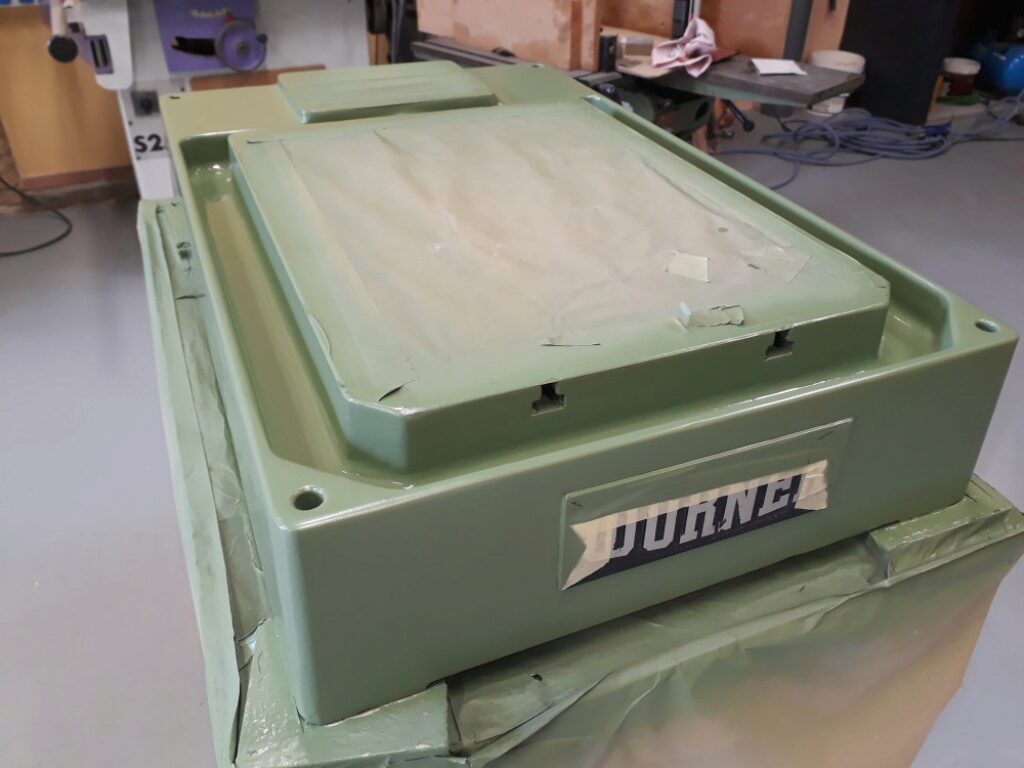
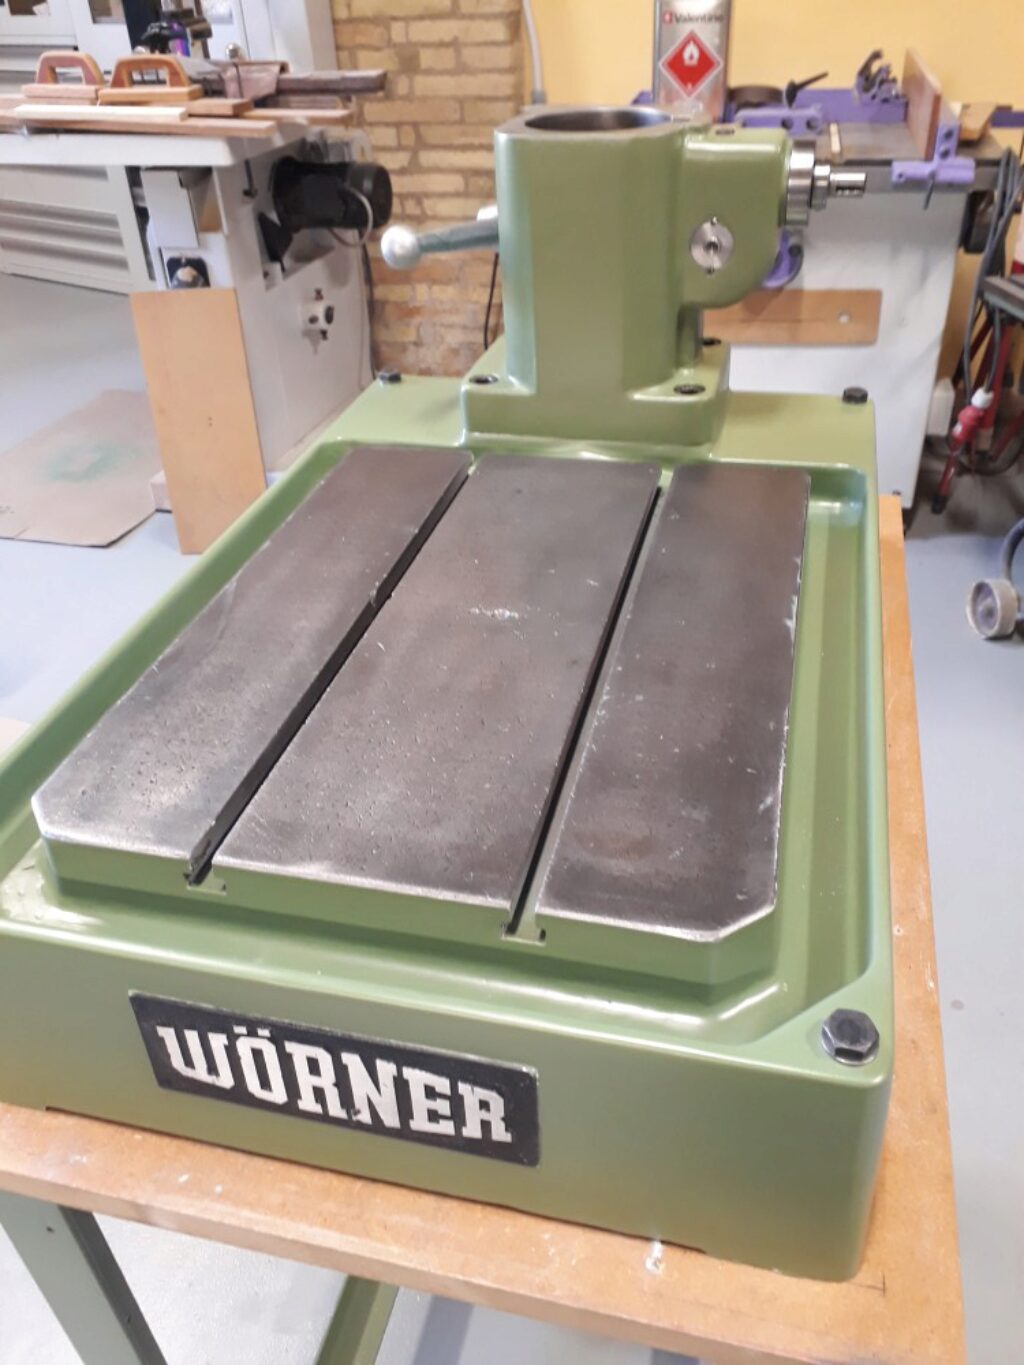
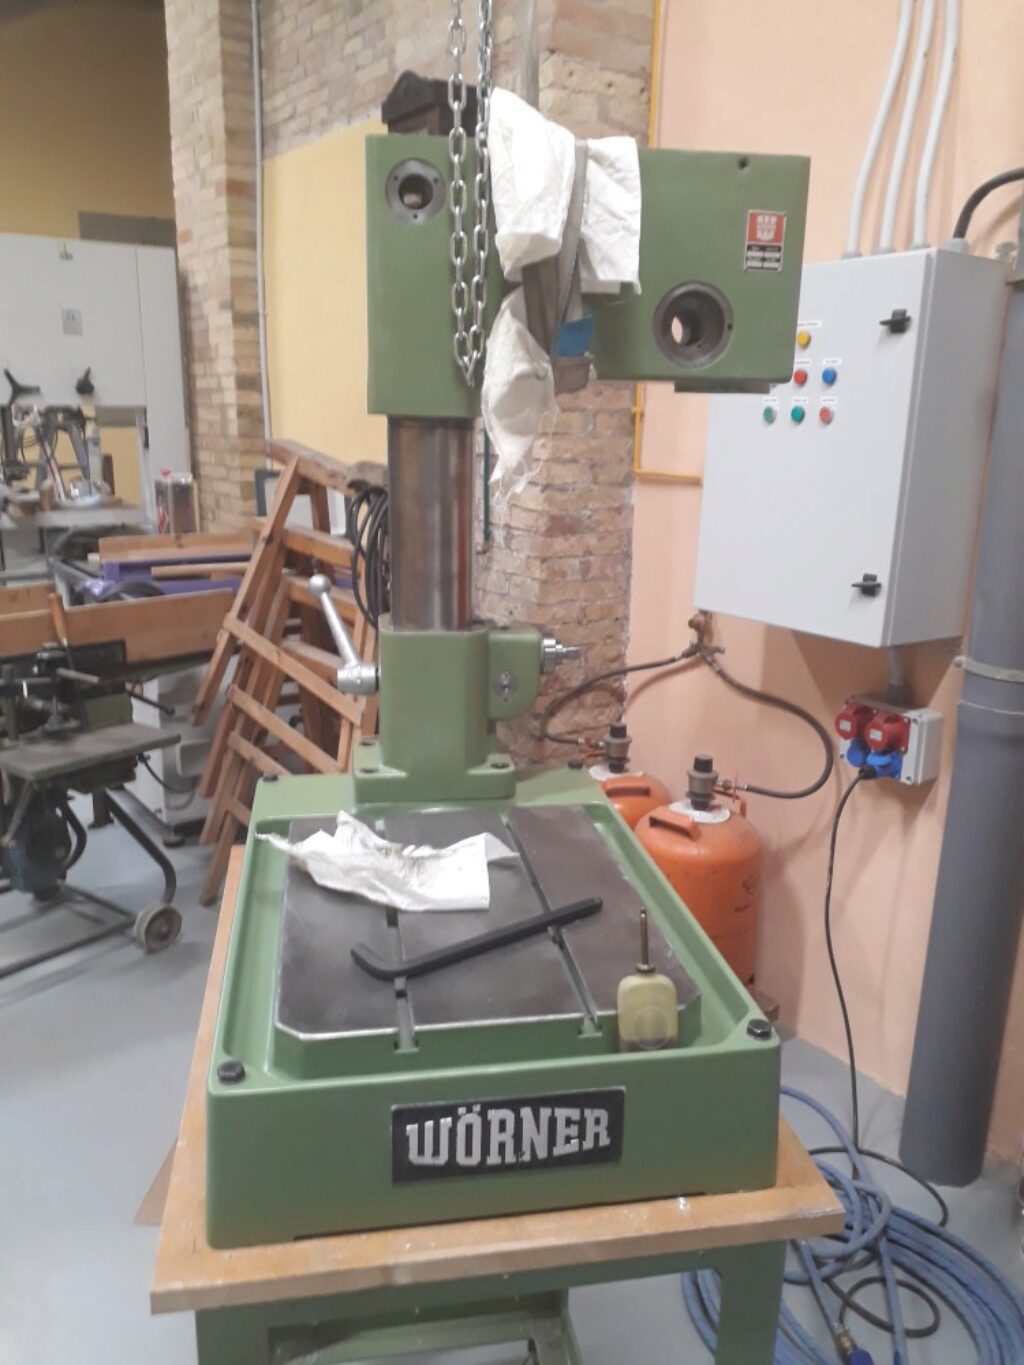
This time things have gone better and the drill press is finished to be assembled!
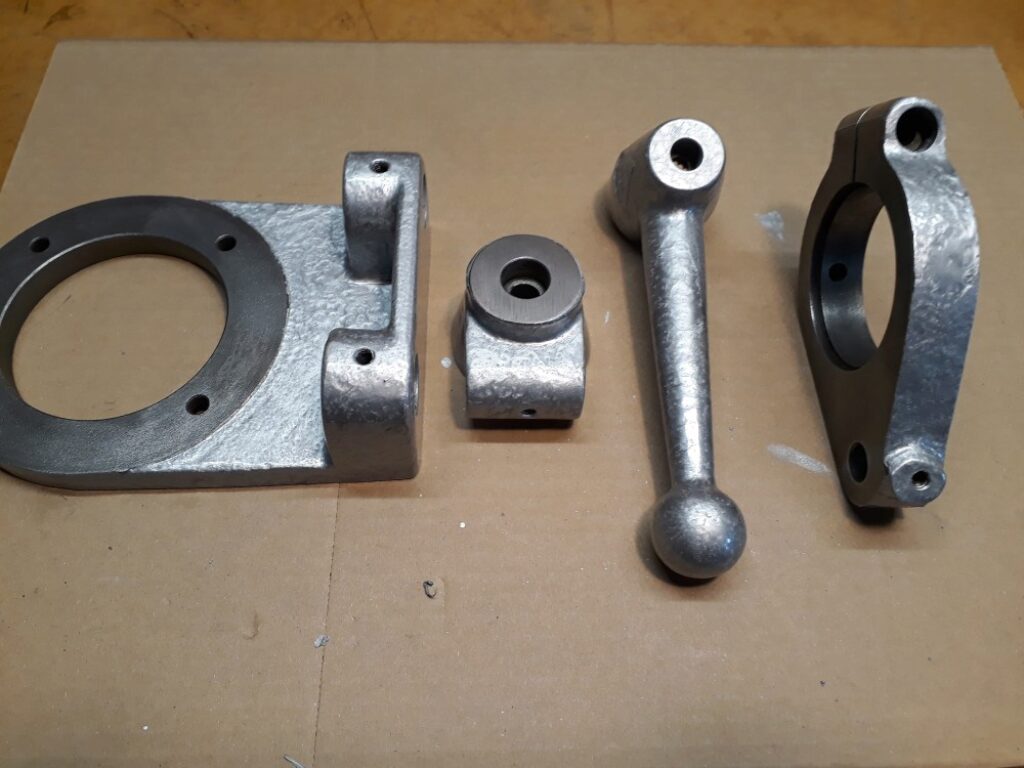
Hammer paint
Some of the machine parts were not mechanized and in the original state they were painted using silver tone hammered effect lack. I followed the same pattern:
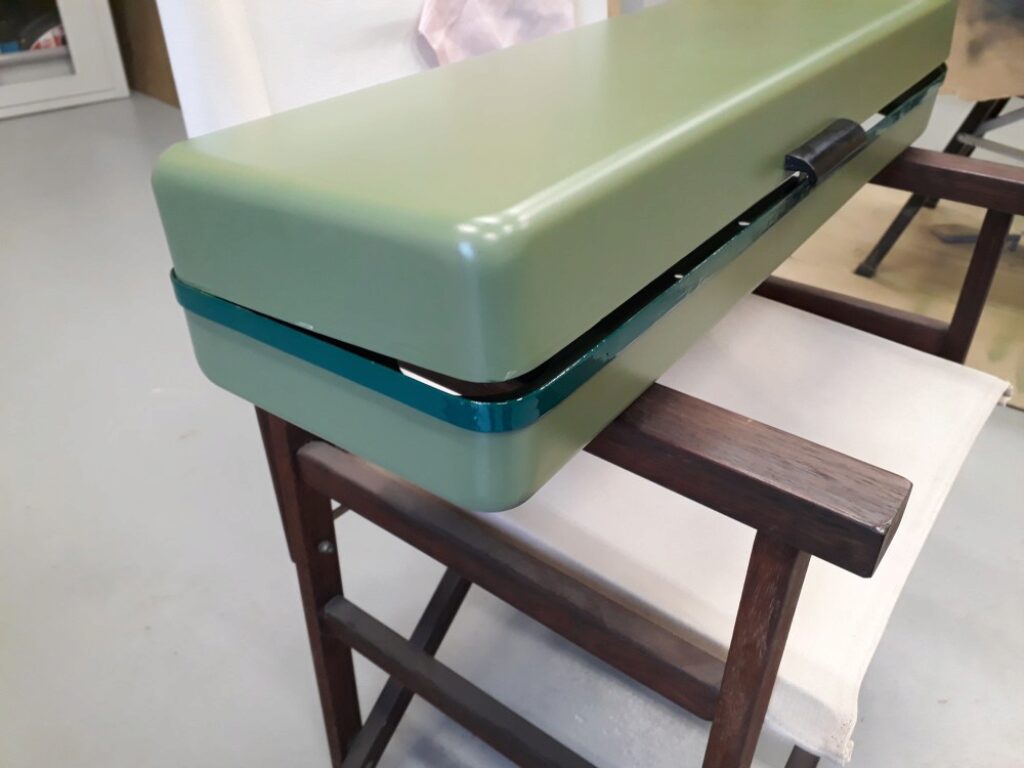
Opal green colour stripe
A distinctive detail of this series of machines was an opal green colour stripe that turns around the pulleys cover. I reproduced it too for the sake of completeness. It corresponds to RAL 6026.
The final data
This is the abridged data of all the painting process:
- Main color: Synthetic Enamel BESA. Demigloss. Reseda green RAL 6011 4 cans of 400 ml
- Secondary color: Synthetic Enamel BESA. Glossy. Opal green RAL 6026
- Seconary color: Oxiron TITAN Martelé. Silver Grey
- Filler: BESA URKI-Filler 1K. Spray 4 cans of 400 ml
- Provider: Torrents Autocolor (Manresa)