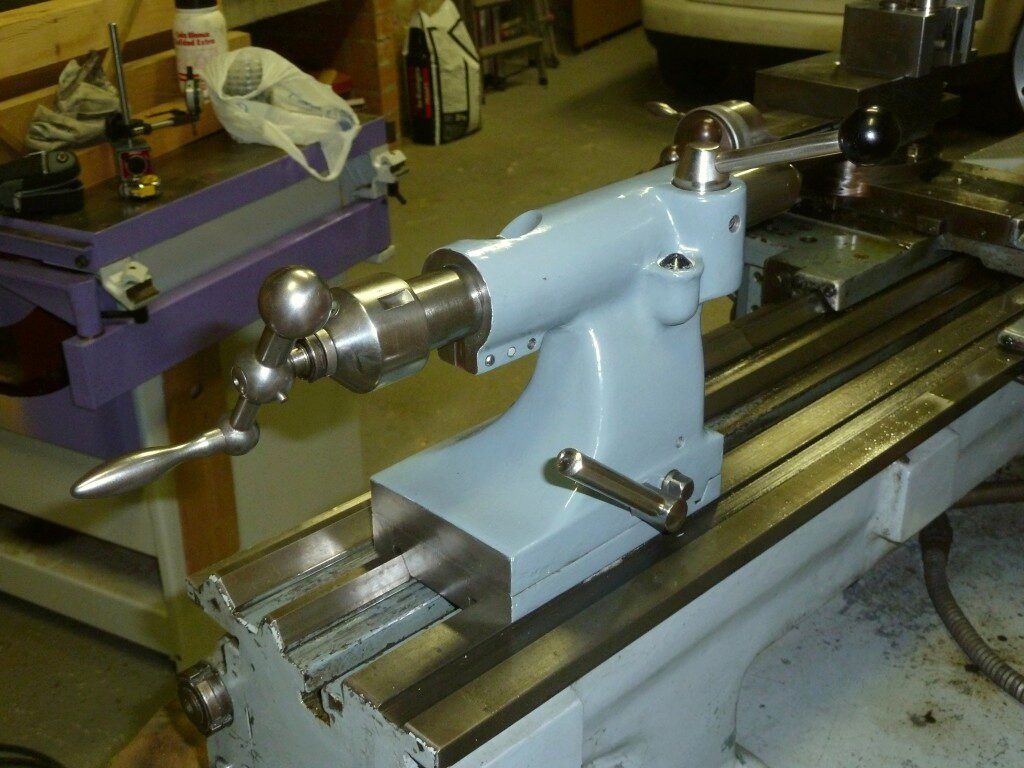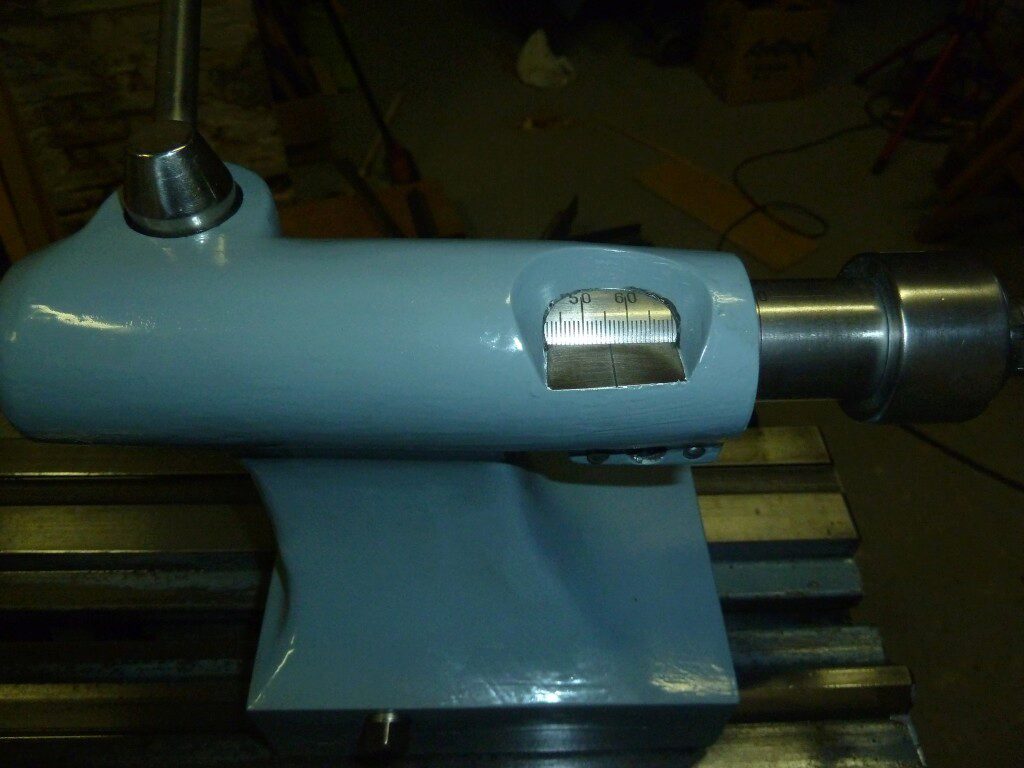
Let’s start by refurbishing the tailstock, which seems to be in pretty good condition. The tailstock is designed in such a way that its quill remains fully supported despite its position. It’s a typical construction of some precision machines. The tailstock is fixed to the bed using a lever that acts on a cam lock. The quill is locked by a usual half-moon clamps. The fit of the quill is very good, especially in the first part of the displacement. After fully disassembling it:
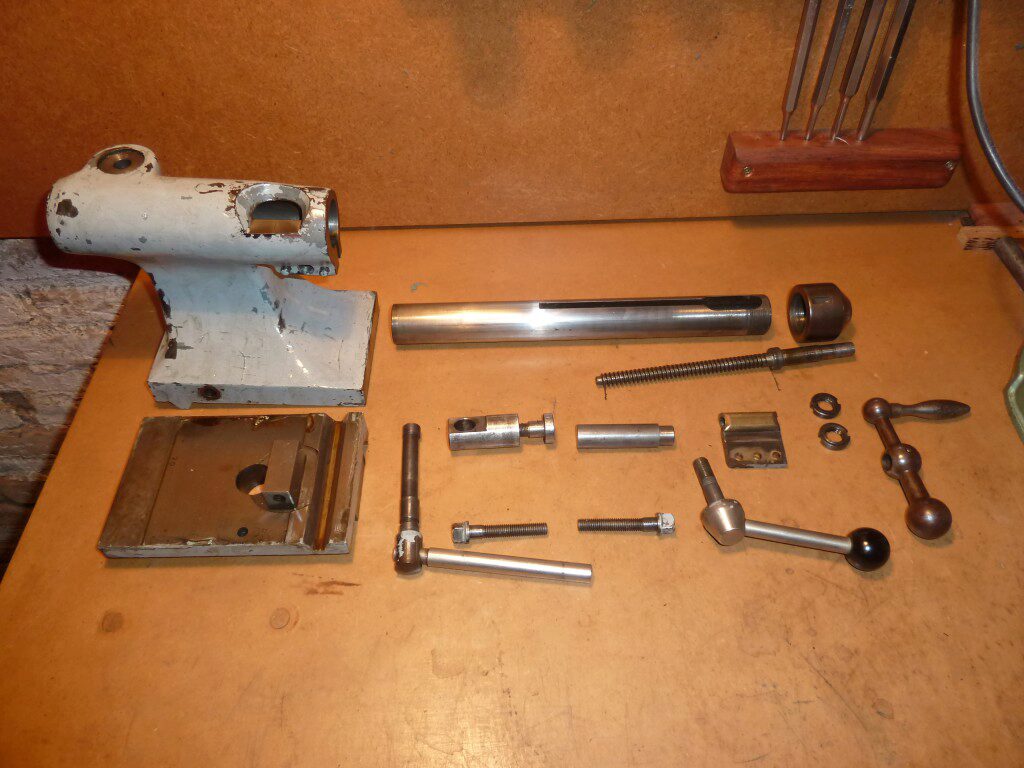
Once disassembled, we saw that there is some wear in the spindle screw nuts support. This is the bearing surface that gets most of the pressure when working. At the moment we will write this detail on the “pending” list and we will address it later.
We proceed to carefully clean the metal parts. We followed the next technique to avoid any damage of the original part textures:
- Degreased with equal parts diesel+gasoline mixture.
- Cleaning the oxidized surfaces with vinegar (carefully) and the help of rags and occasionally very fine steel wool.
- Application of white oil (type WD40) to protect the surfaces.
- In the parts that require a better finish, I use polishing paste applied with a cotton disc. First, an application of fine roughing polishing paste and, after that, using a different disc, finishing paste.
Then we go on with the coating. We removed the old paint with coarse sandpaper. We applyed a quality synthetics primer that supports the finish layer. We applyed 2K filler and we smoothed it. At the end we conscientiously sanded the surface to a good finish. Finally, we applyed two-component polyurethane enamel, which is remarkably resistant and has given us very good results in other restorations.
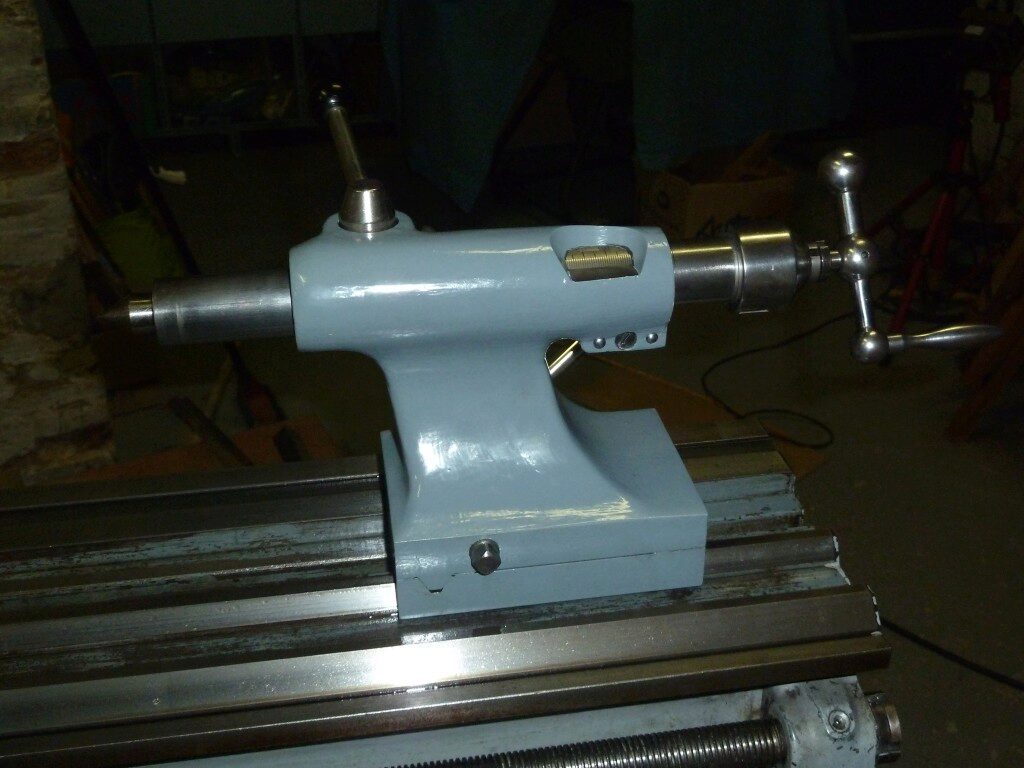
The supplier of paint products was Torrents Autocolor. The paint hue chosen is RAL 7031, after checking the original color. The paint must be tinted exprofeso with a tintometric machine. After applying the finishing layer with a brush and assemble the tailstock again this is the result: